
Last updated on 2026-06-03 | Edit this page
Preparing the Learning Environment
This page has guides for setting up the in-person learning environment and the online learning environments in Minecraft and Miro.
In-Person Workshops
This guide explains how to set up the room and materials for an in-person workshop.
Summary Checklist
- Clear wall space (minimum 2 x 2 metres) for USM (User Story Mapping), Sprint Boards (Alternatively you can also use Whiteboard for USM and Flipcharts for sprint boards), Retro, and DoD
- Tables for each team
- LEGO sets (1500 pieces for 20 people)
- Post-its (3 colours)
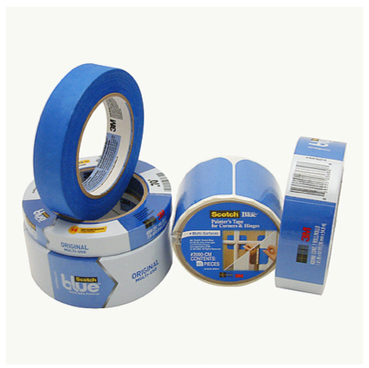
- Blue painter’s tape
- Permanent markers
1. Room Setup
Wall Space or Whiteboard and Flipcharts
You need enough clear wall space for:
- Story mapping
- Sprint boards
- Retrospective Wall
- Teams DoD space
Alternatively you can also use a Whiteboard for USM and Flipcharts for sprint boards.
👉 Tip: - Ask participants to help rearrange tables or chairs - This teaches an important agile skill: creating a collaborative workspace - In fact re-arranging the working environment to make it more collaboration-friendly is one of the essential skills of an agilist.
2. Tables for Teams
When Teams Work in Separate Rooms
- Each team needs 1–2 tables
- These tables are used for LEGO building
- In this scenario each team should have its own facilitator
When Teams Work in the Same Room (On the same Product e.g, each building for different Personas) - SAFe Style (Teams working separately on same product and sync)
- Each team still needs its own tables
- This helps simulate a multi-team Scrum environment
- While each teams having their own Product Owner. Select from within each Team and Provide them PO the PO Guide with all Product details etc.
Nothing special is needed here…
Except one small trick. Intentionally Forget the “Integration Table” !
You might think:
“The teams will need an extra table to integrate the city in the end.”
3. Stationery and Materials
3.1. Post-its
Post-its
- Easy to find
- Work well
Colour Coding
- Use three different colours for:
- User story mapping
- Use rectangular Post-its (5 x 3) for:
- Adding details to backlog items
- These are used during Product Backlog Refinement
3.2. LEGO Sets – What You Need
You will need LEGO bricks for the workshop.
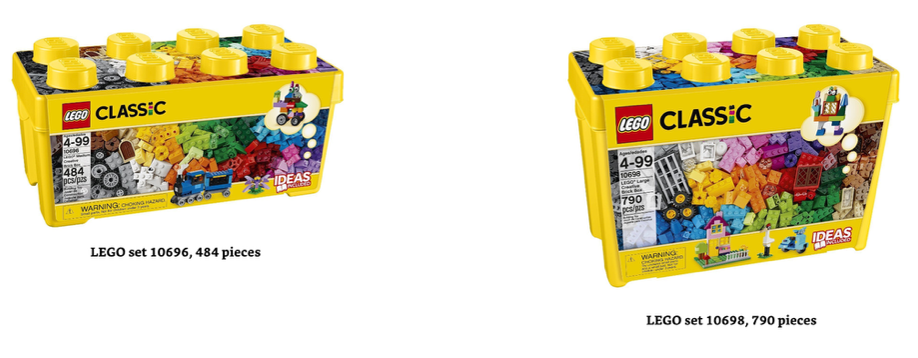
Recommended sets (suggested in Lego4Scrum): - LEGO Classic 10696 – 484 pieces - LEGO Classic 10698 – 790 pieces - LEGO Classic 10697 – 1500 pieces
Rule of thumb: - For 30 people, one 2250-piece set is enough
4. Product Owner’s Guide
The PO Guide (which contains the Product Vision and all the details required to perform the PO role effectively) should be shared with individuals performing the PO role. The guide should not be shared directly with course participants. You can find it here.
Online Workshops
1. Creating a Miro board
You will need to follow these steps in order to create a team on Miro which you can then copy a board template into.
- If you don’t have one already, get a Miro account.
- Once you have an account, create a team that is named appropriately for the training event e.g. “Agile Training UoM Group D”.
- You will then need to join the Agile Training UoM backup team; if this link doesn’t work, contact the lead facilitator who should be able to invite you directly via email. (IMPORTANT: you need to do this after creating your own team, as otherwise you won’t be able to create your own team).
- Once you have joined this team, you should then be able to move the board called “Agile fundamentals for dRTPs boards” into your team by clicking on the three dots to the right, selecting “Move to Team” and then choosing your team by opening the drop down list.
- This will remove the board from the backup account; please make a new copy in the backup account with the same name “Agile fundamentals for dRTPs boards” by clicking on the three dots for the “Backup copy” version, selecting Duplicate, and naming it appropriately.
- Then you should change into your team e.g. “Agile Training UoM Group D”, where there should be one board. Duplicate this board and name it for the date of the training e.g. “Agile fundamentals for dRTPS boards Group D 08.06.26”. This is the board you will share with the learners during the training.
2. Creating a world in Minecraft
Follow these steps to create a world in Minecraft Education.
- Download Minecraft account as described on the setup page.
- Once you have logged in successfully, click on “PLAY”.
- Click on “CREATE NEW”; in the options, use the default “Creative” mode and “Peaceful” difficulty, and give your world an appropriate name.
- Click on “Host” to become the host so that you can share a link.
- Once you are in the game, open the menu by pressing the Escape key, select the right-hand of the two tabs, and click “Share Link” to find the link which you can then share with the learners in your group.