Programming with Python: Setup
In preparation for this lesson, you will need to download a zip file of data.
Windows instructions
-
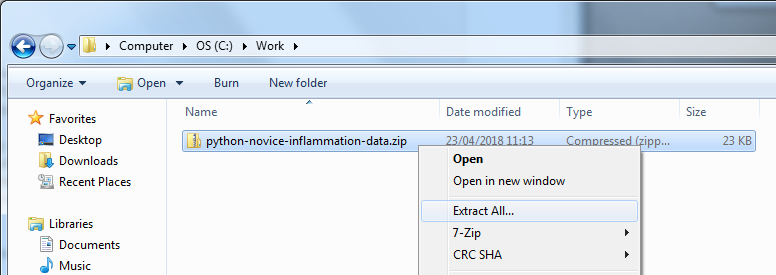
Download python-novice-inflammation-data.zip and move the file to
C:\Work. If there are already files inC:\Work, just go ahead and delete them first. -
Extract the contents of the zip file (right click, Extract All). Double clicking on the zip file simply previews the contents — it doesn’t extract them.
-
If all goes well, you should see a
datafolder within your extracted folder.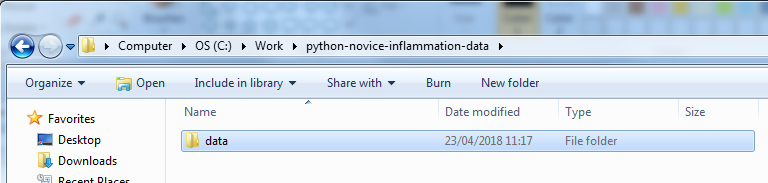
- From the Start menu, select
Anaconda Prompt, and issue the following commands to start the notebook server:cd C:\Work\python-novice-inflammation-data\data jupyter notebook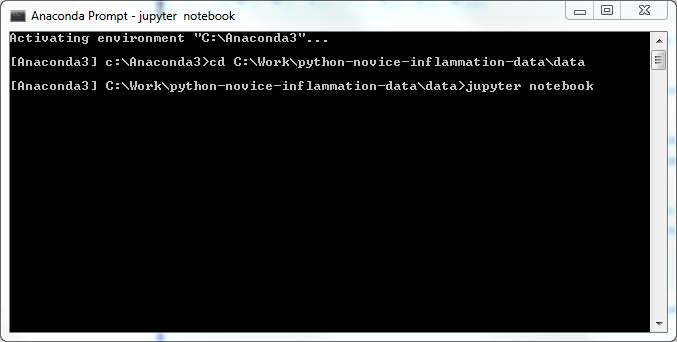
-
Then create a new notebook using the drop-down menu on the right to select ‘Python 3 notebook’:
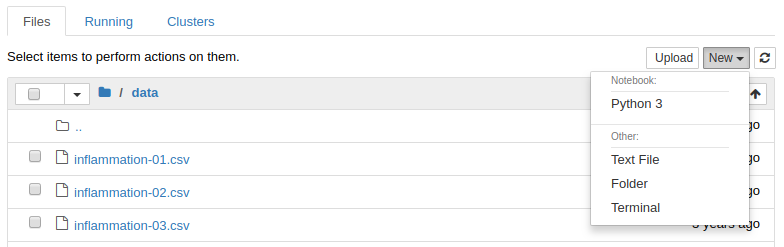
- Do not close the Anaconda prompt! Doing so will kill your notebook server.
Linux instructions
- Make a new folder in your Desktop called
python-novice-inflammation. - Download python-novice-inflammation-data.zip and move the file to this folder.
- Extract the zip archive. You should end up with
one new folder called
data. -
To get started, go into the
datafolder from the Unix shell with:$ cd $ cd Desktop/python-novice-inflammation/dataIf you will be using the Jupyter (IPython) notebook for the lesson, you should have already installed Anaconda which includes the notebook.
-
To start the notebook server, open a terminal or git bash and type the command:
$ jupyter notebook - Create a new notebook using the drop-down menu on the right to select ‘Python 3 notebook’.