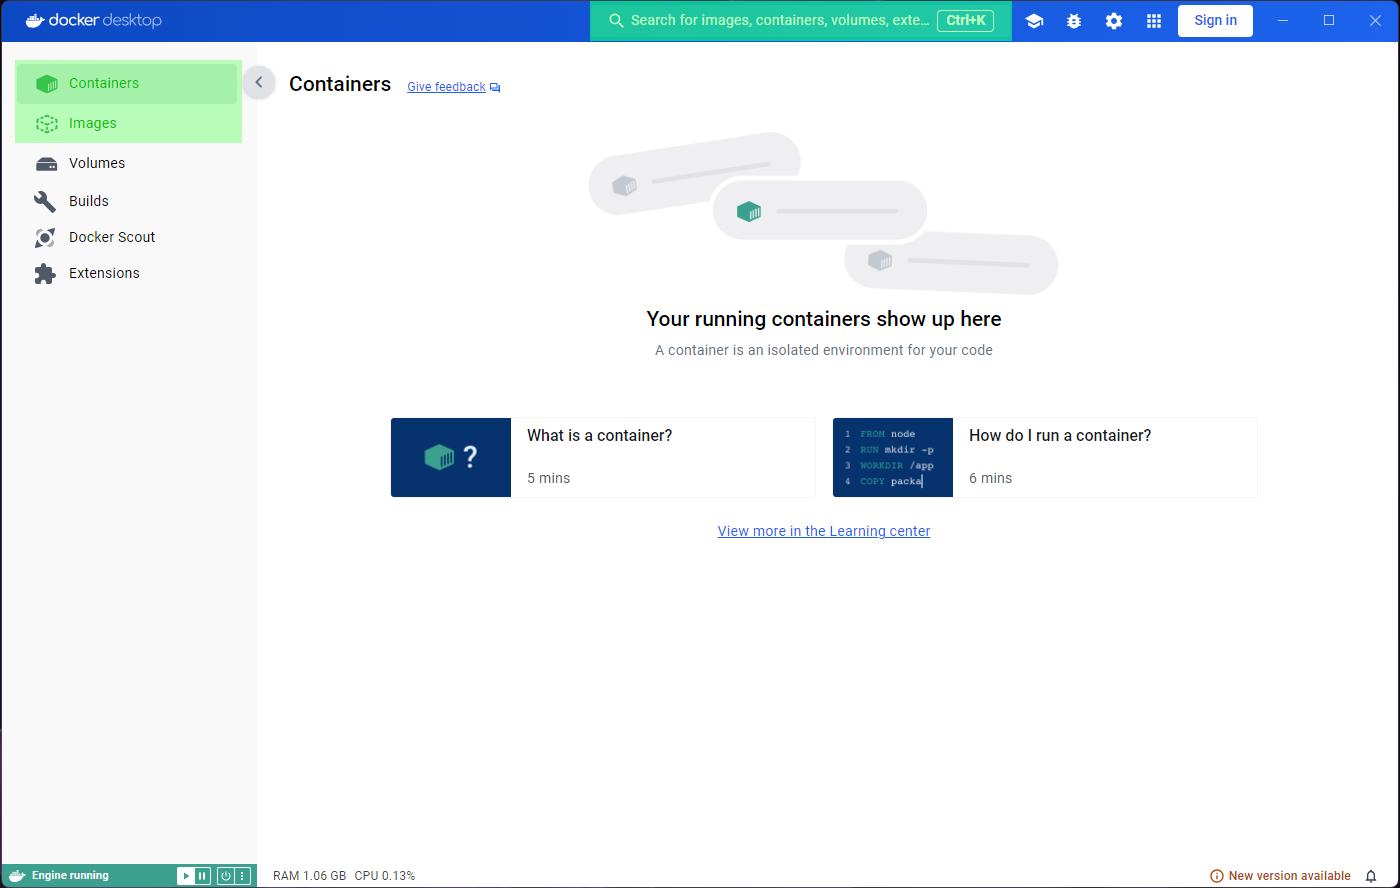
Image 1 of 1: ‘Docker Desktop being opened for the first time.’
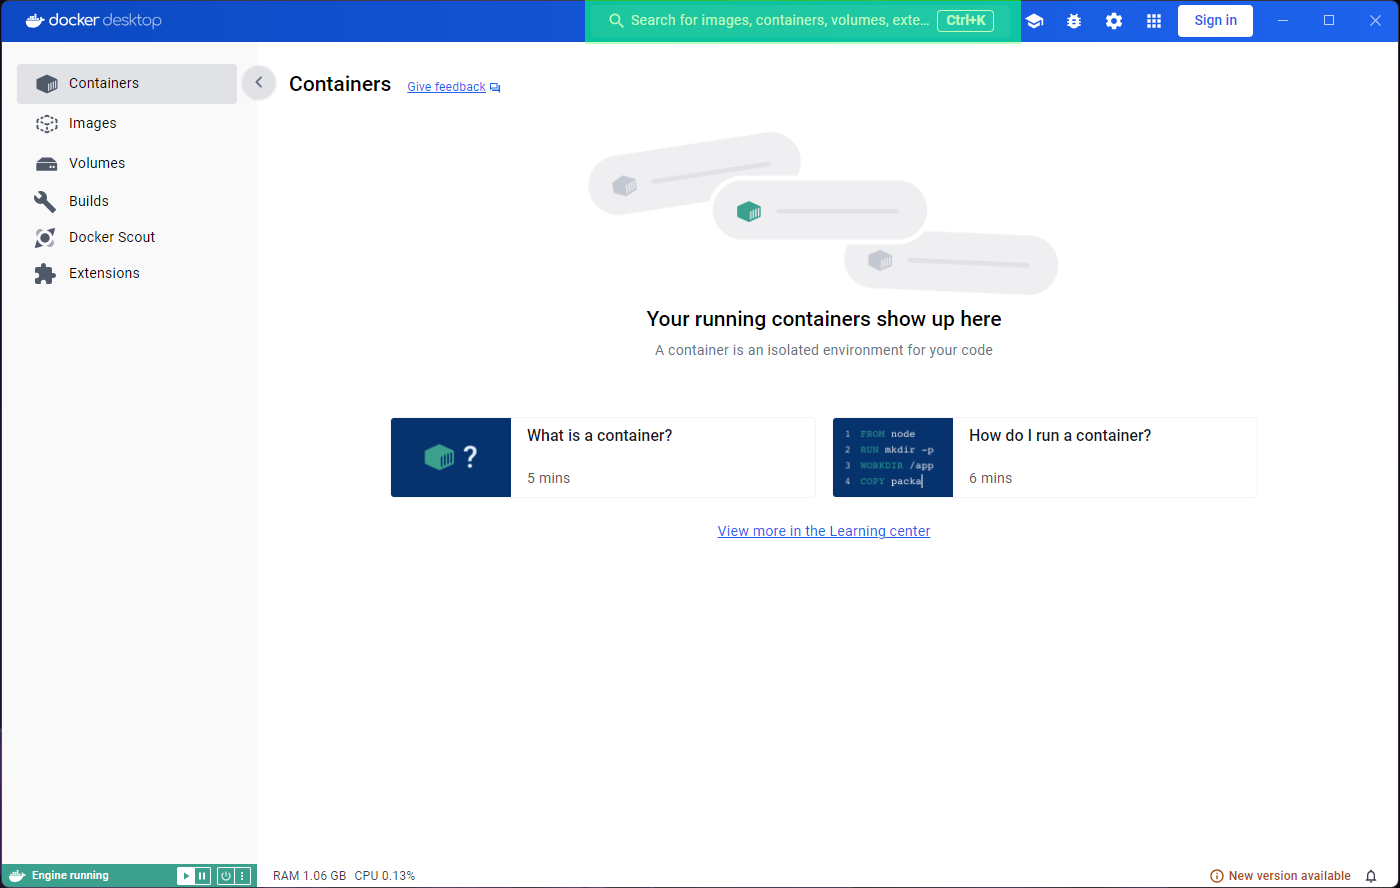
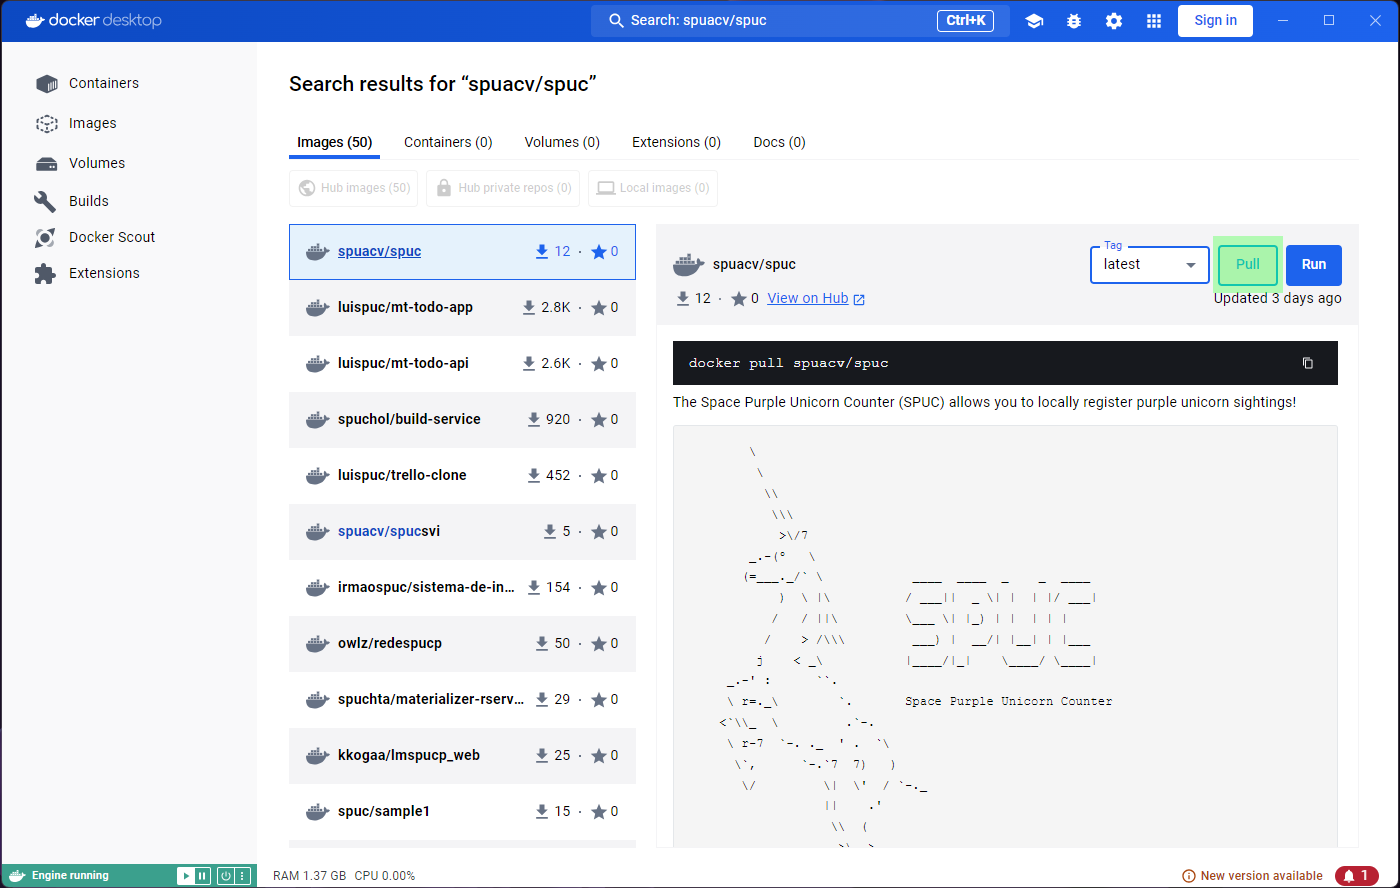
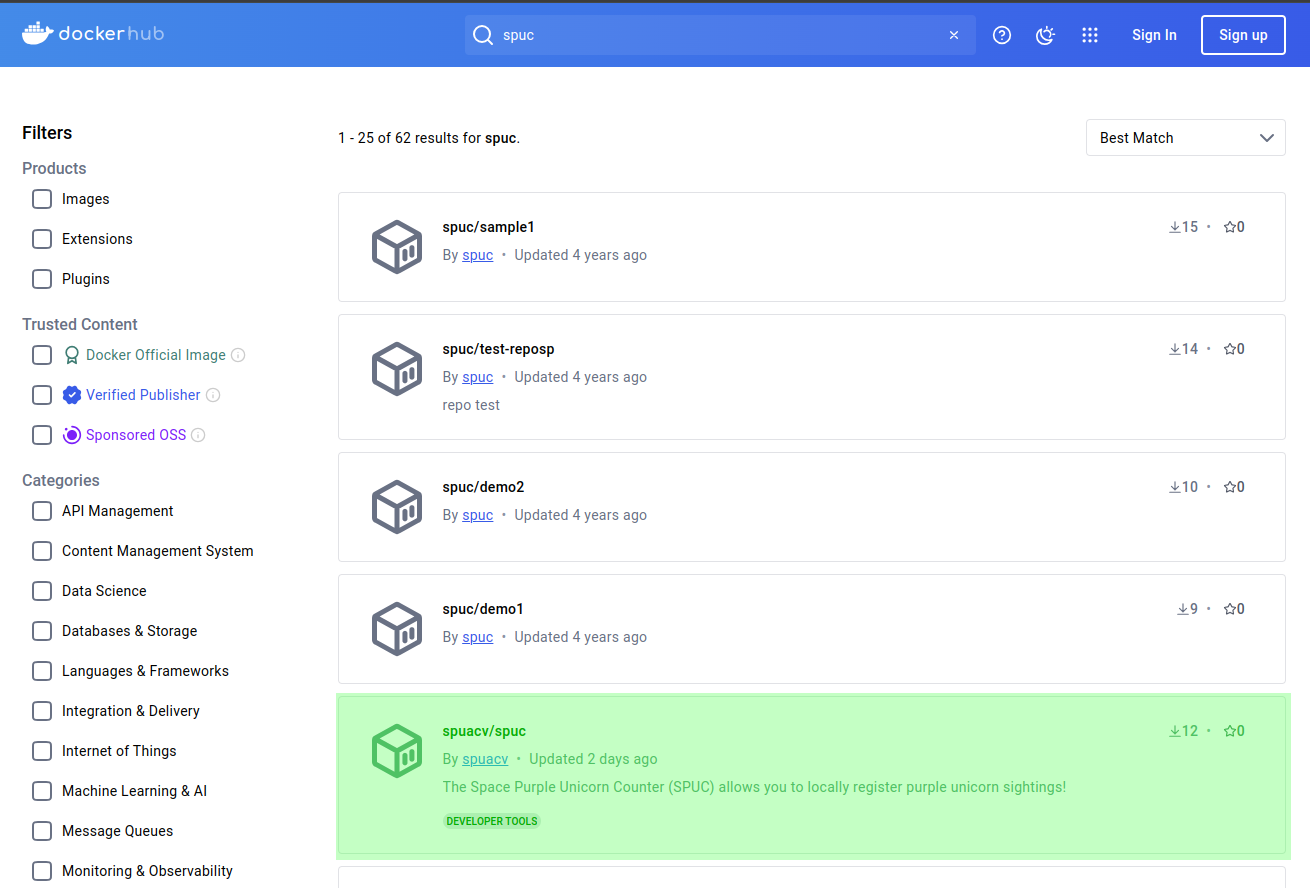
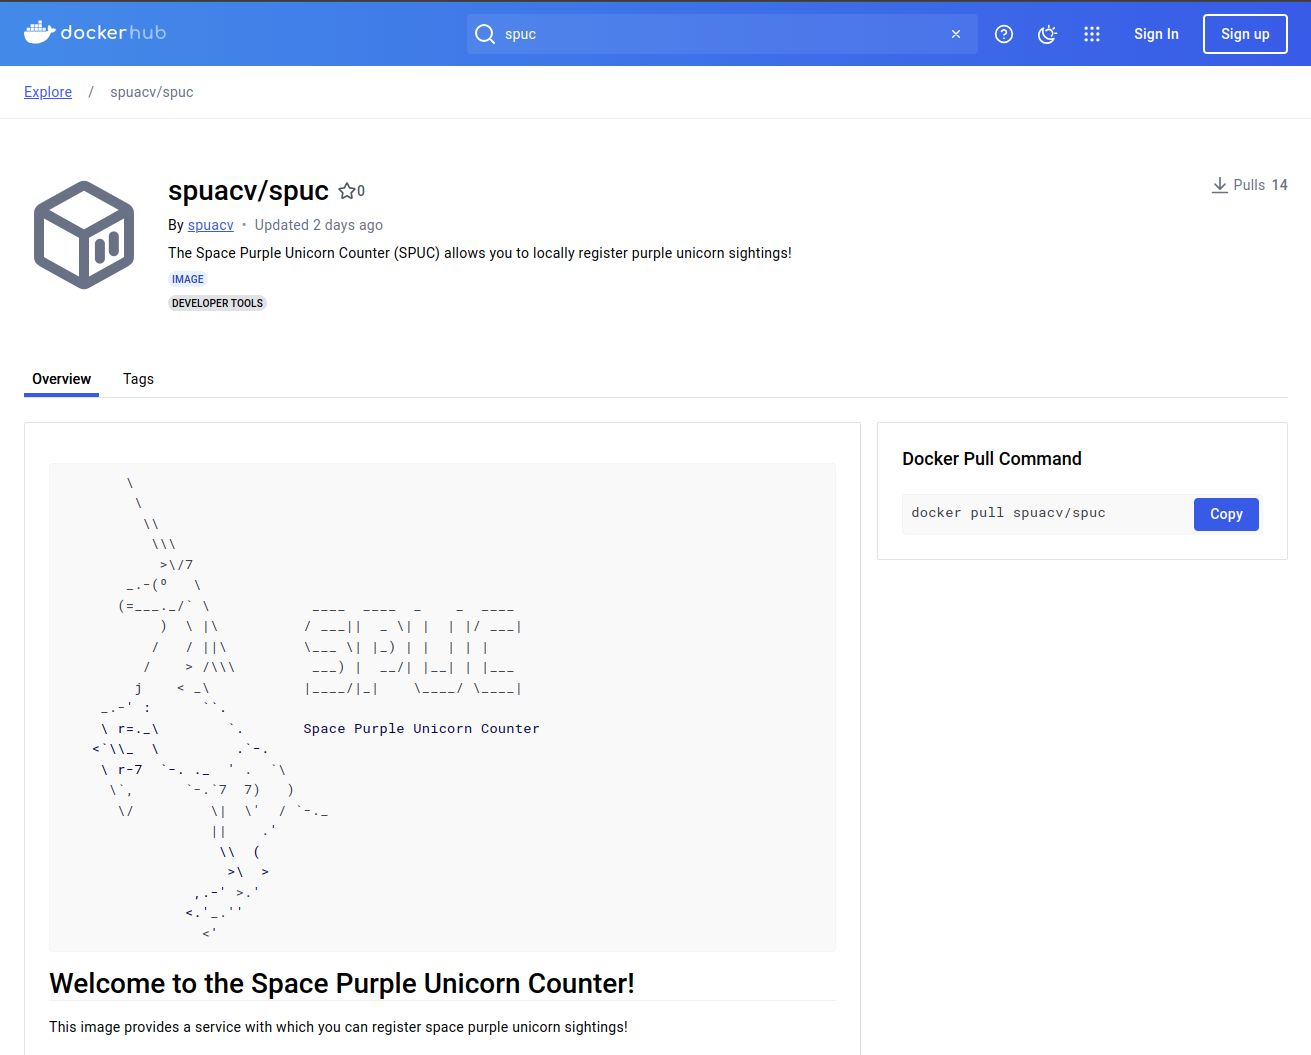
Image 1 of 1: ‘Search and pull of SPUC container - Step 1’
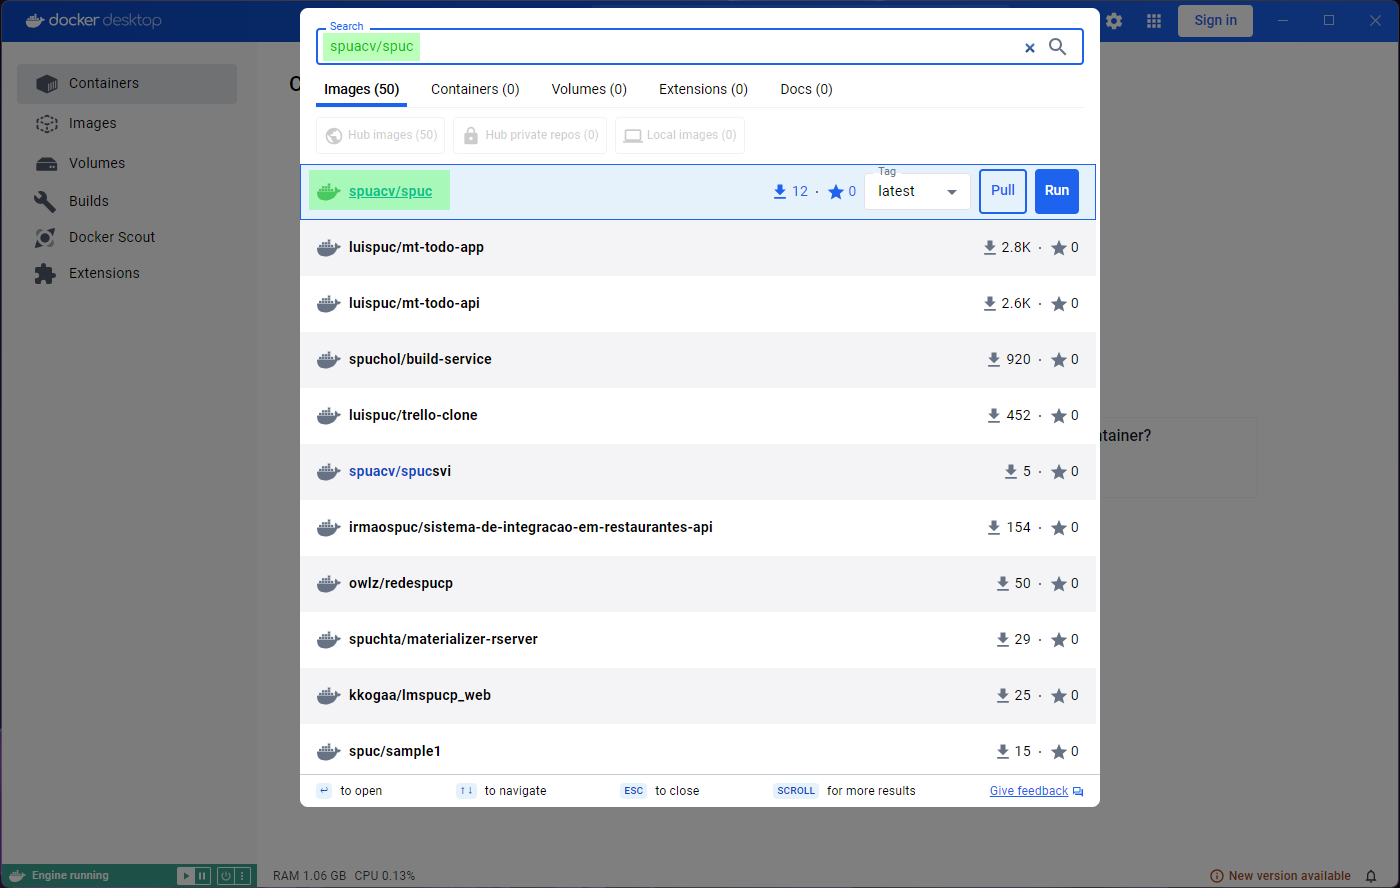
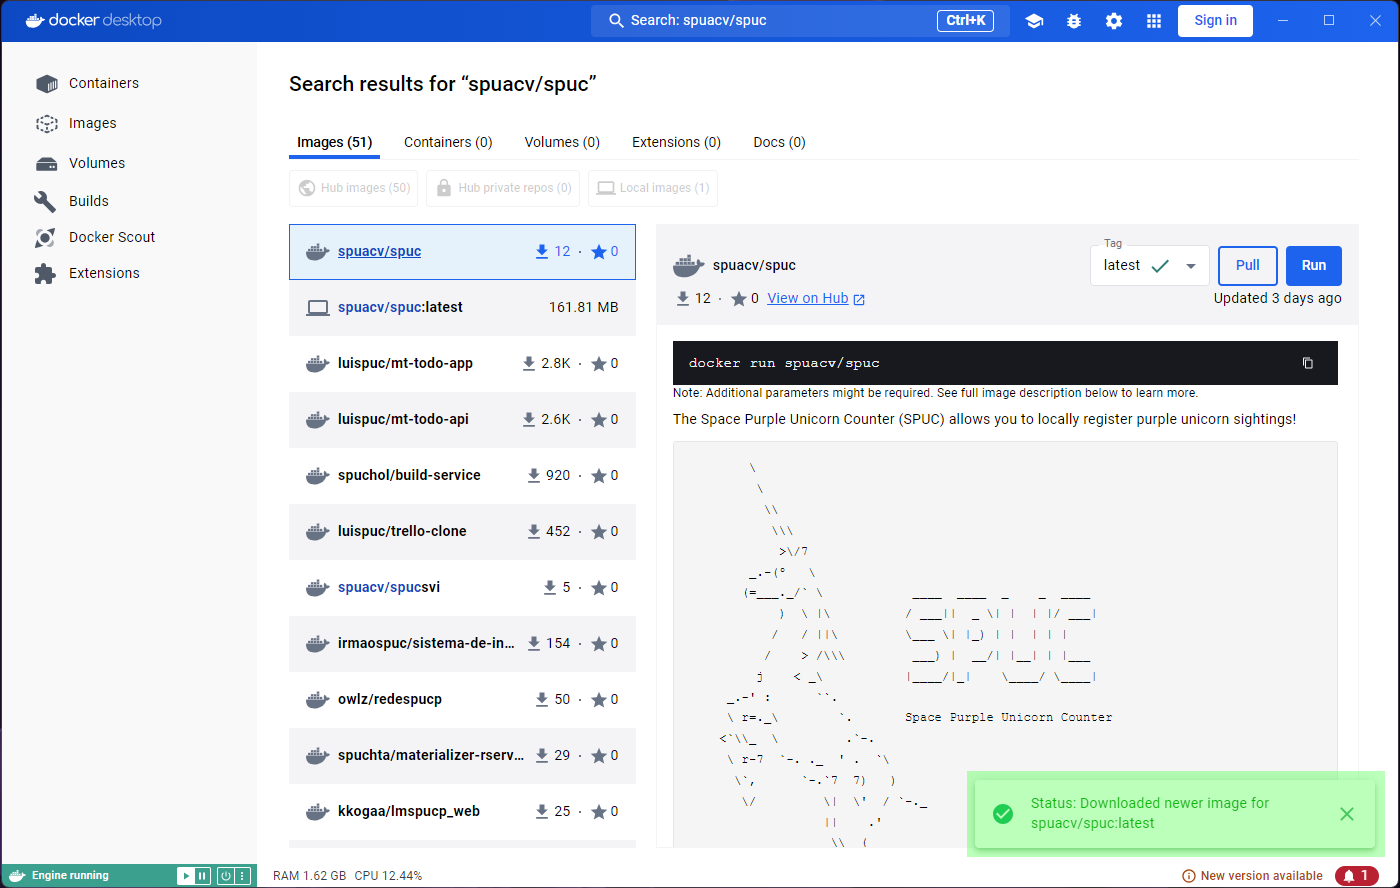
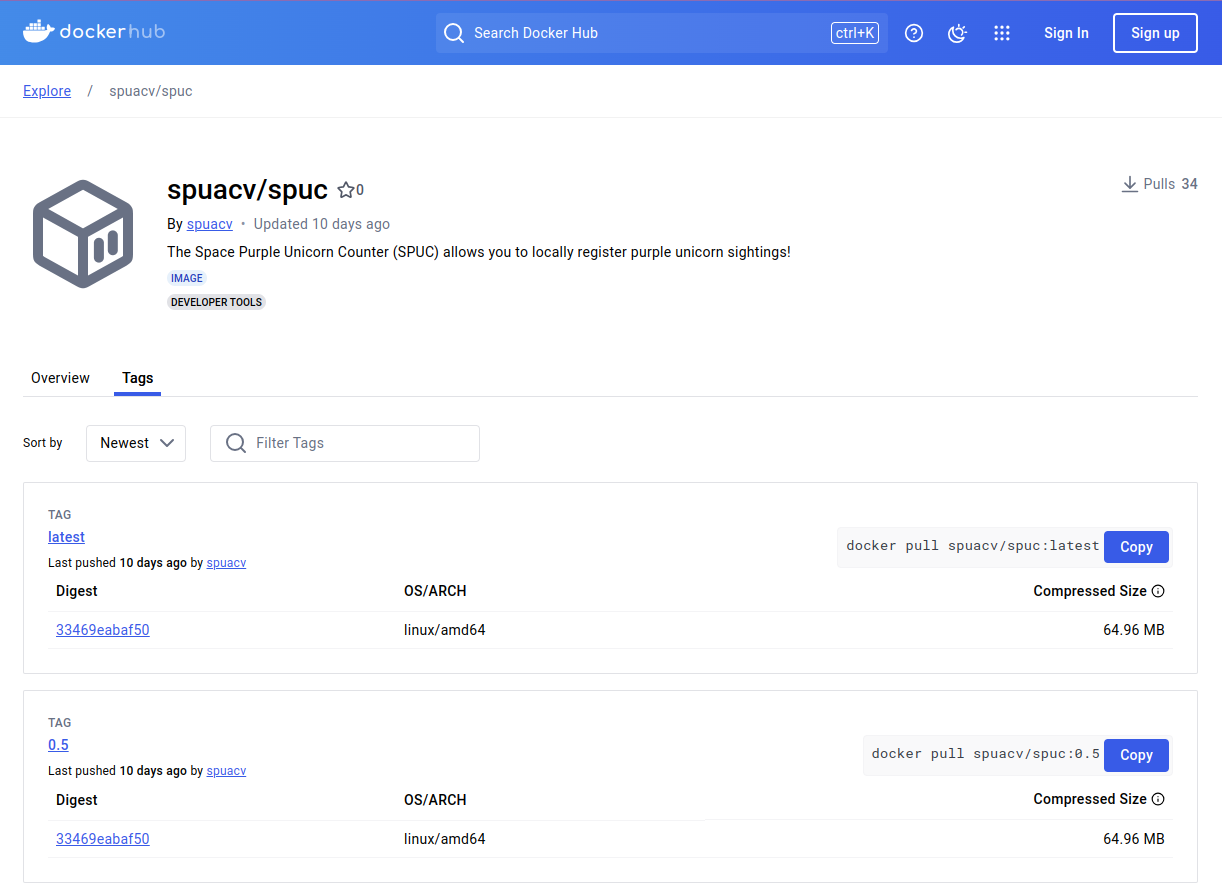
Image 1 of 1: ‘Search and pull of SPUC container - Step 2’
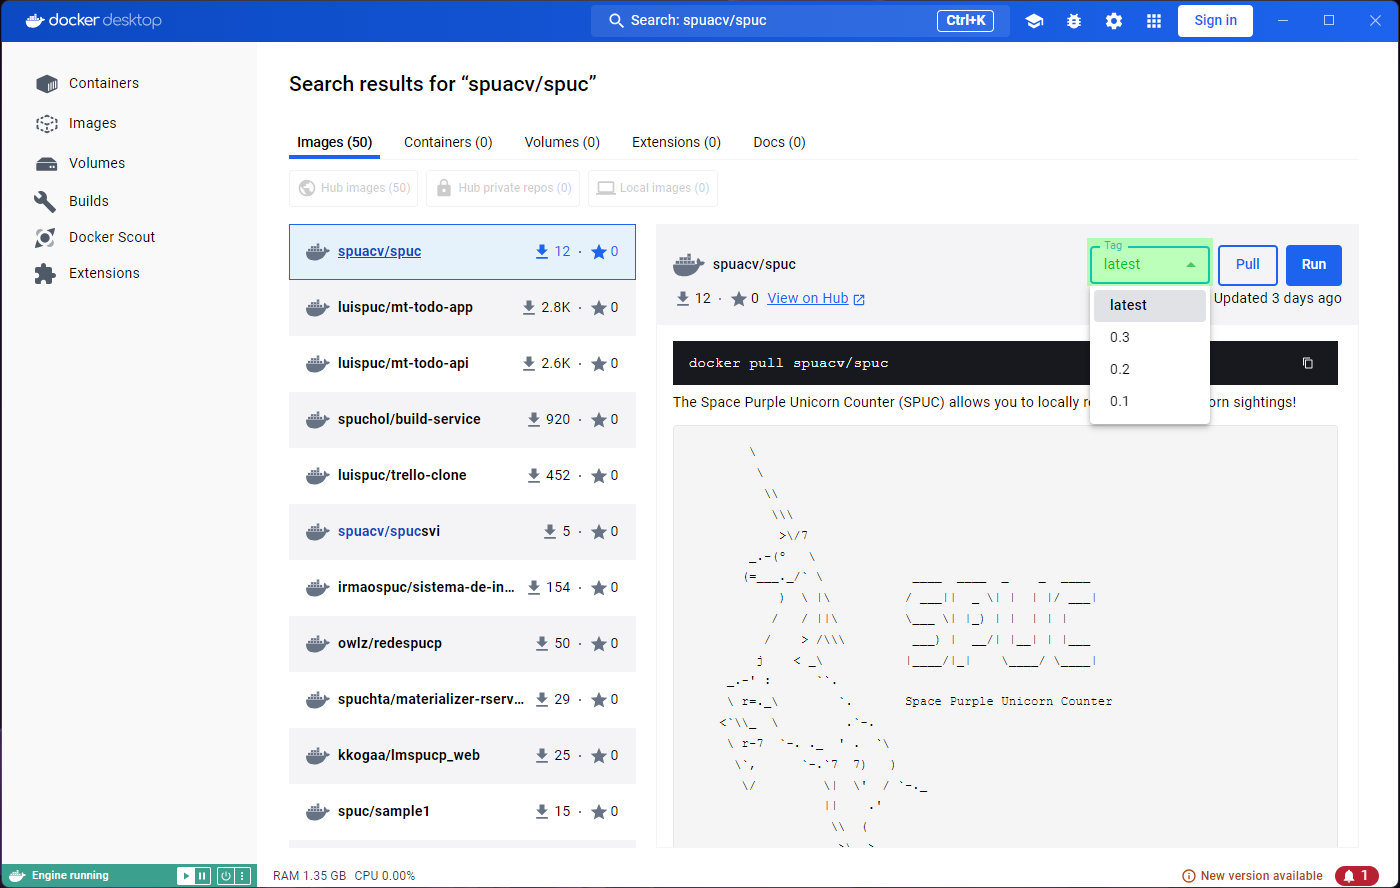
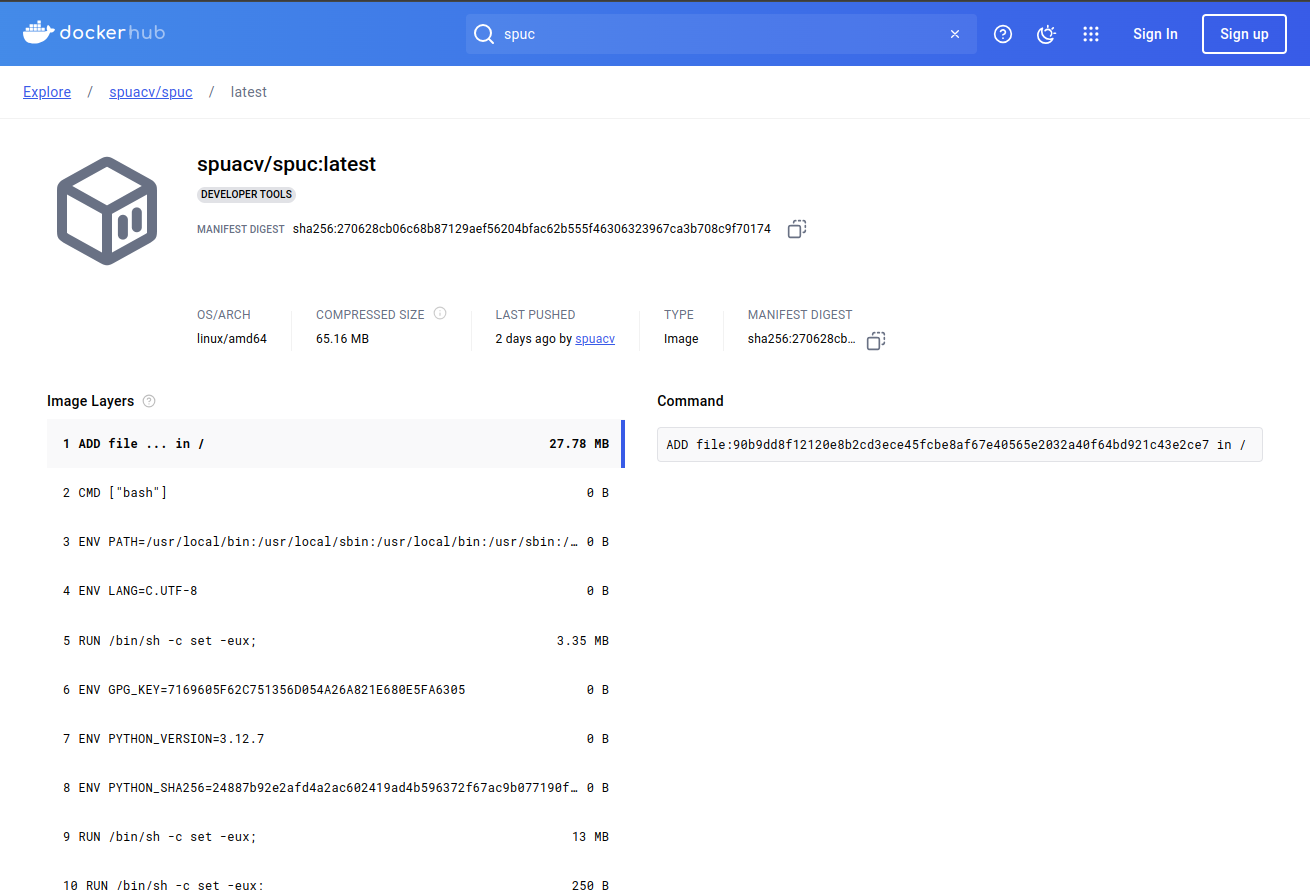
Image 1 of 1: ‘Search and pull of SPUC container - Step 3’
Image 1 of 1: ‘Search and pull of SPUC container - Step 4’
Image 1 of 1: ‘Search and pull of SPUC container - Step 5’
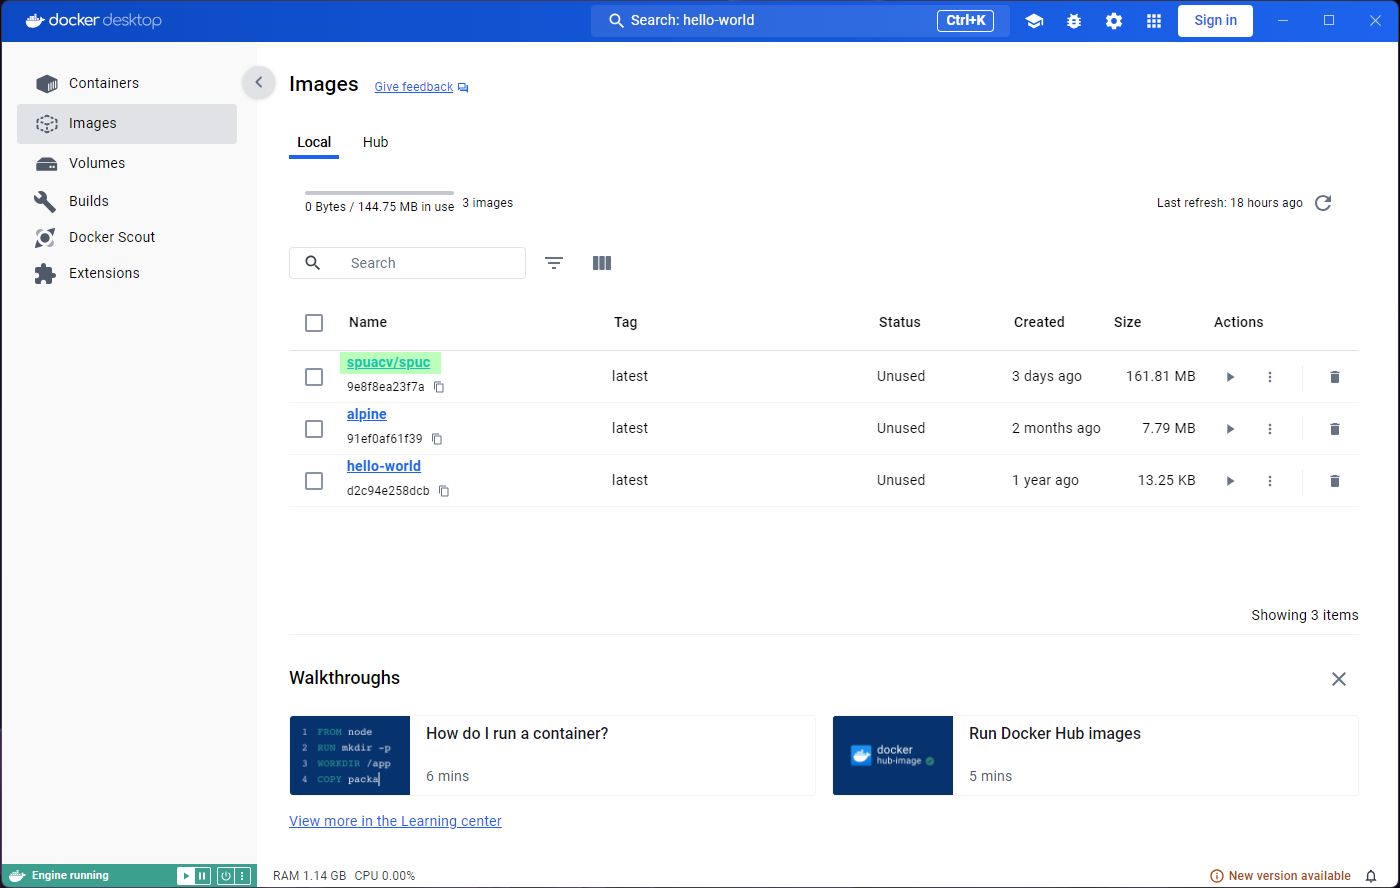
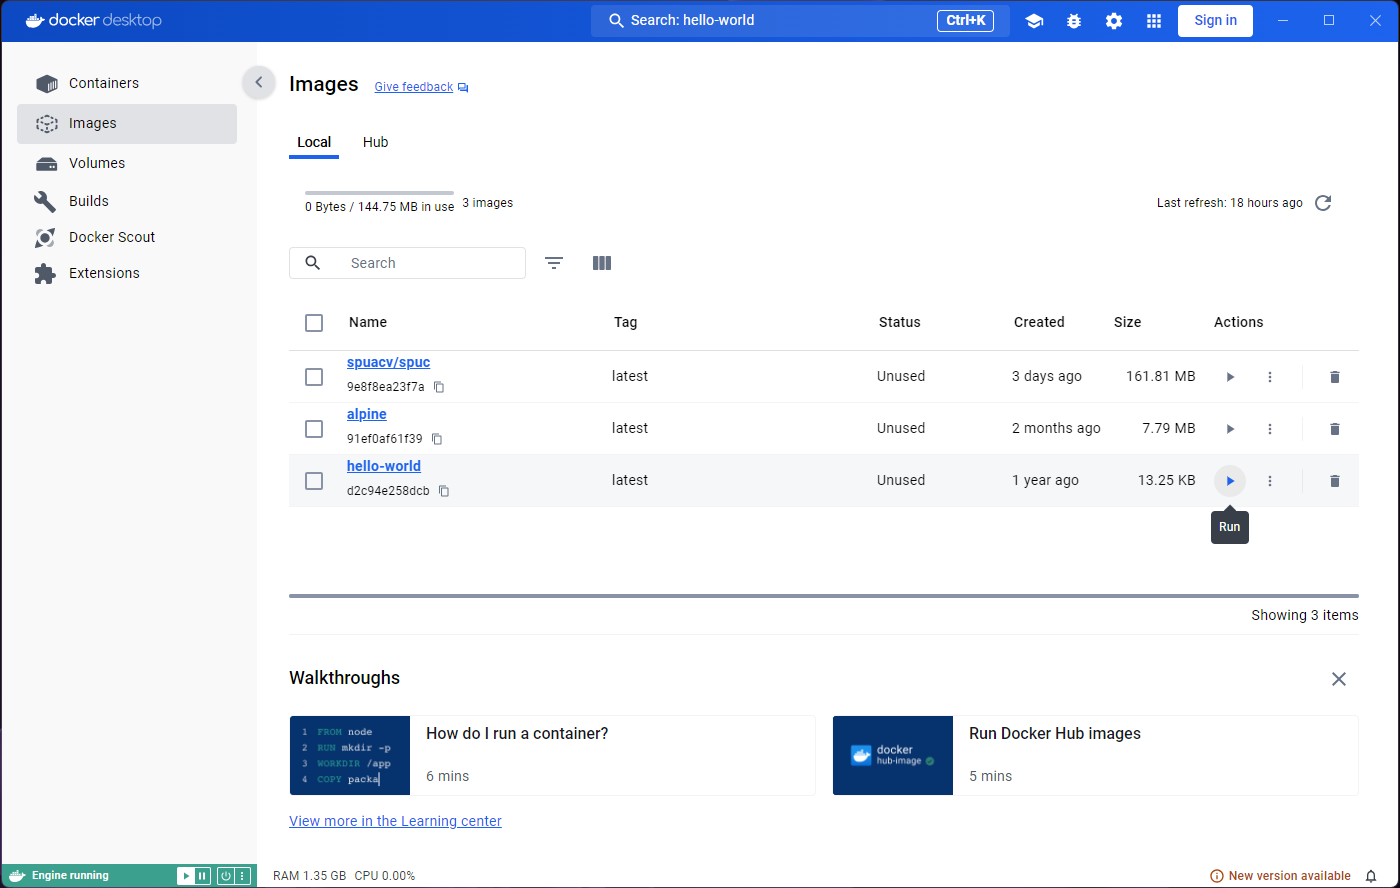
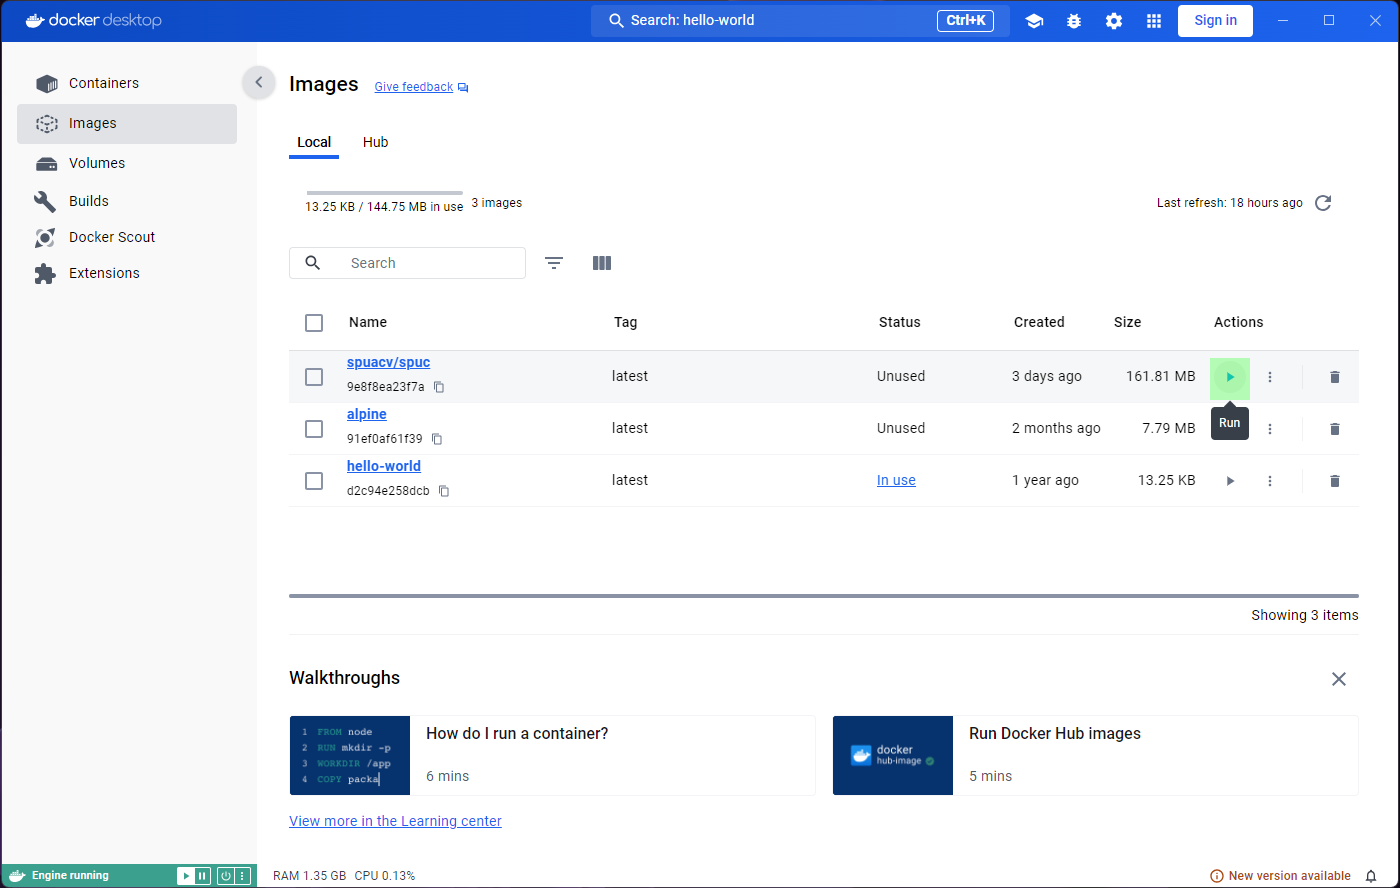
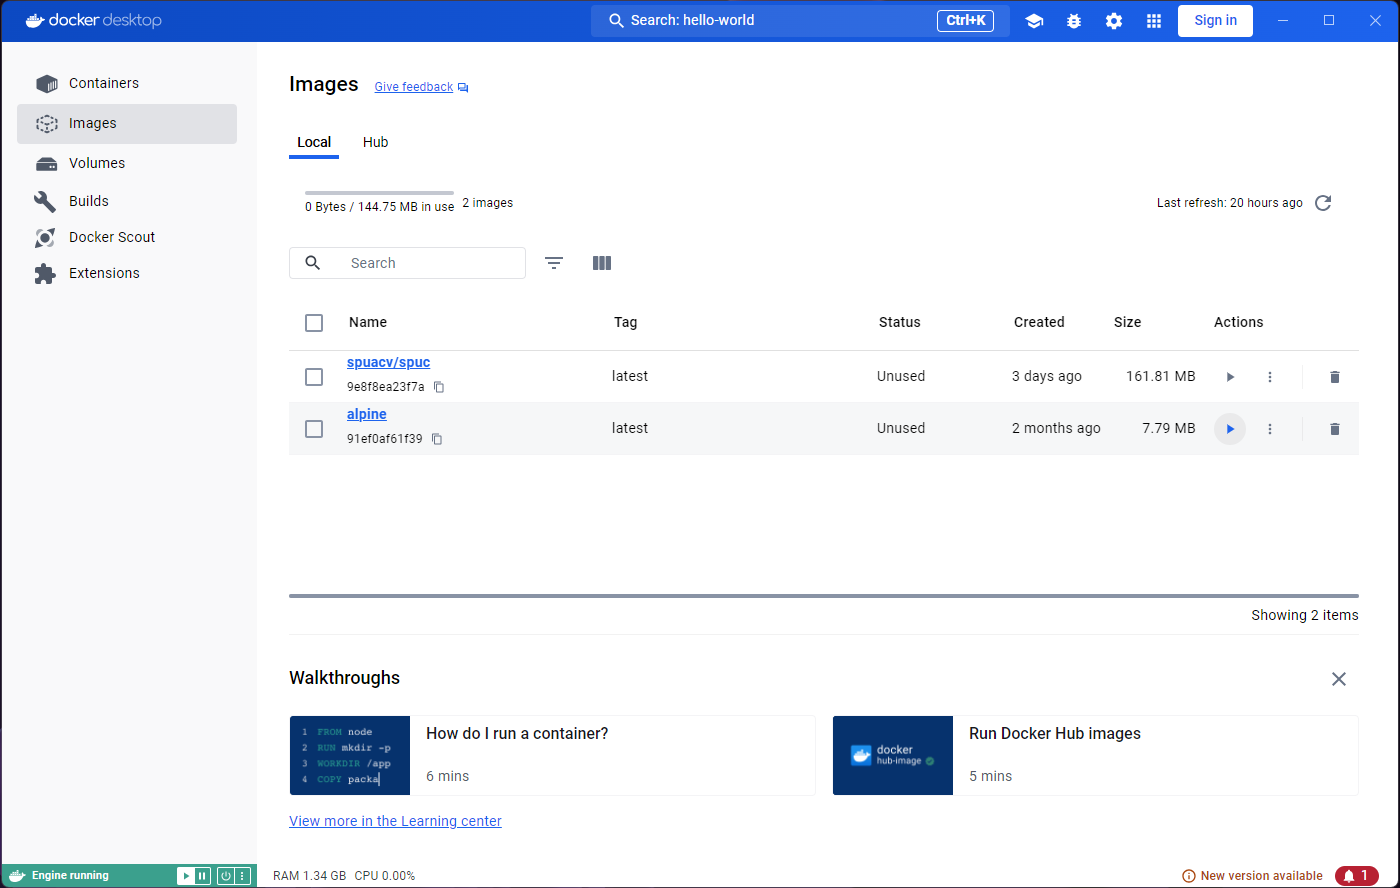
Image 1 of 1: ‘Images list showing spuc, alpine and hello-world.’
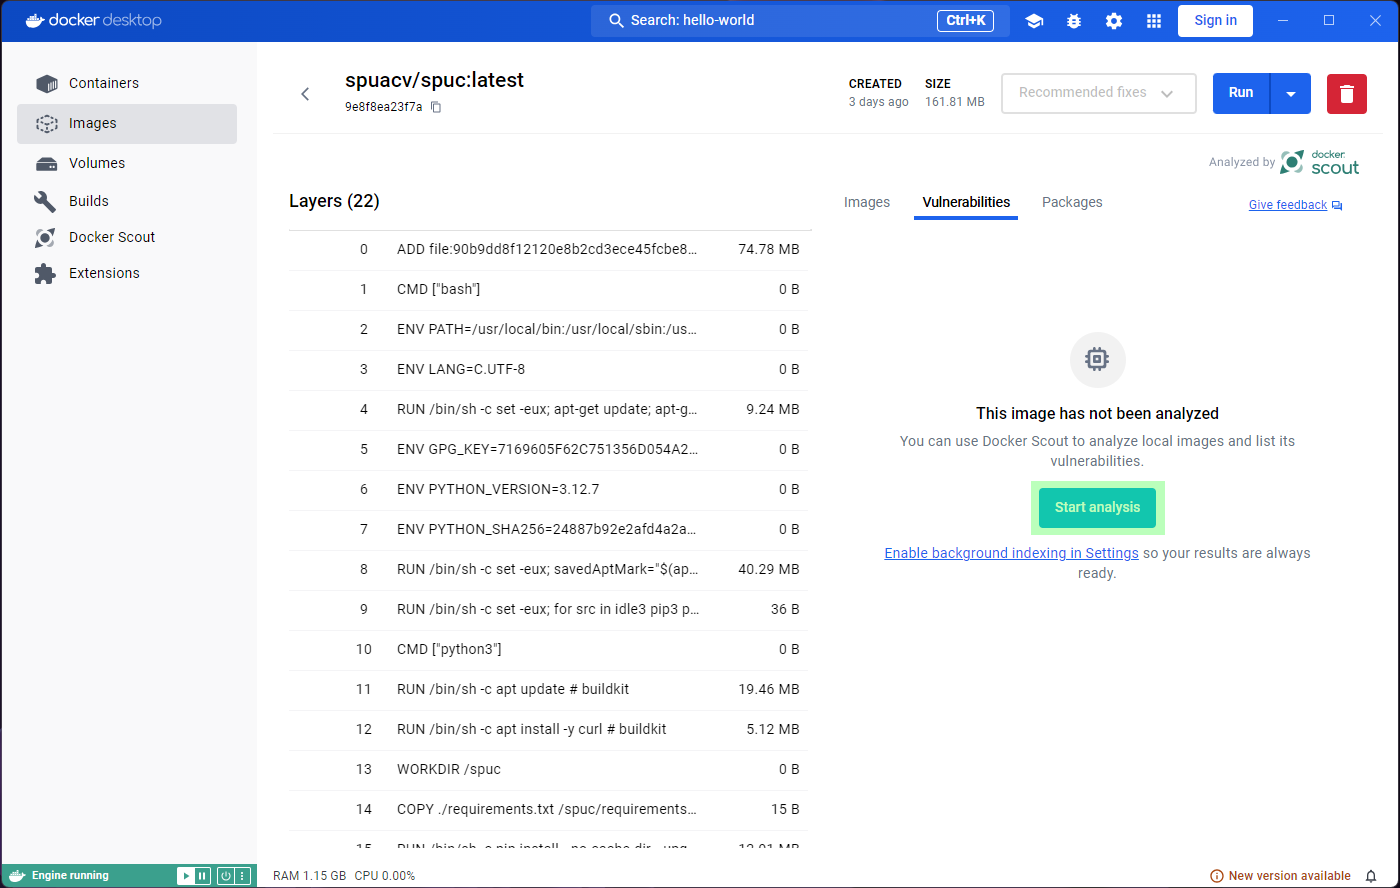
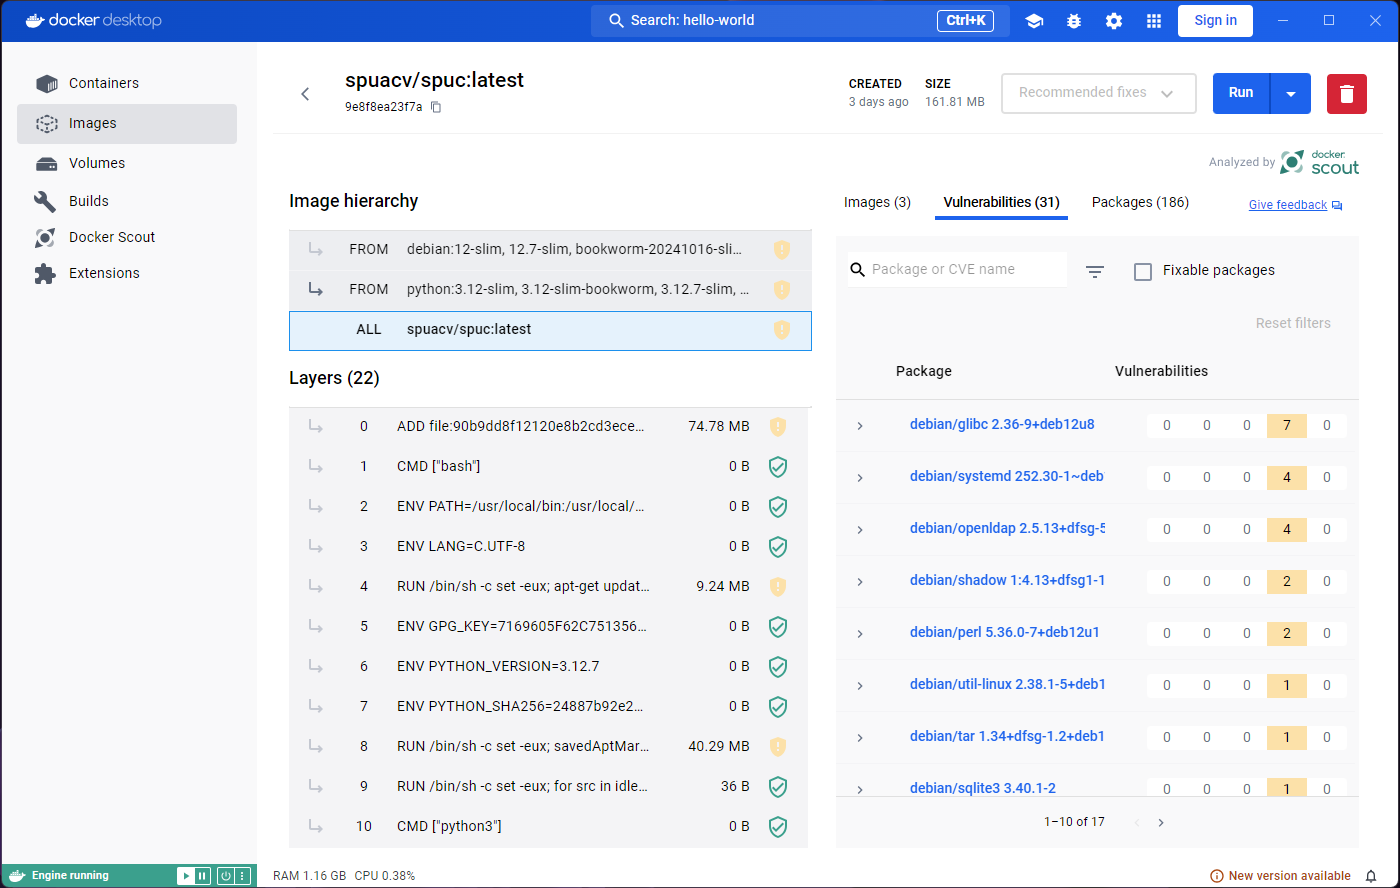
Image 1 of 1: ‘Inspecting spuc image - Step 1’
Image 1 of 1: ‘Inspecting spuc image - Step 2’
Image 1 of 1: ‘Inspecting spuc image - Step 3’
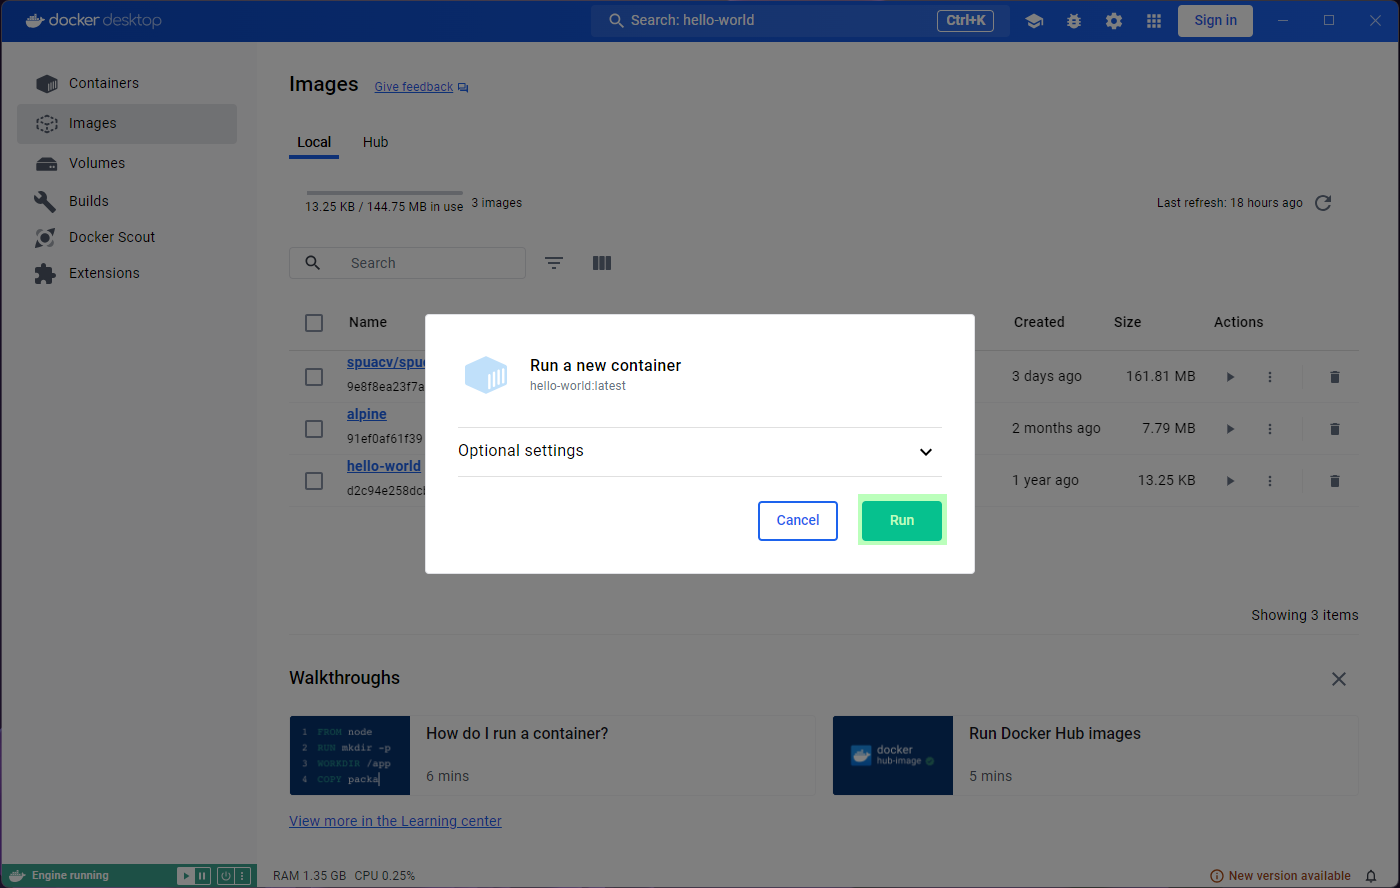
Image 1 of 1: ‘Run button from Images tab.’
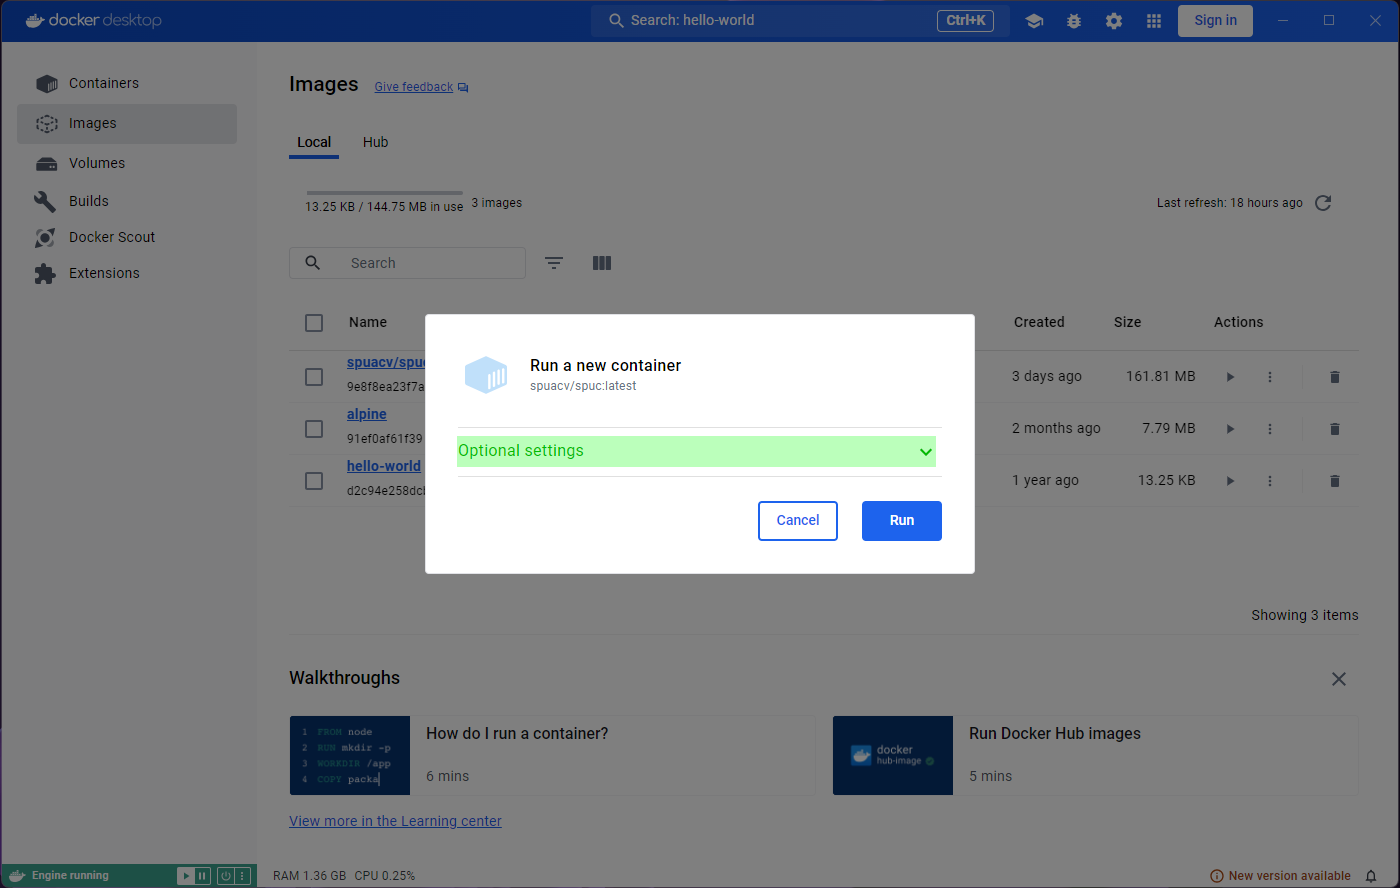
Image 1 of 1: ‘Run confirmation prompt.’
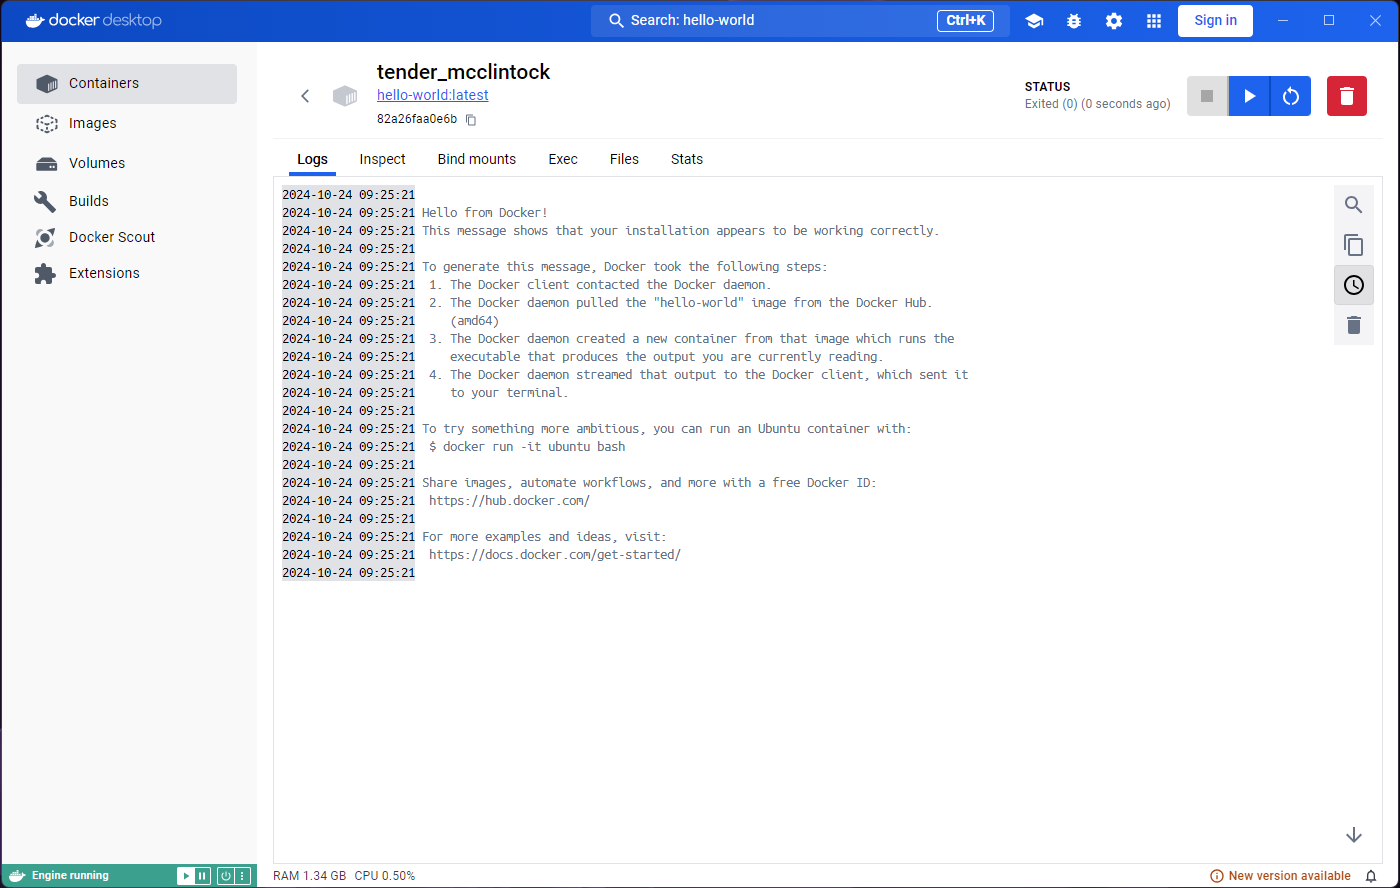
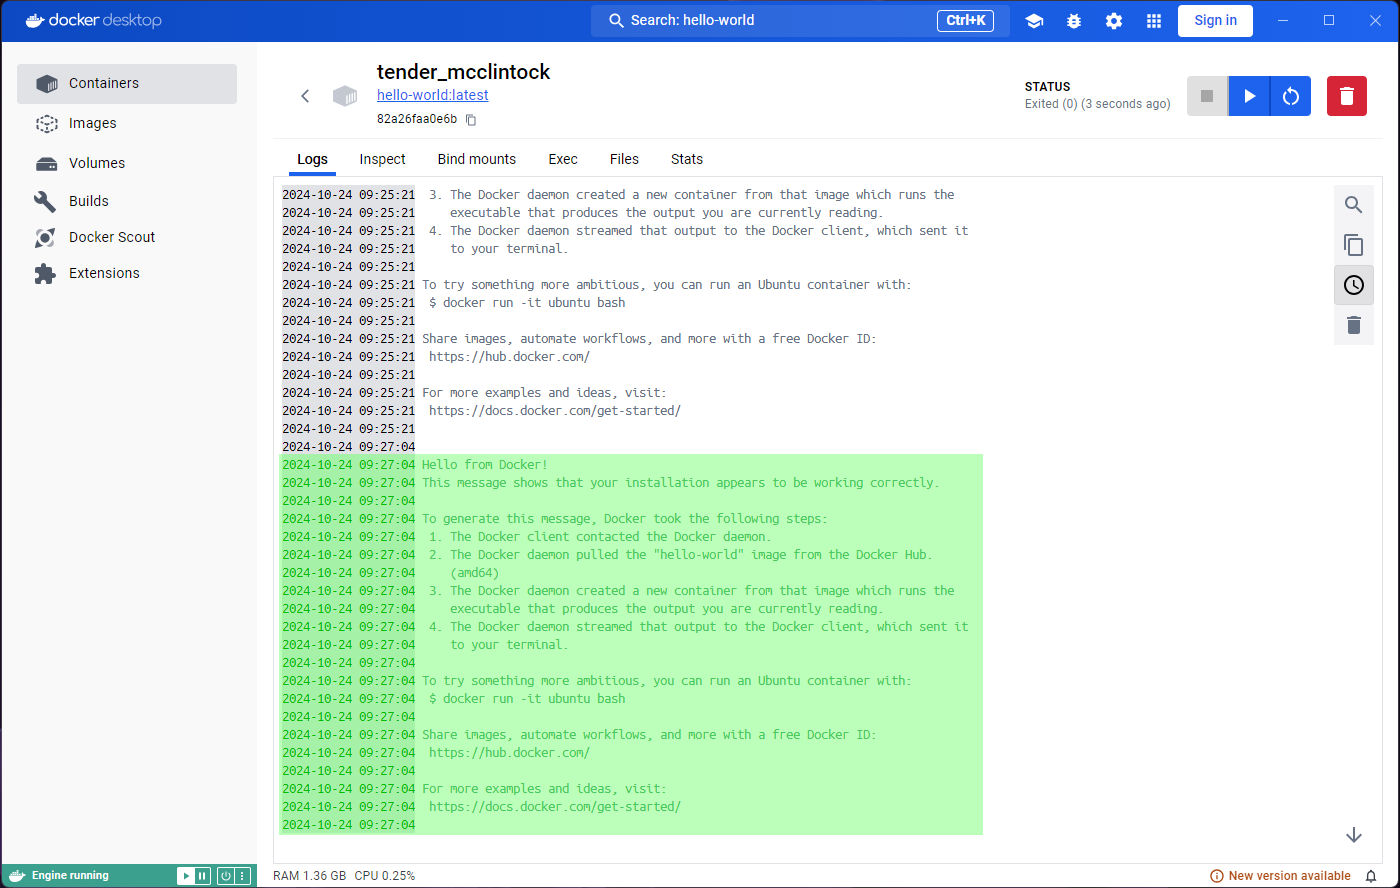
Image 1 of 1: ‘Logs tab in container from hello-world image.’
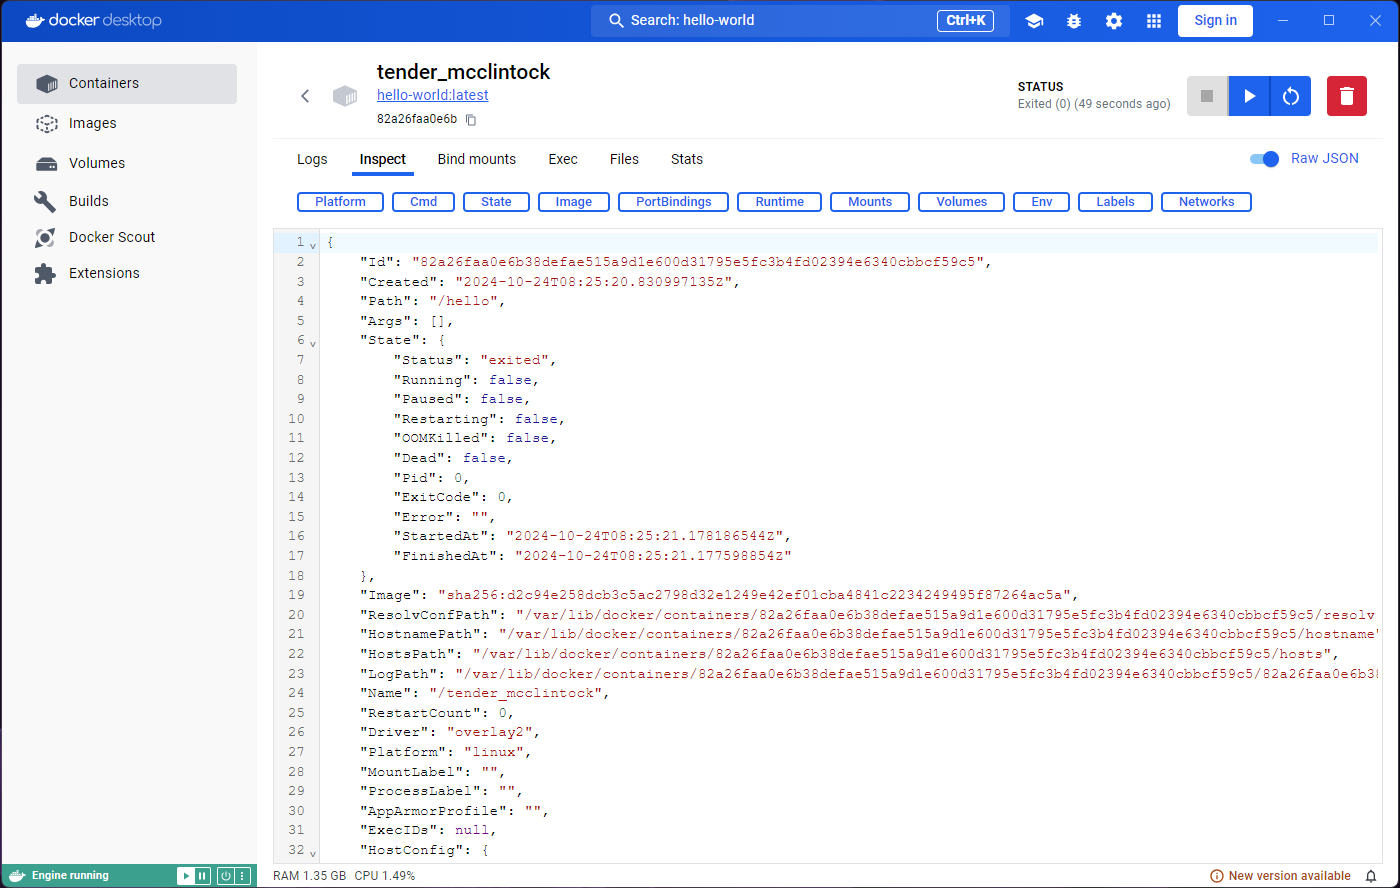
Image 1 of 1: ‘Inspect tab in container from hello-world image.’
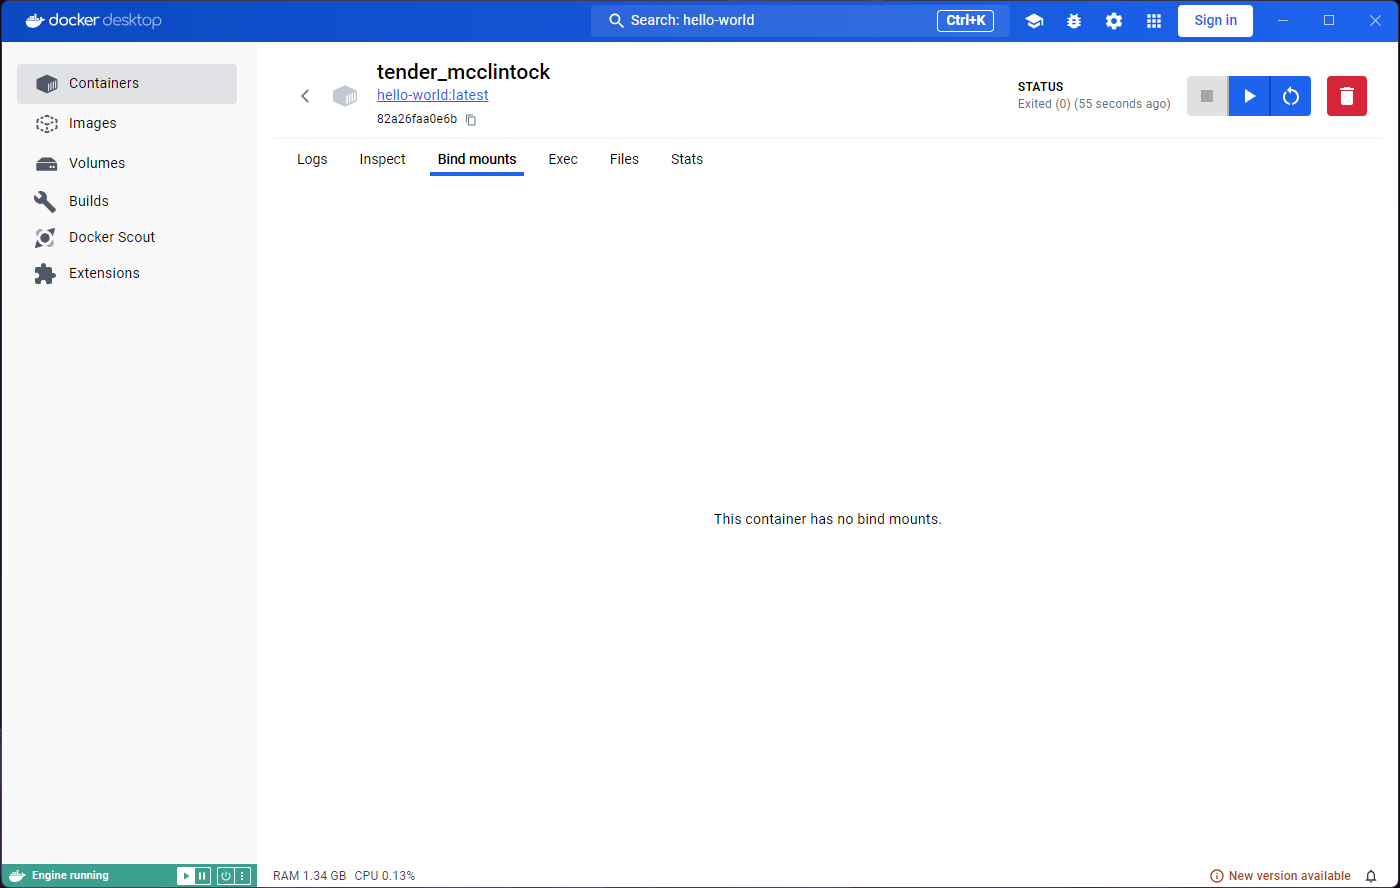
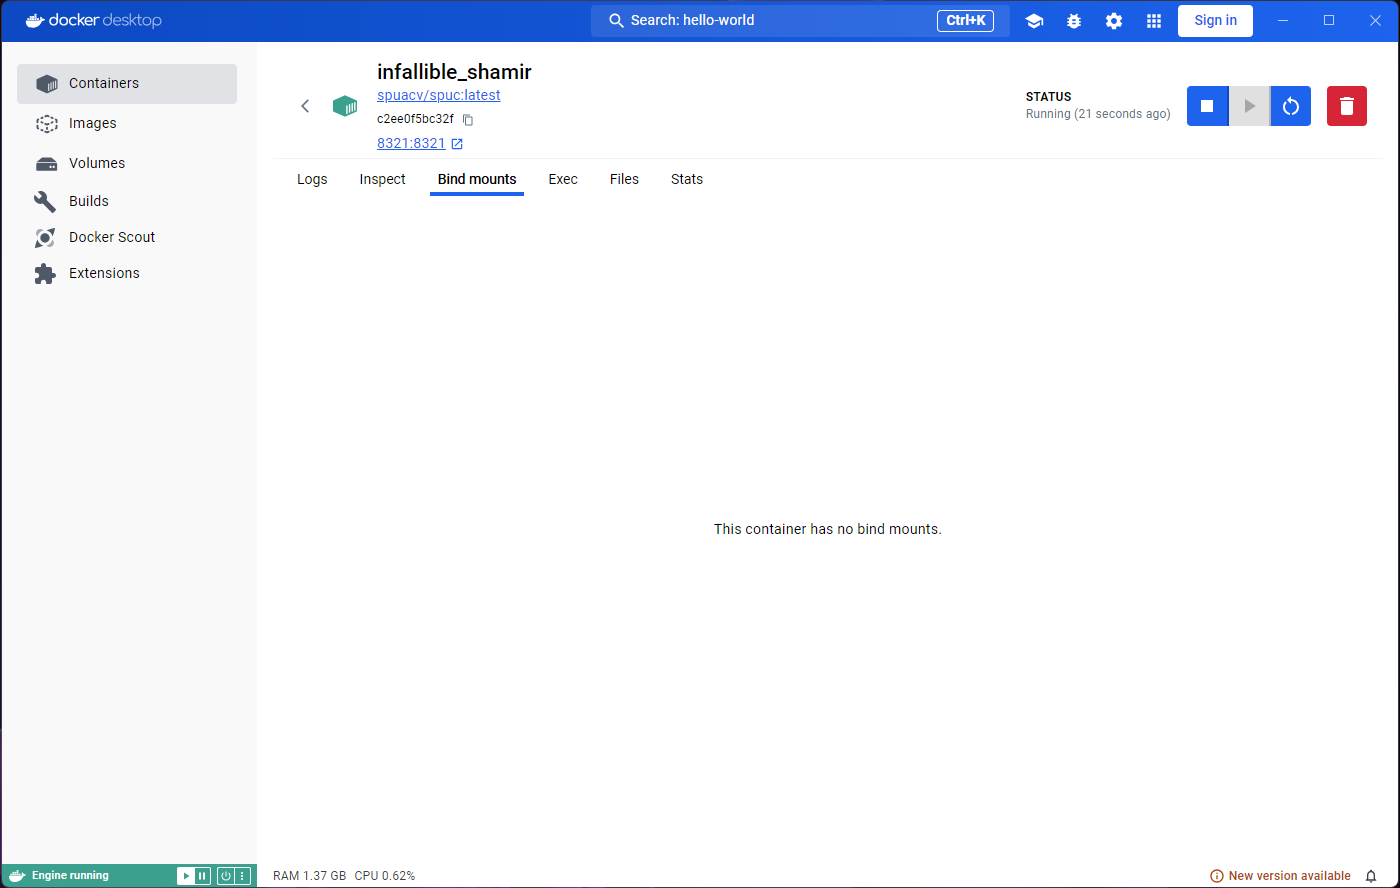
Image 1 of 1: ‘Bind mounts tab in container from hello-world image.’
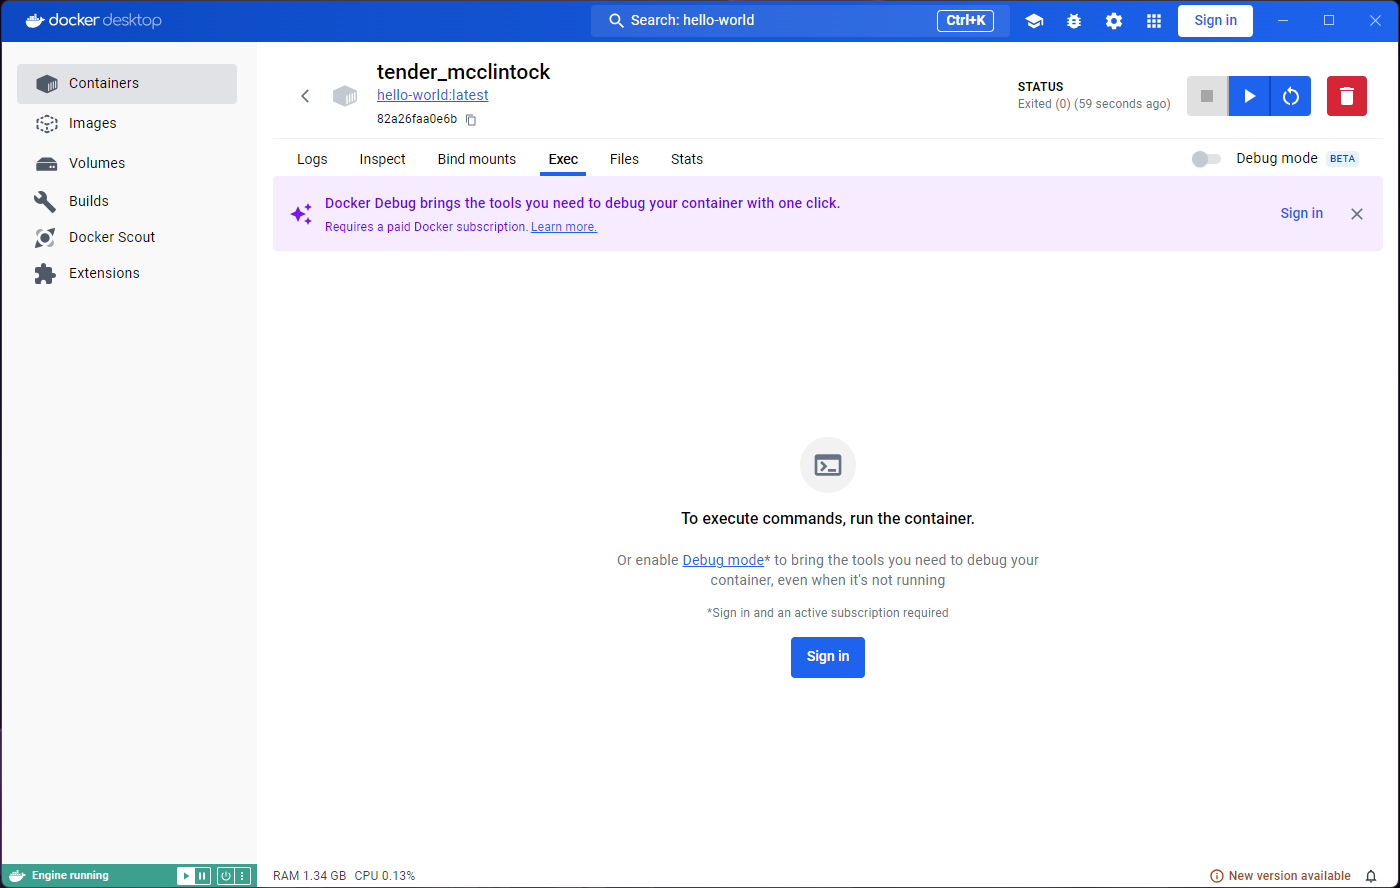
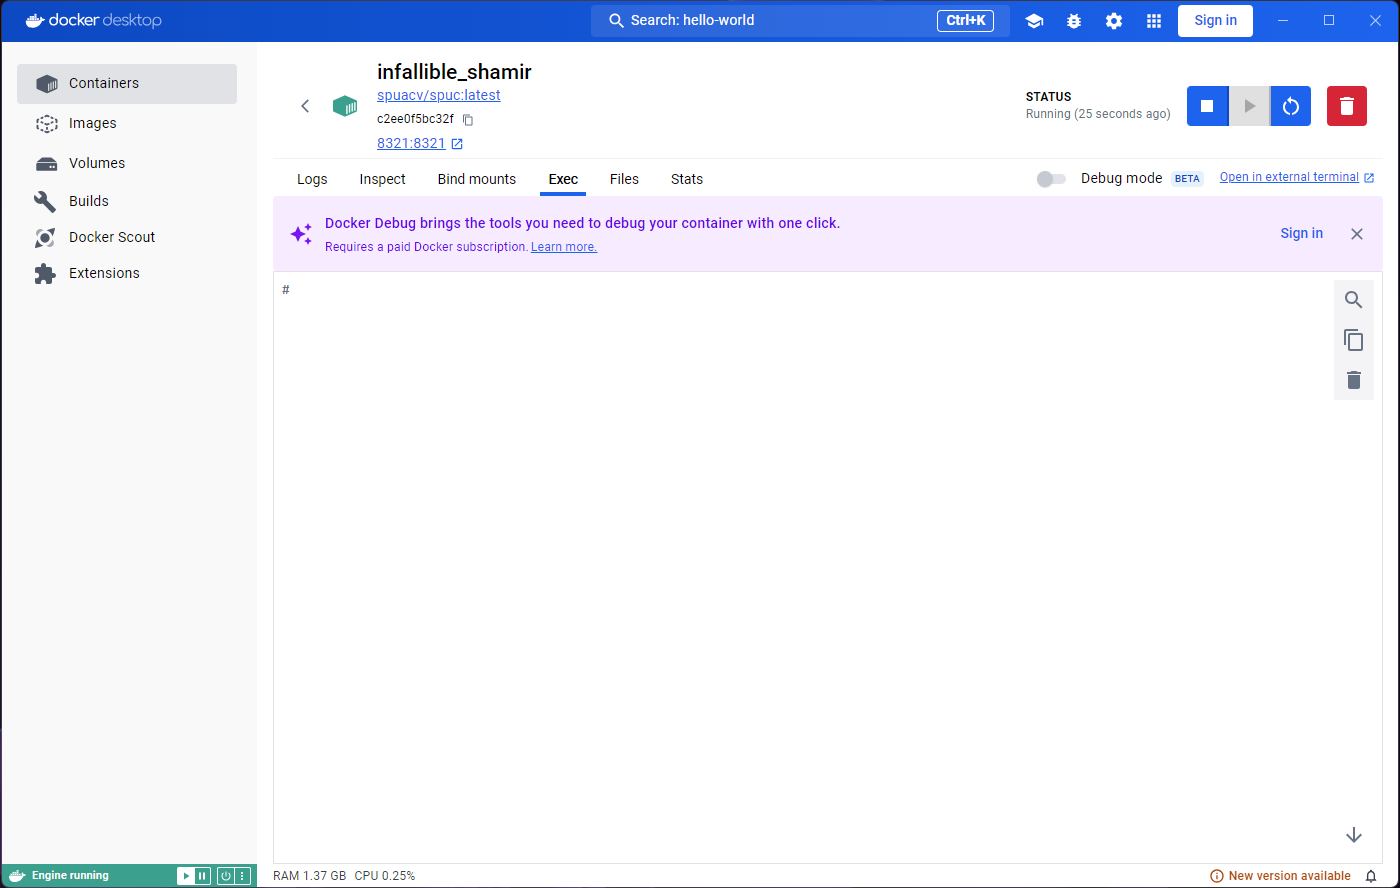
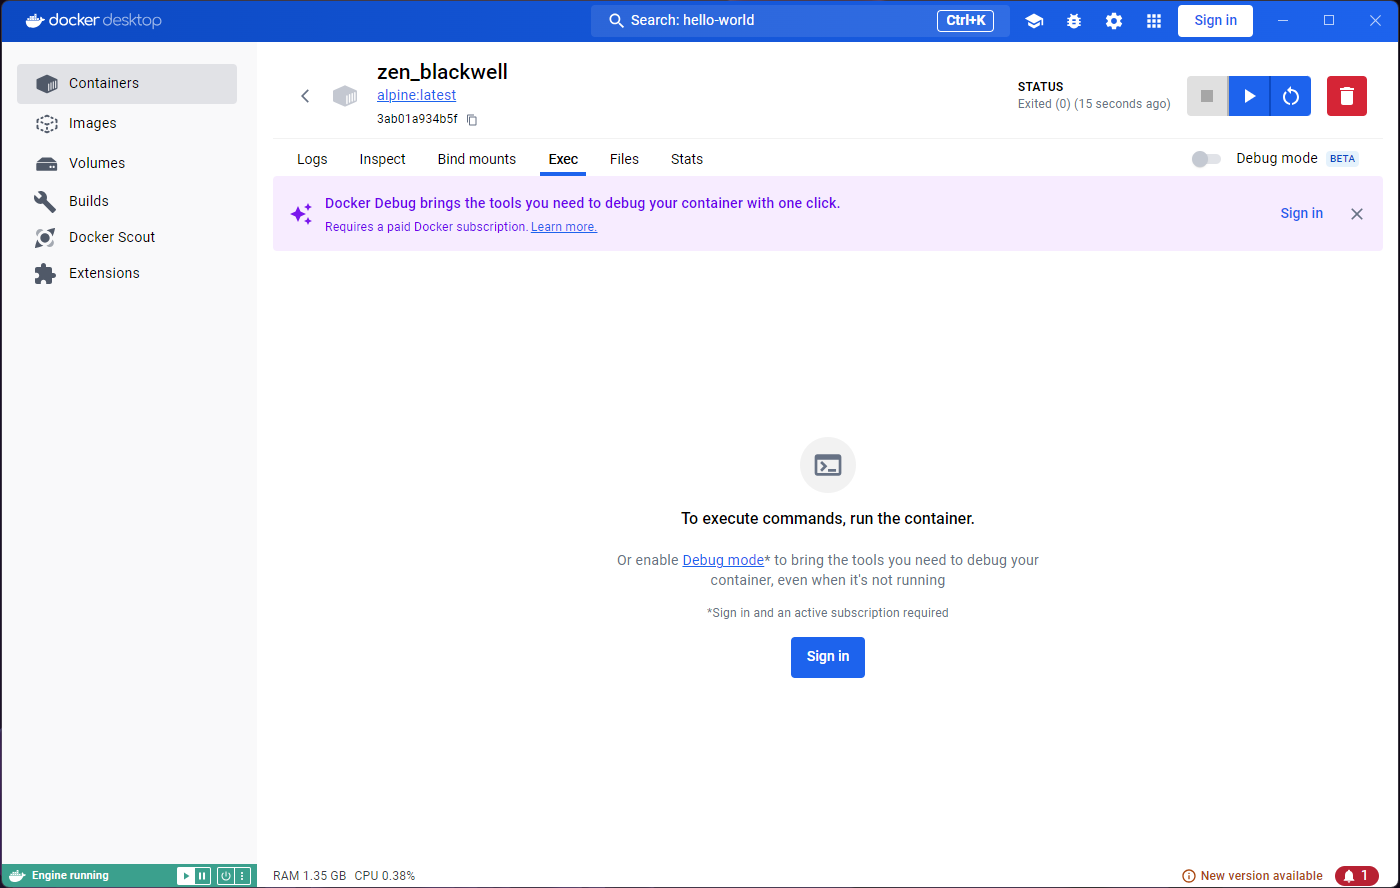
Image 1 of 1: ‘Exec tab in container from hello-world image.’
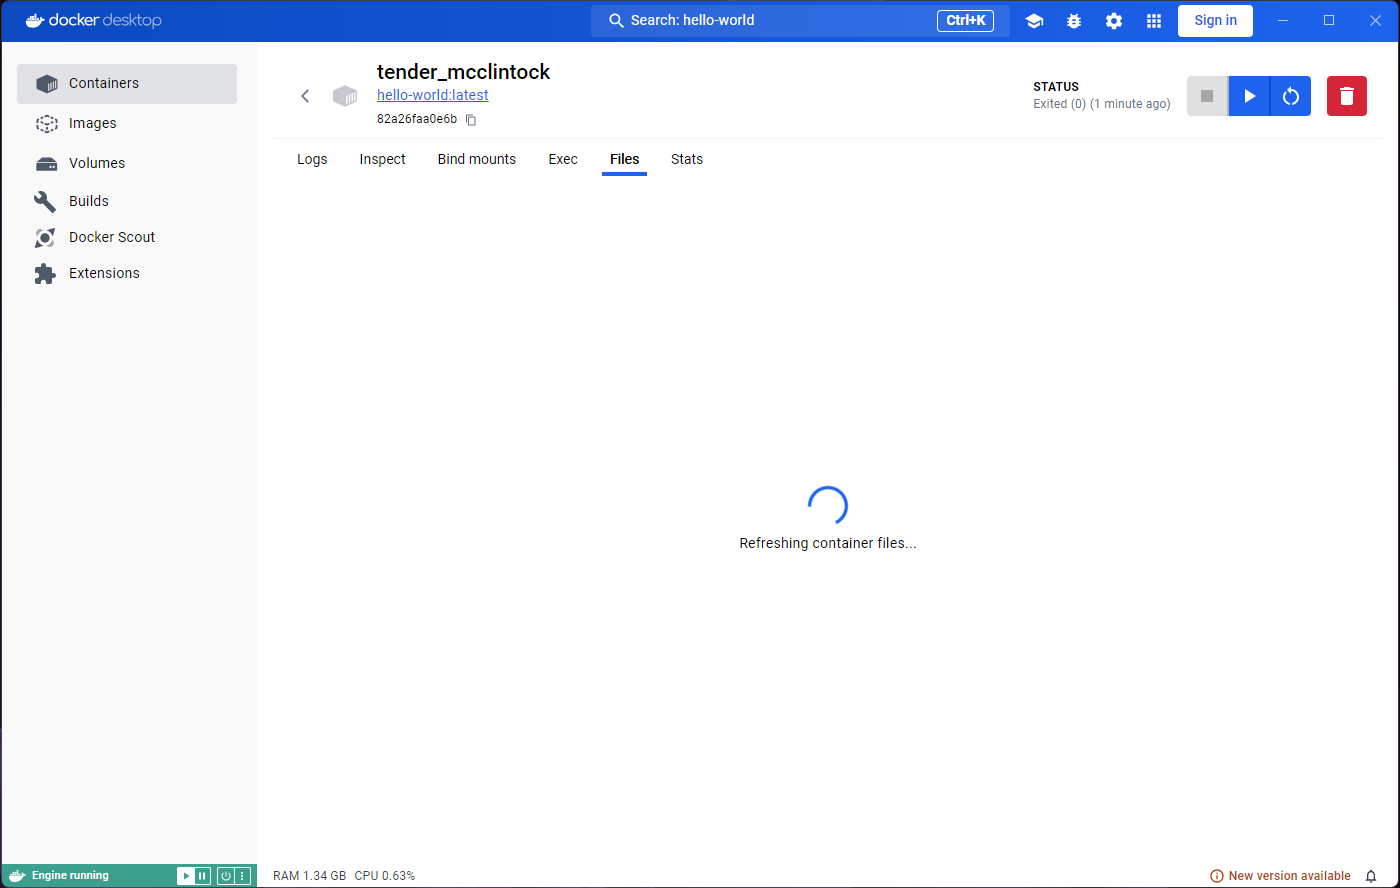
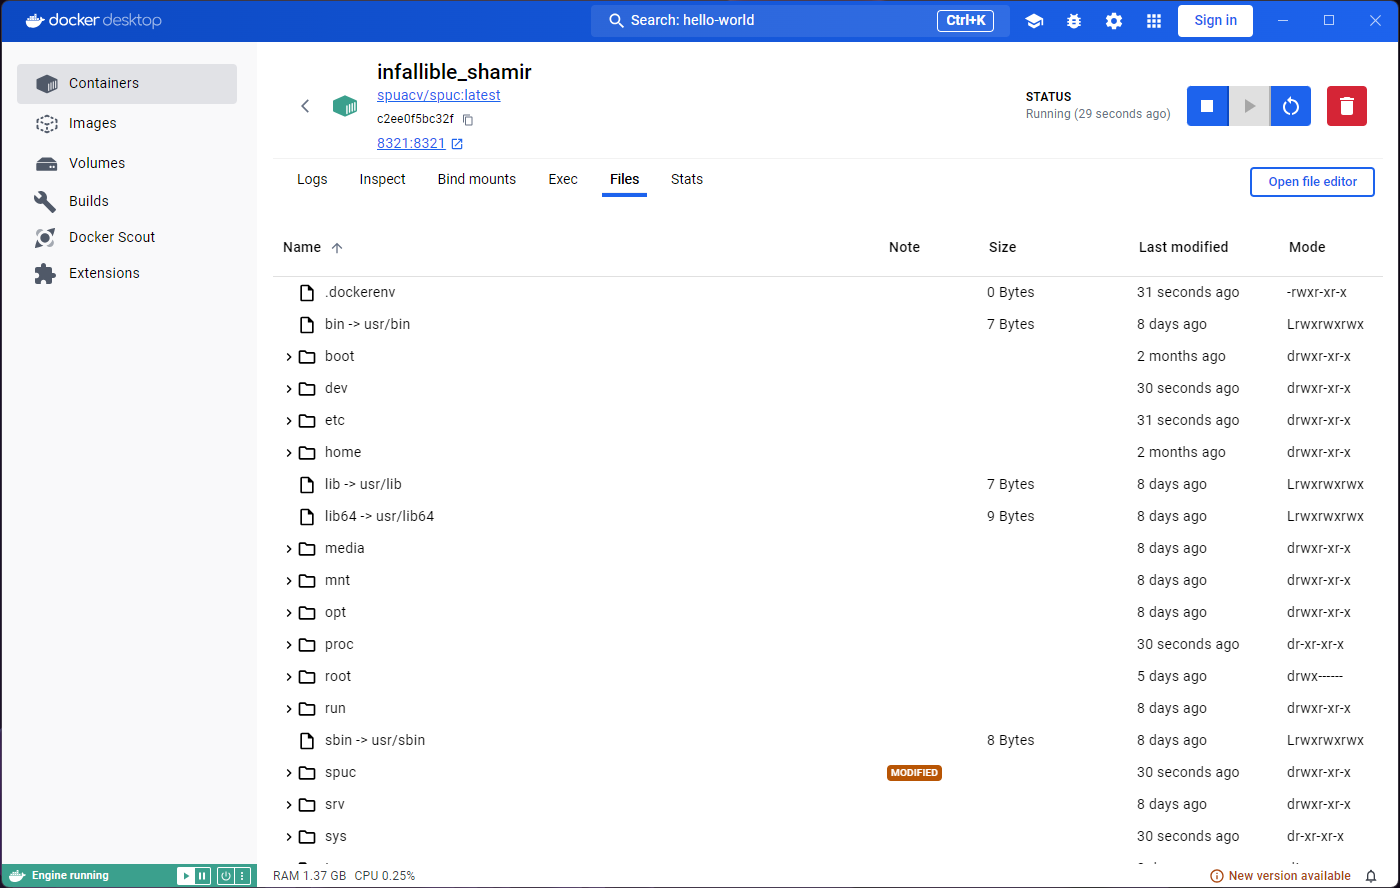
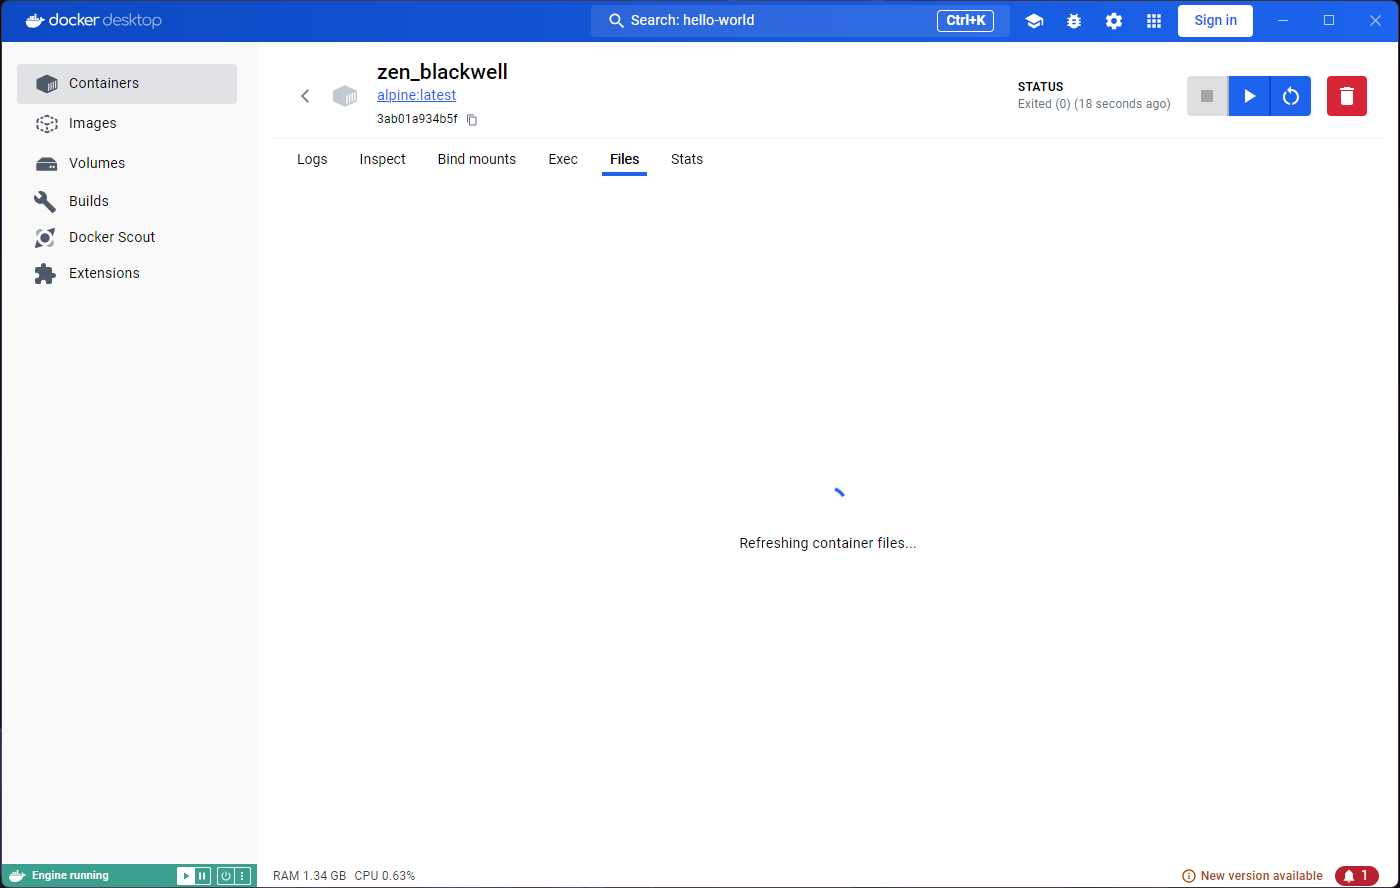
Image 1 of 1: ‘Files tab in container from hello-world image.’
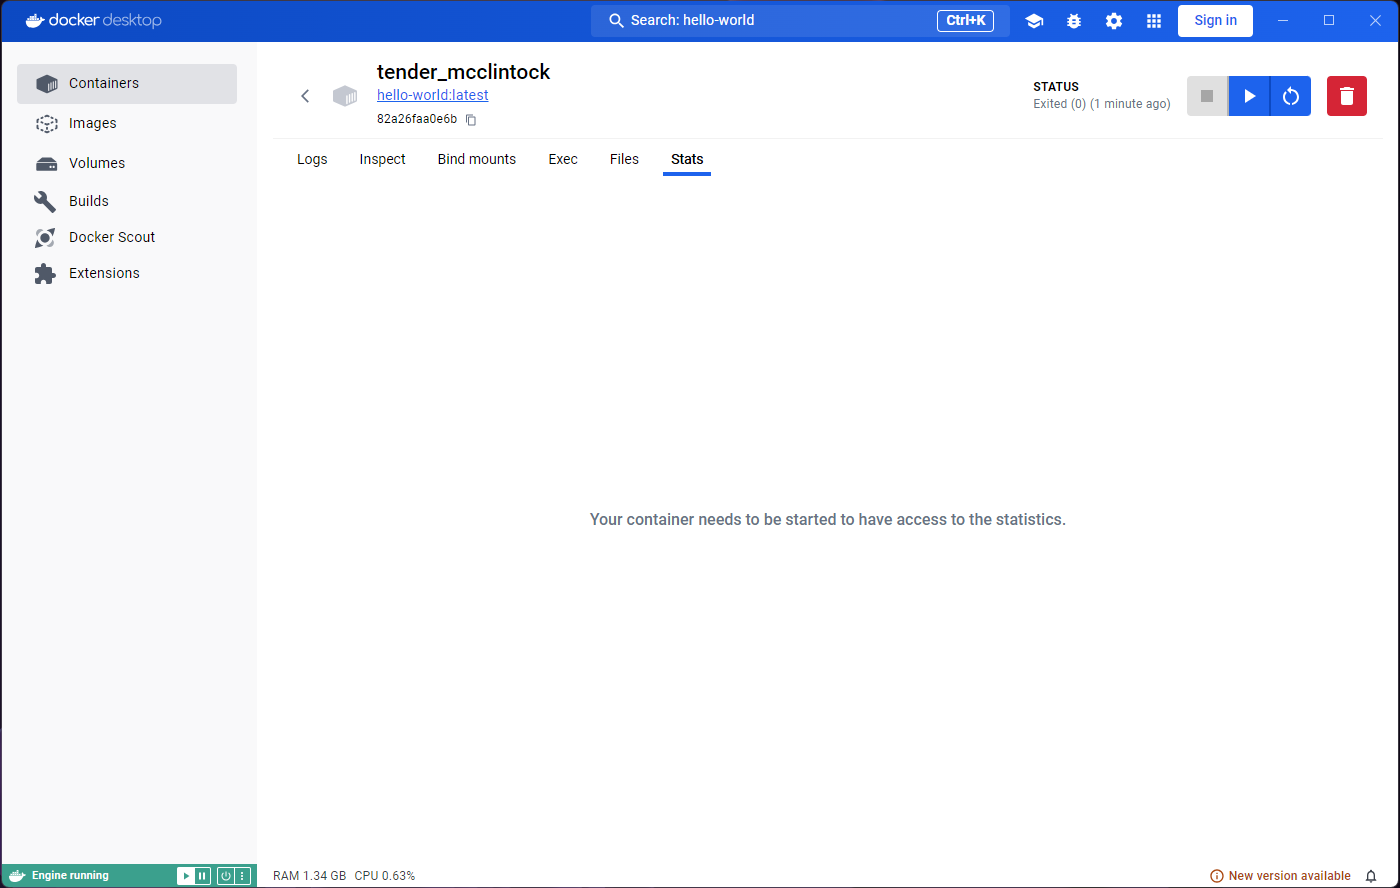
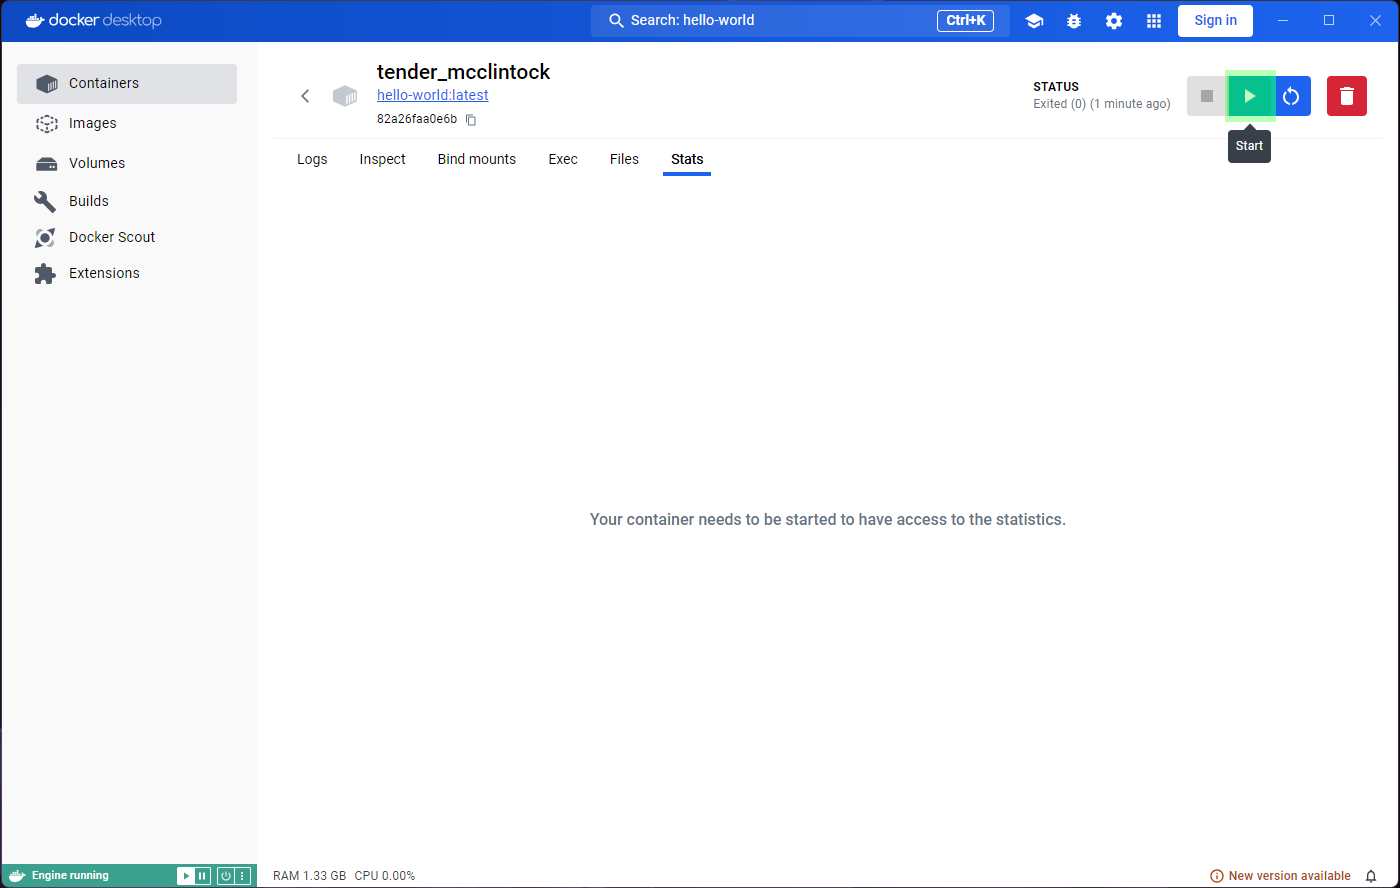
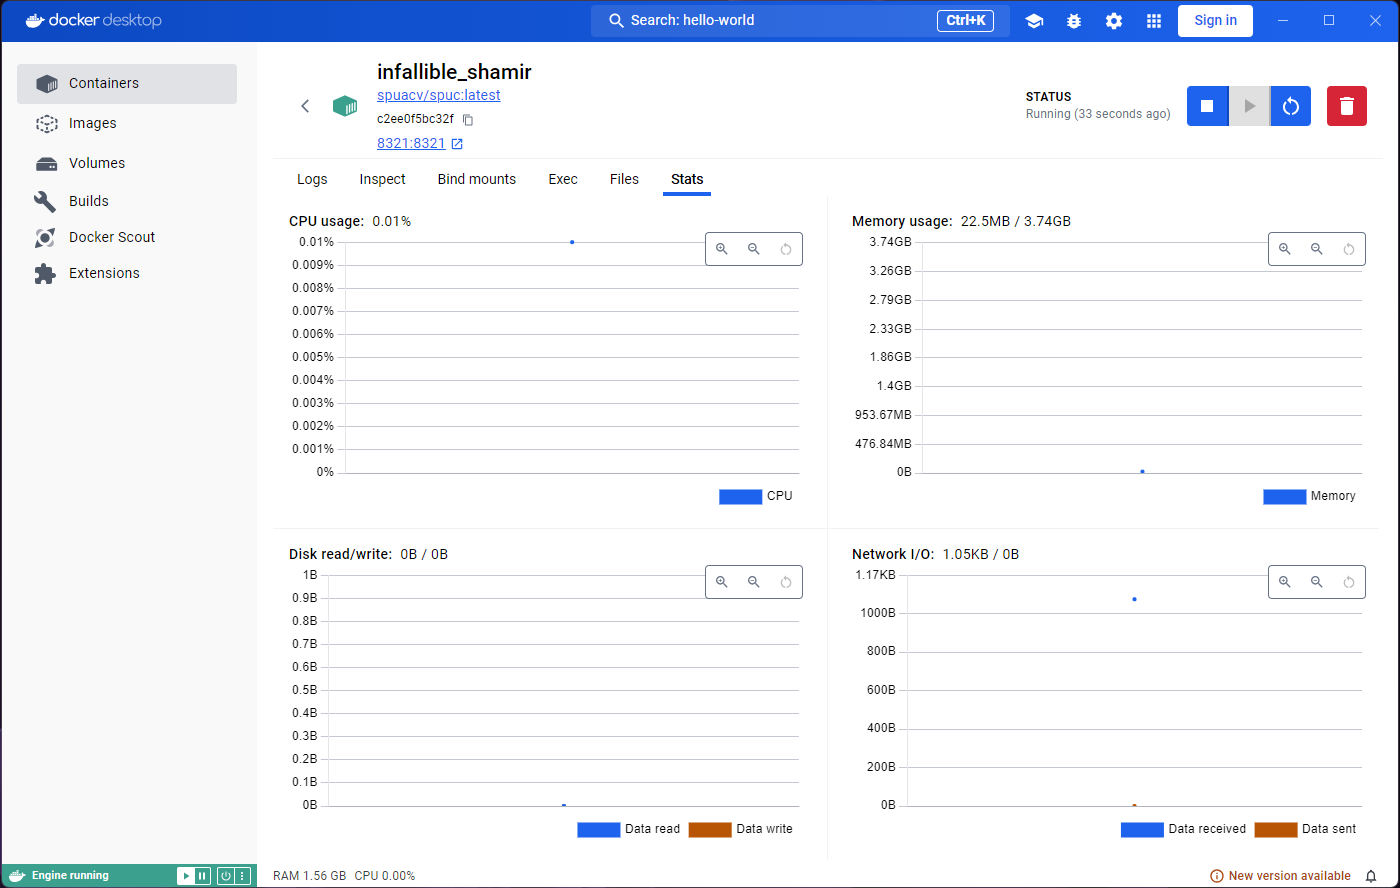
Image 1 of 1: ‘Stats tab in container from hello-world image.’
Image 1 of 1: ‘Clicking Start on the already run hello-world container - Step 1’
Image 1 of 1: ‘Clicking Start on the already run hello-world container - Step 2’
Image 1 of 1: ‘Running hello-world image for a second time - Step 1’
Image 1 of 1: ‘Running hello-world image for a second time - Step 2’
Image 1 of 1: ‘Running hello-world image for a second time - Step 3’
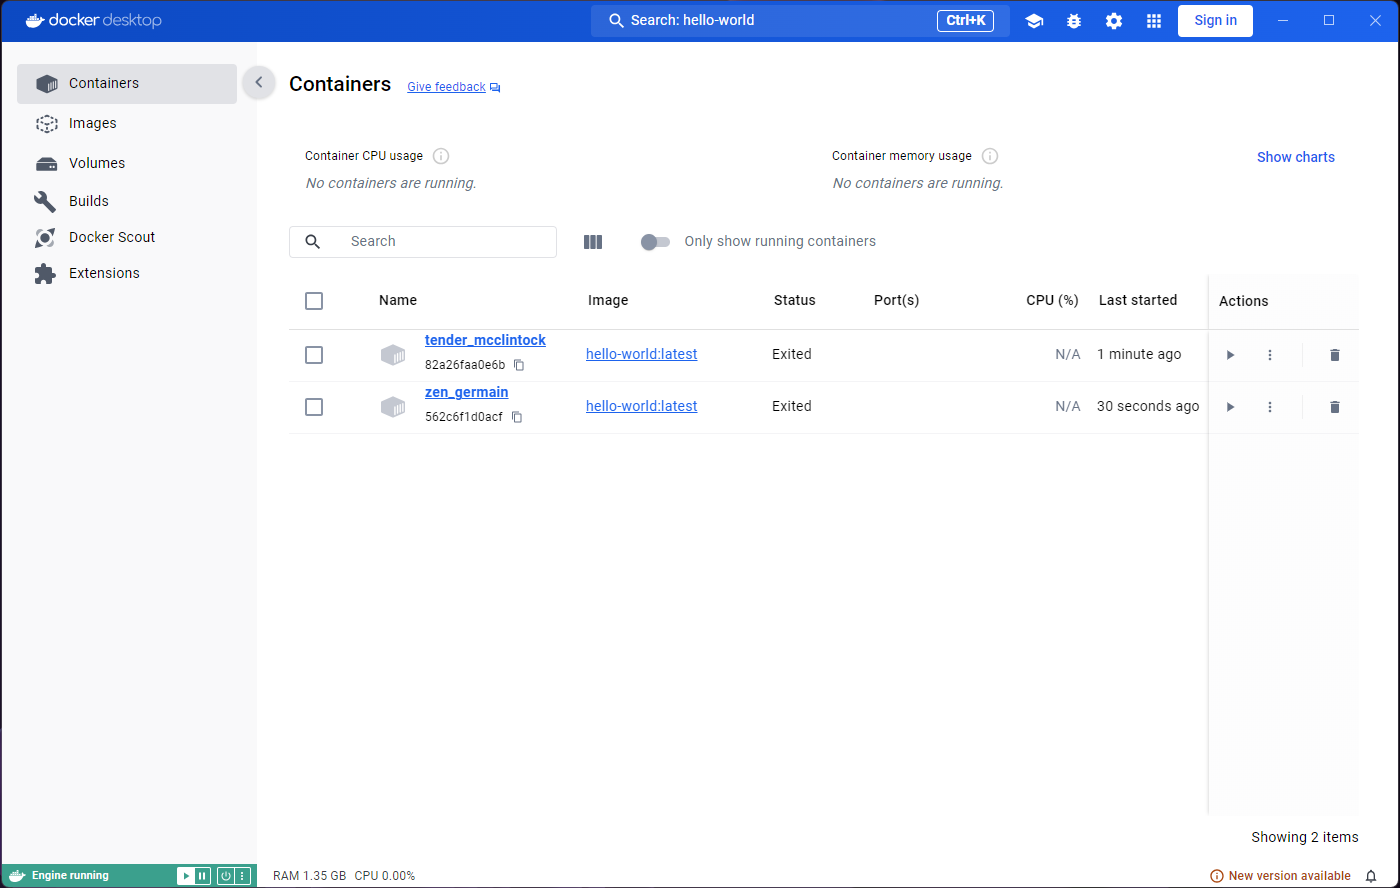
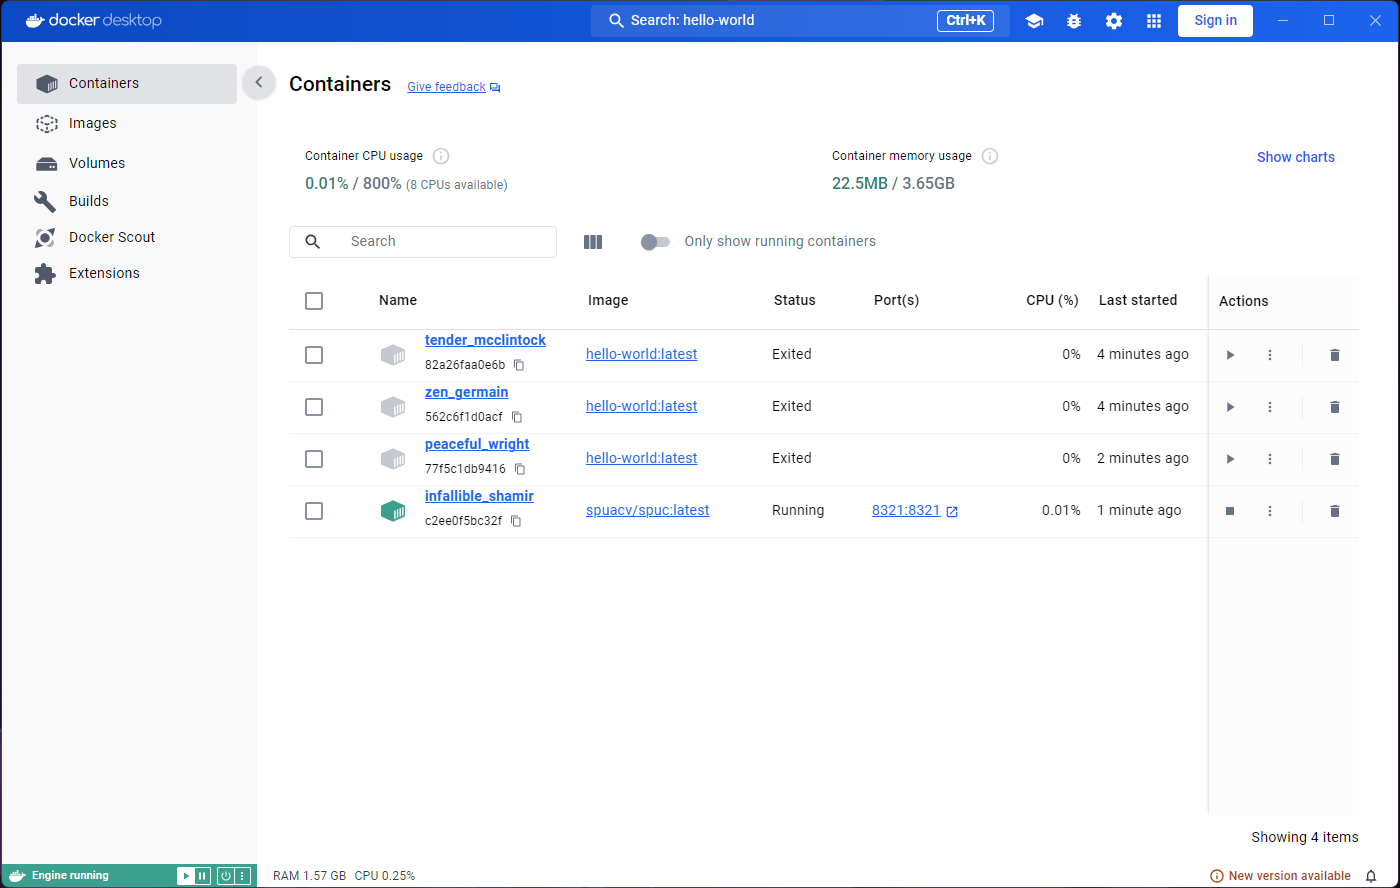
Image 1 of 1: ‘Containers list.’
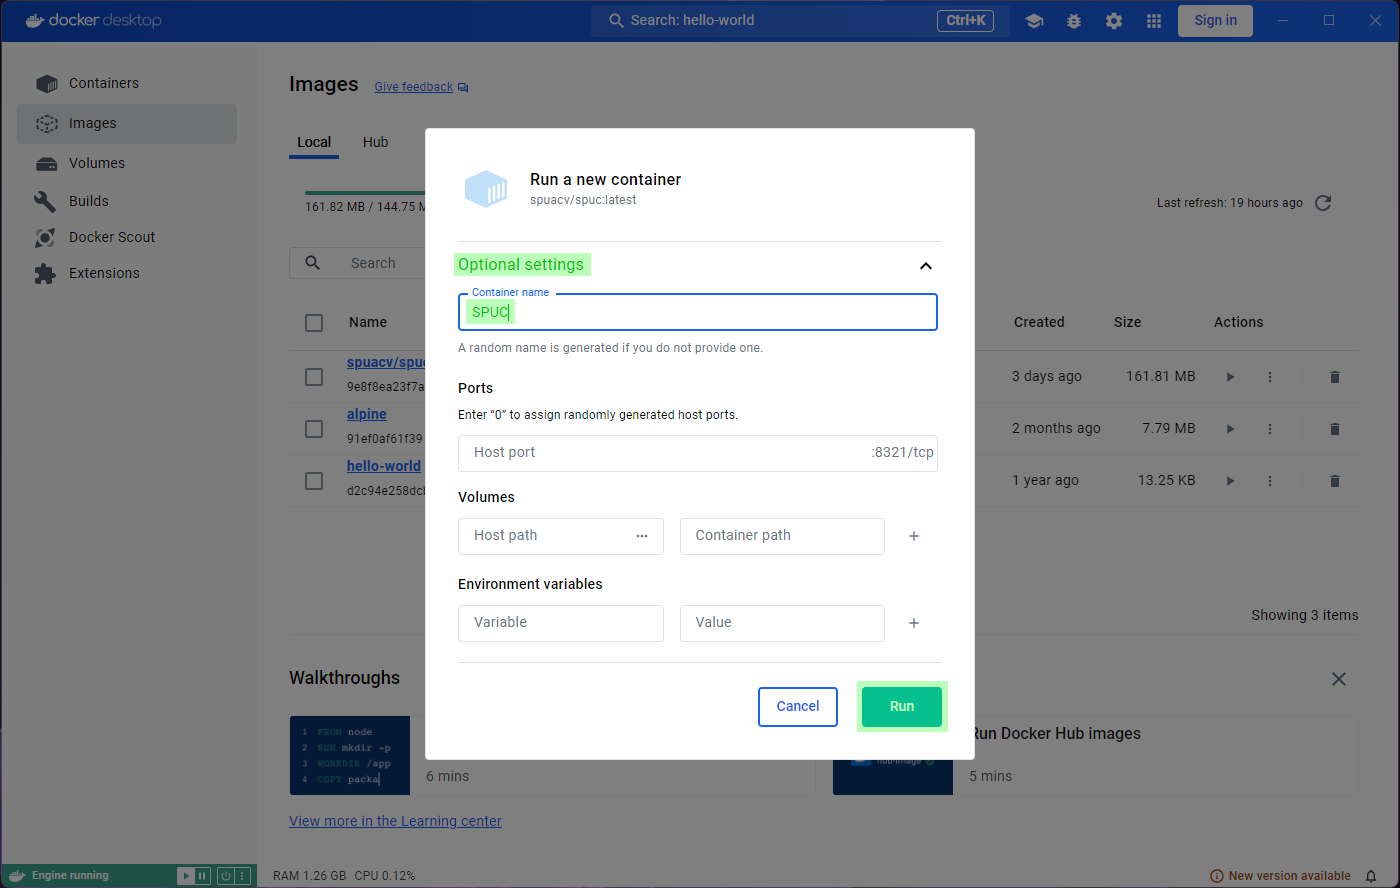
Image 1 of 1: ‘Optional settings for spuc - Step 1’
Image 1 of 1: ‘Optional settings for spuc - Step 2’
Image 1 of 1: ‘Optional settings for spuc - Step 3’
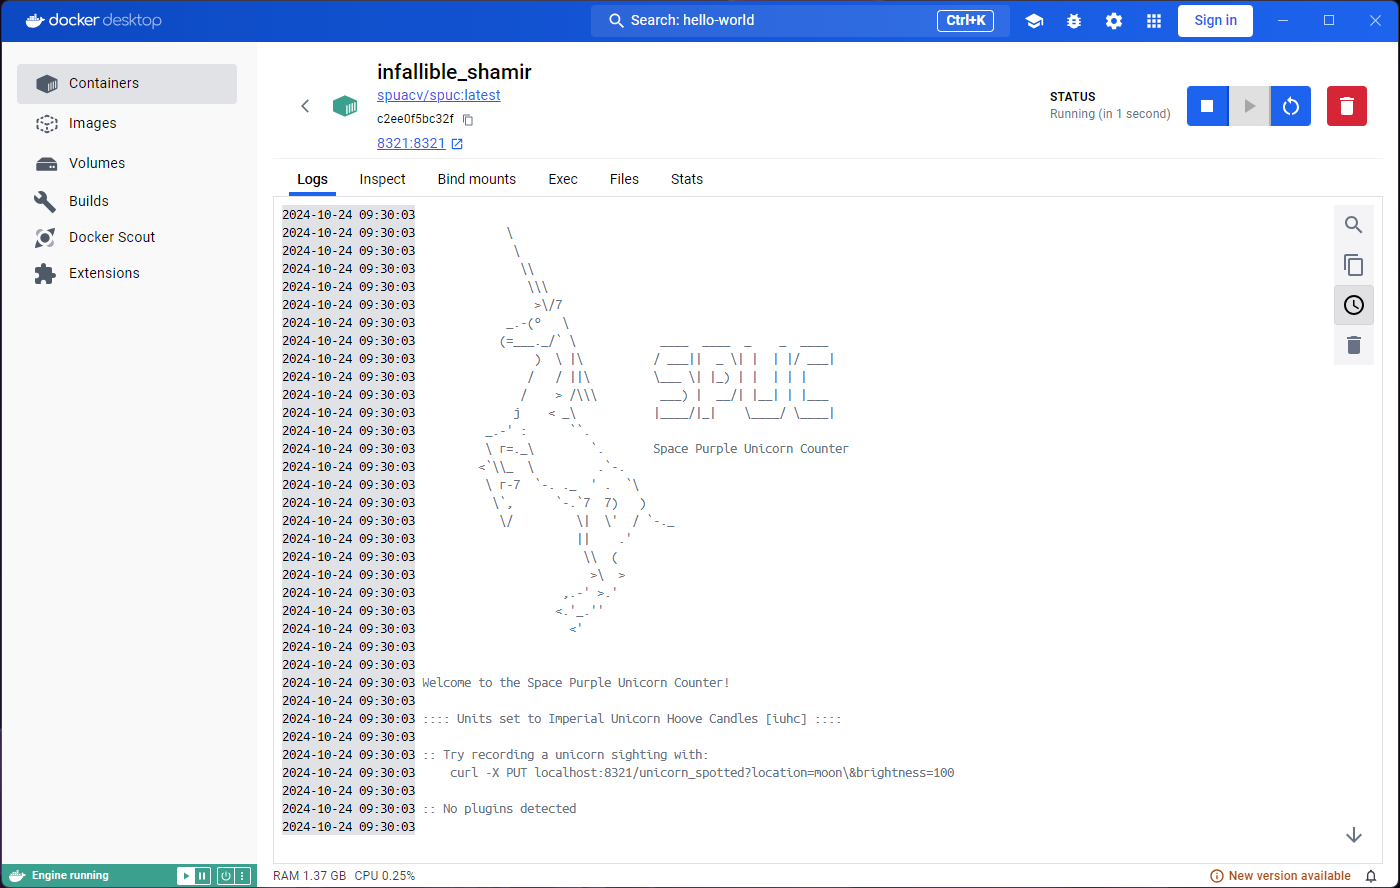
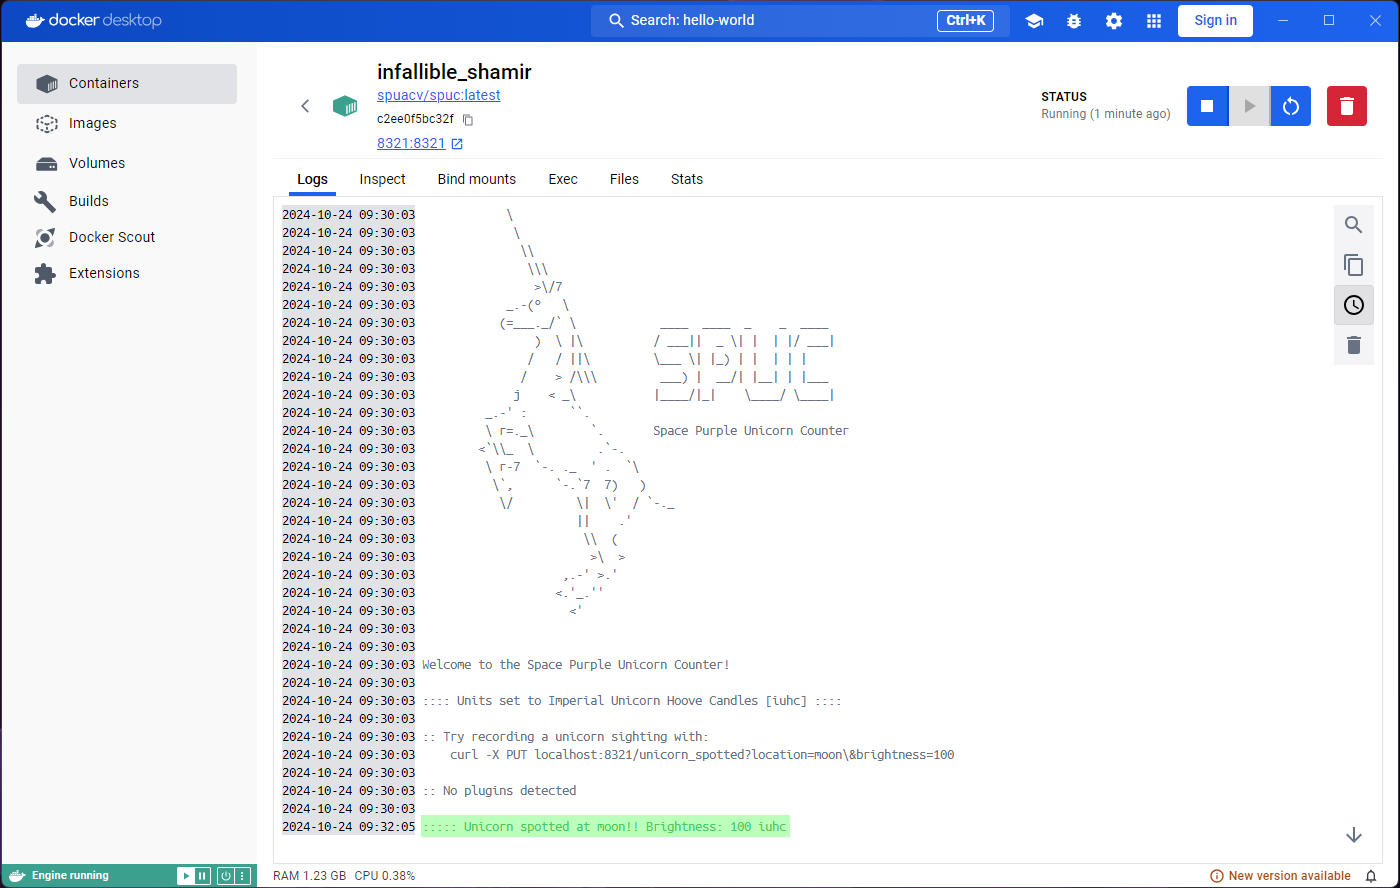
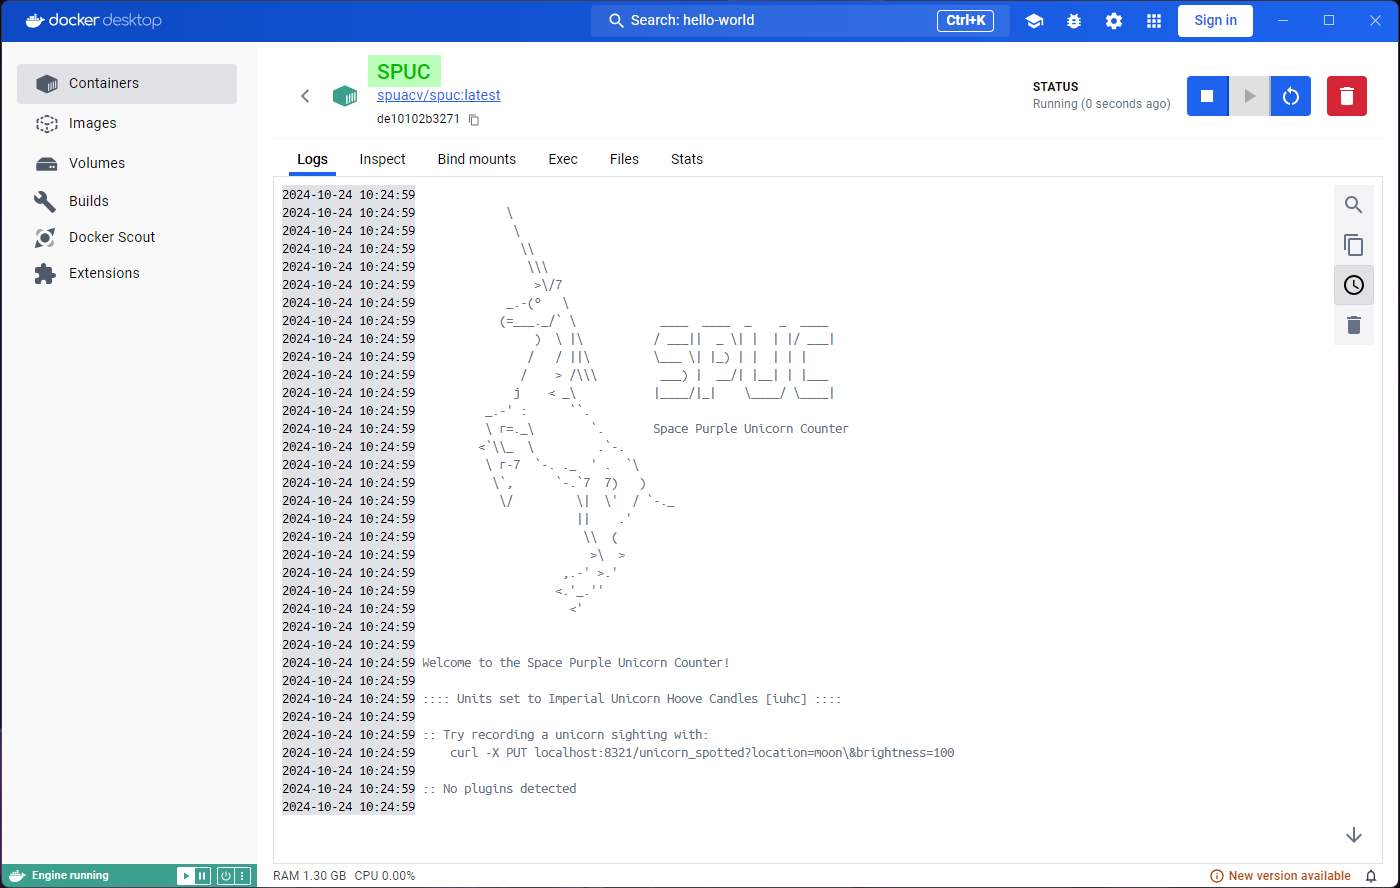
Image 1 of 1: ‘Logs tab in container from spuc image.’
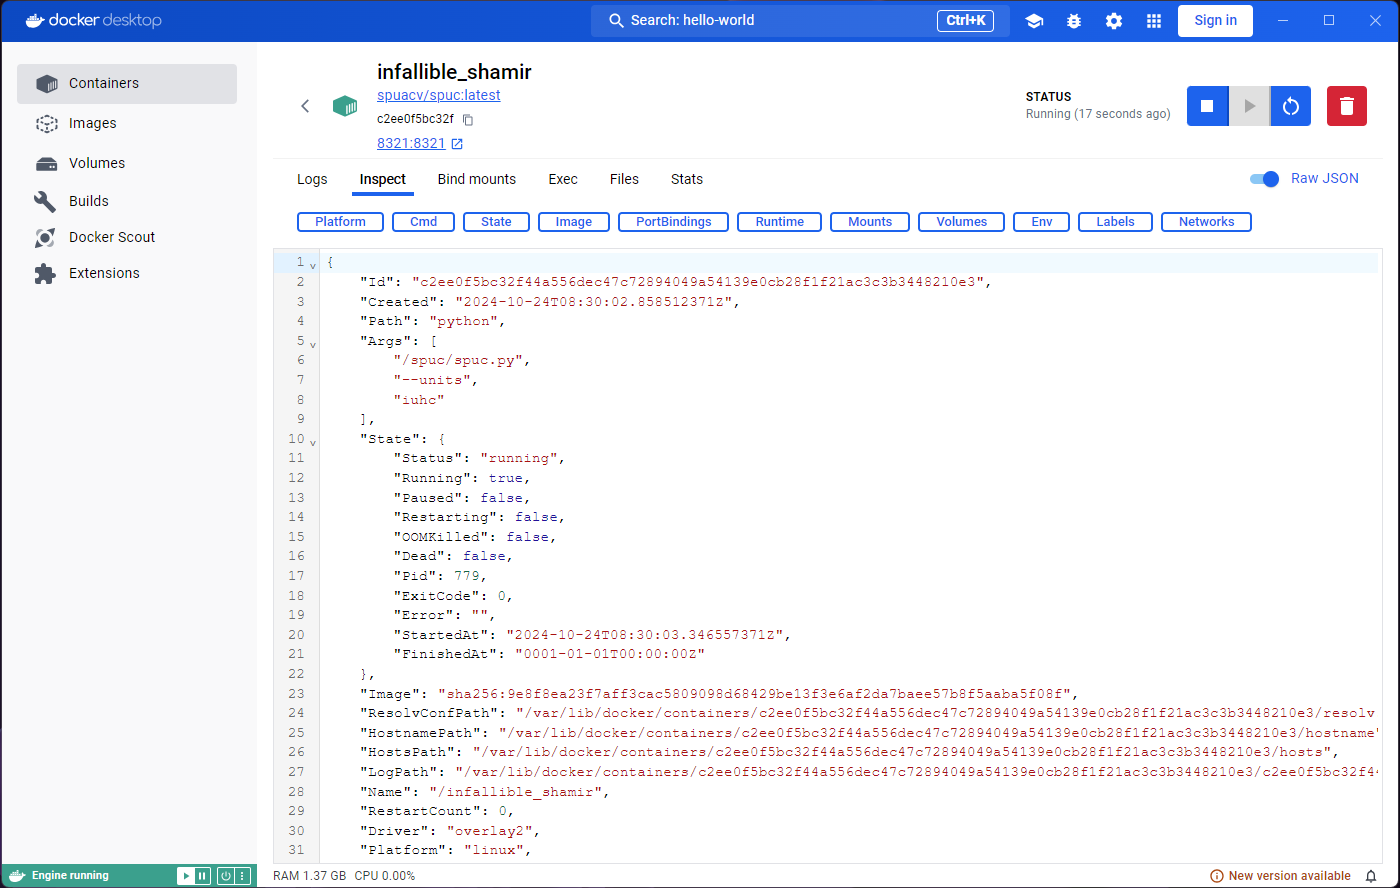
Image 1 of 1: ‘Inspect tab in container from spuc image.’
Image 1 of 1: ‘Bind mounts tab in container from spuc image.’
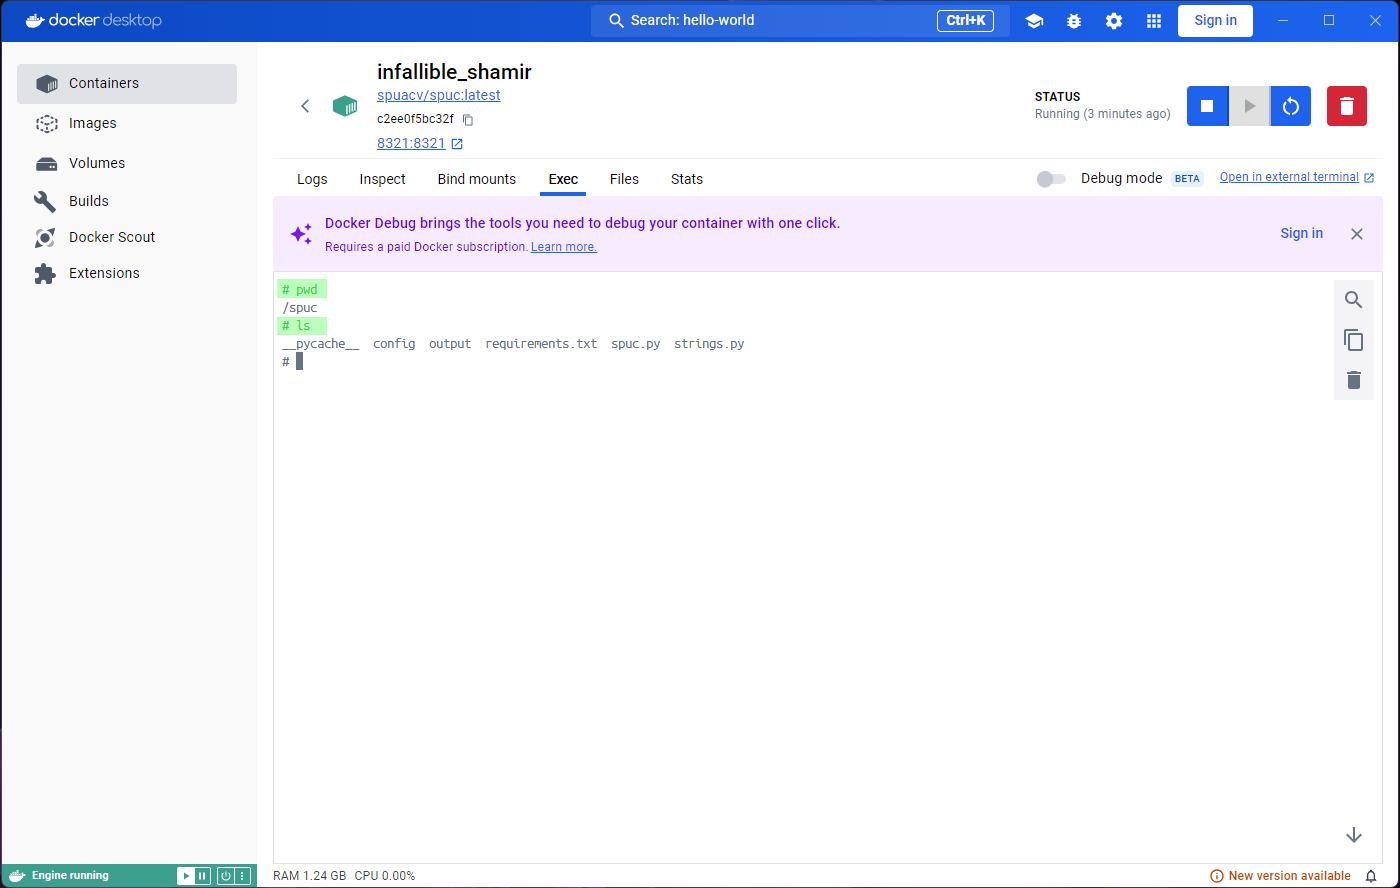
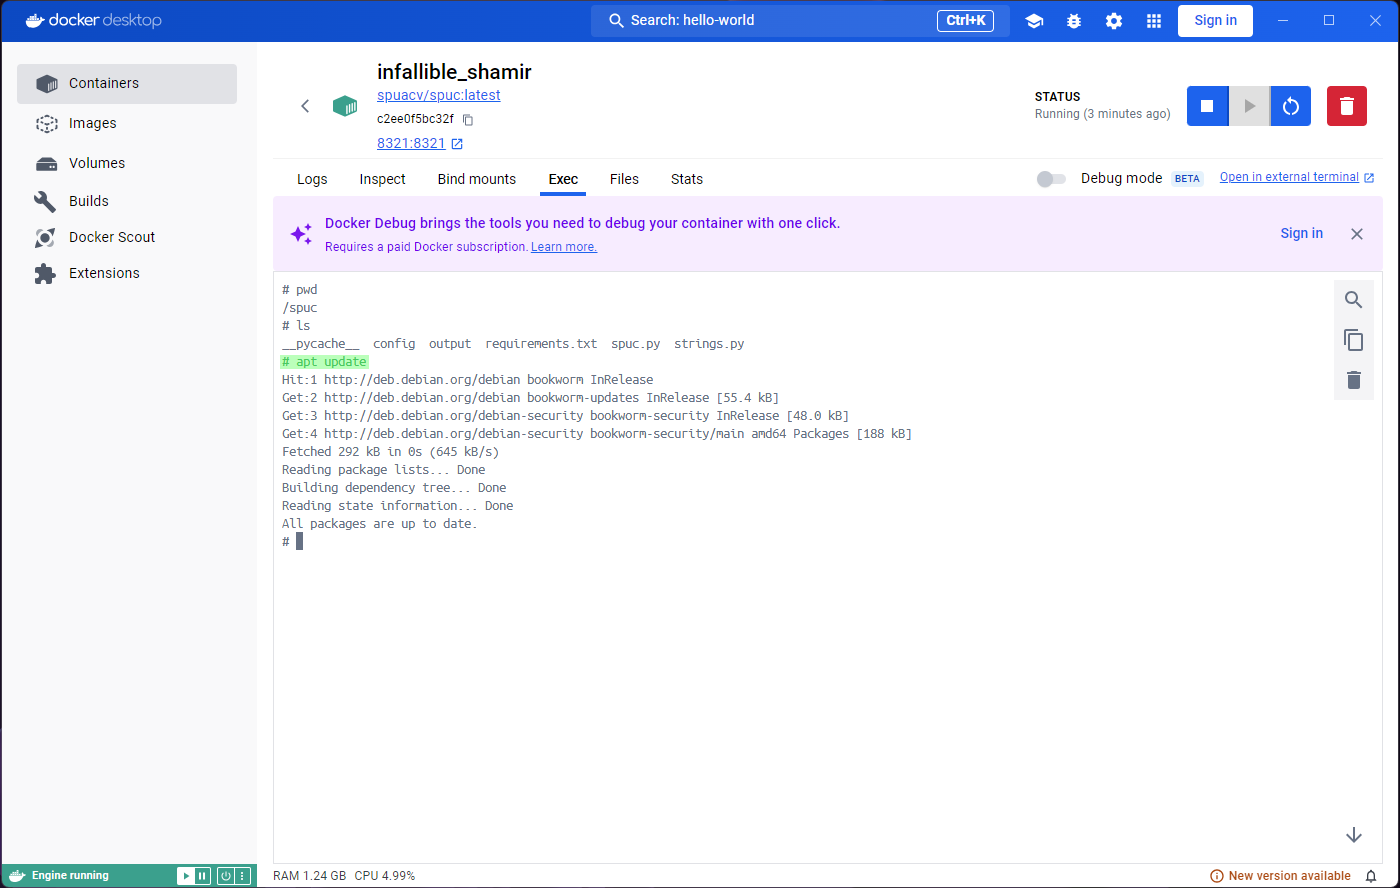
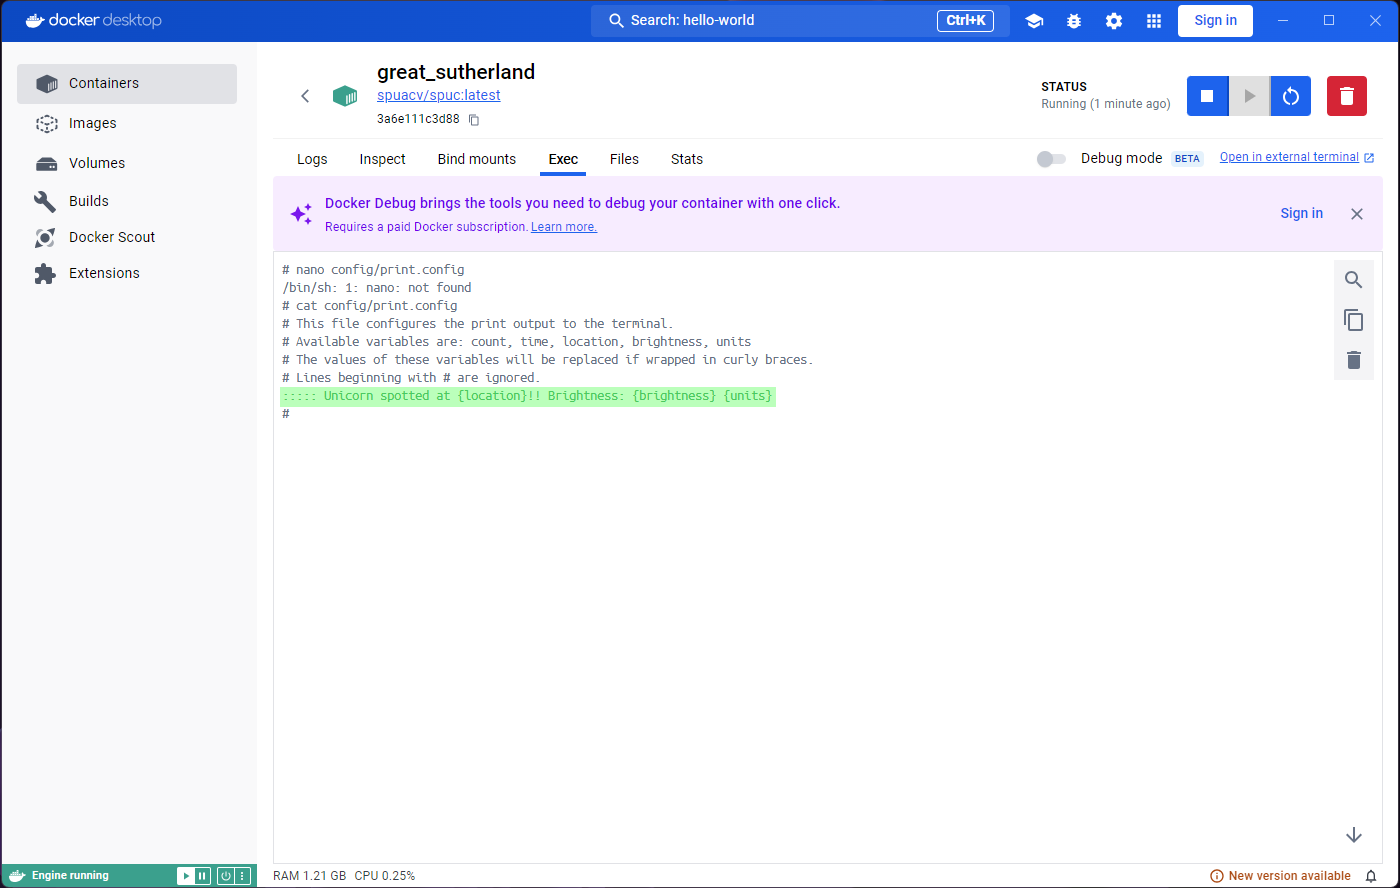
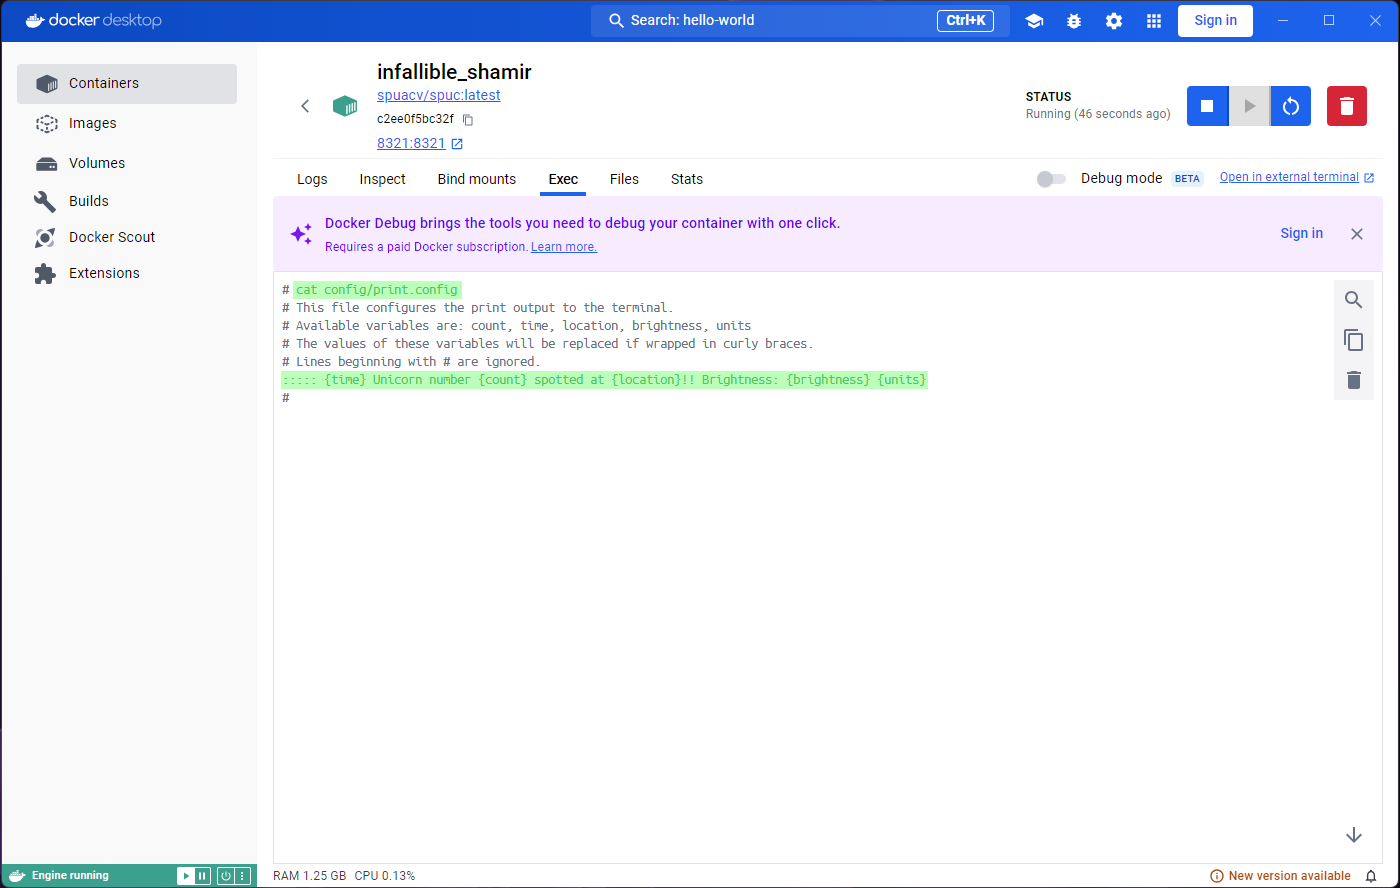
Image 1 of 1: ‘Exec tab in container from spuc image.’
Image 1 of 1: ‘Files tab in container from spuc image.’
Image 1 of 1: ‘Stats tab in container from spuc image.’
Image 1 of 1: ‘Containers list, spuc still running.’
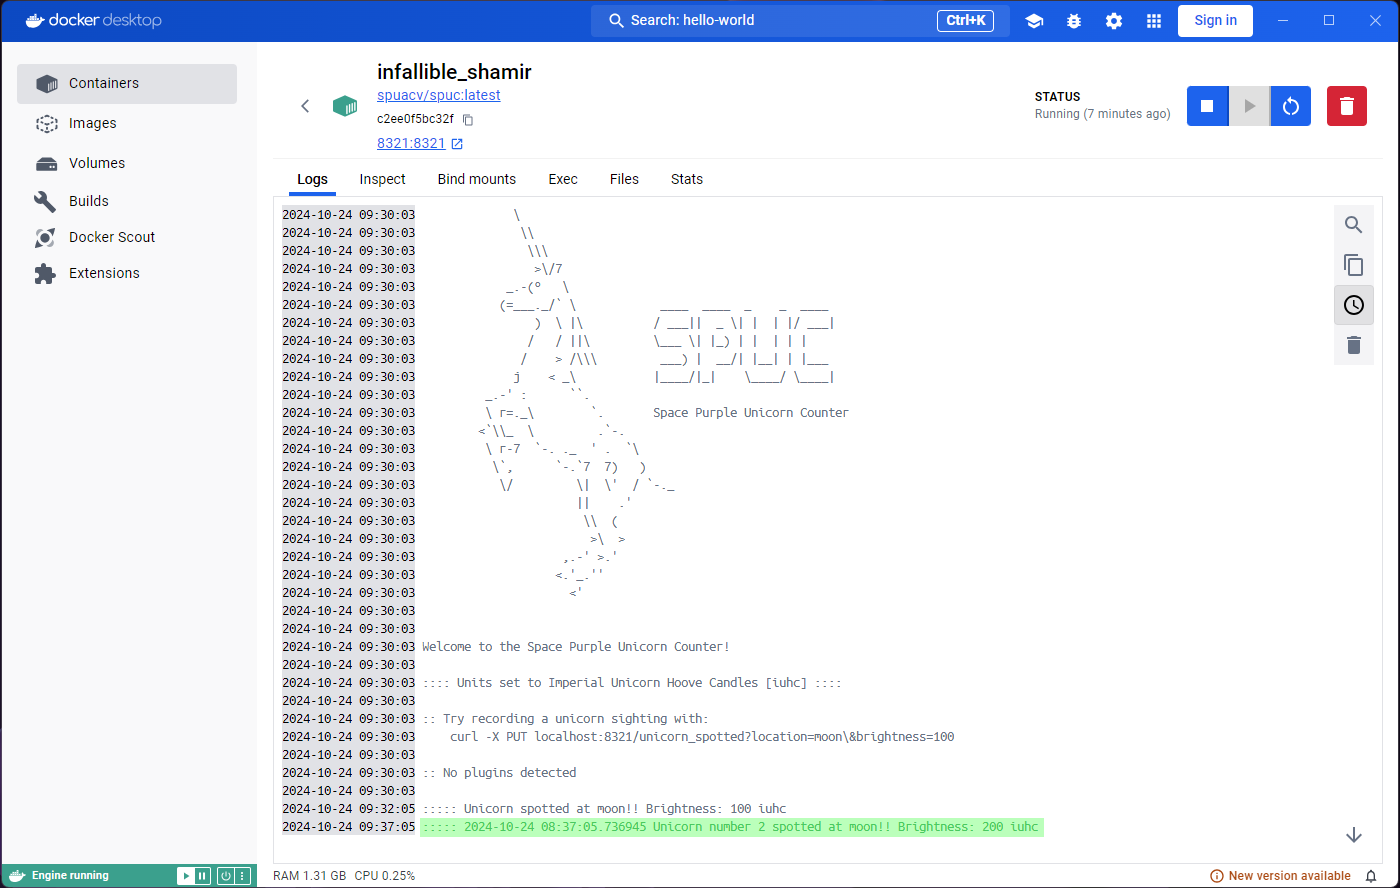
Image 1 of 1: ‘Detecting a unicorn, spuc logs.’
Image 1 of 1: ‘Interacting with spuc terminal in the Exec tab - Step 1’
Image 1 of 1: ‘Interacting with spuc terminal in the Exec tab - Step 2’
Image 1 of 1: ‘Interacting with spuc terminal in the Exec tab - Step 3’
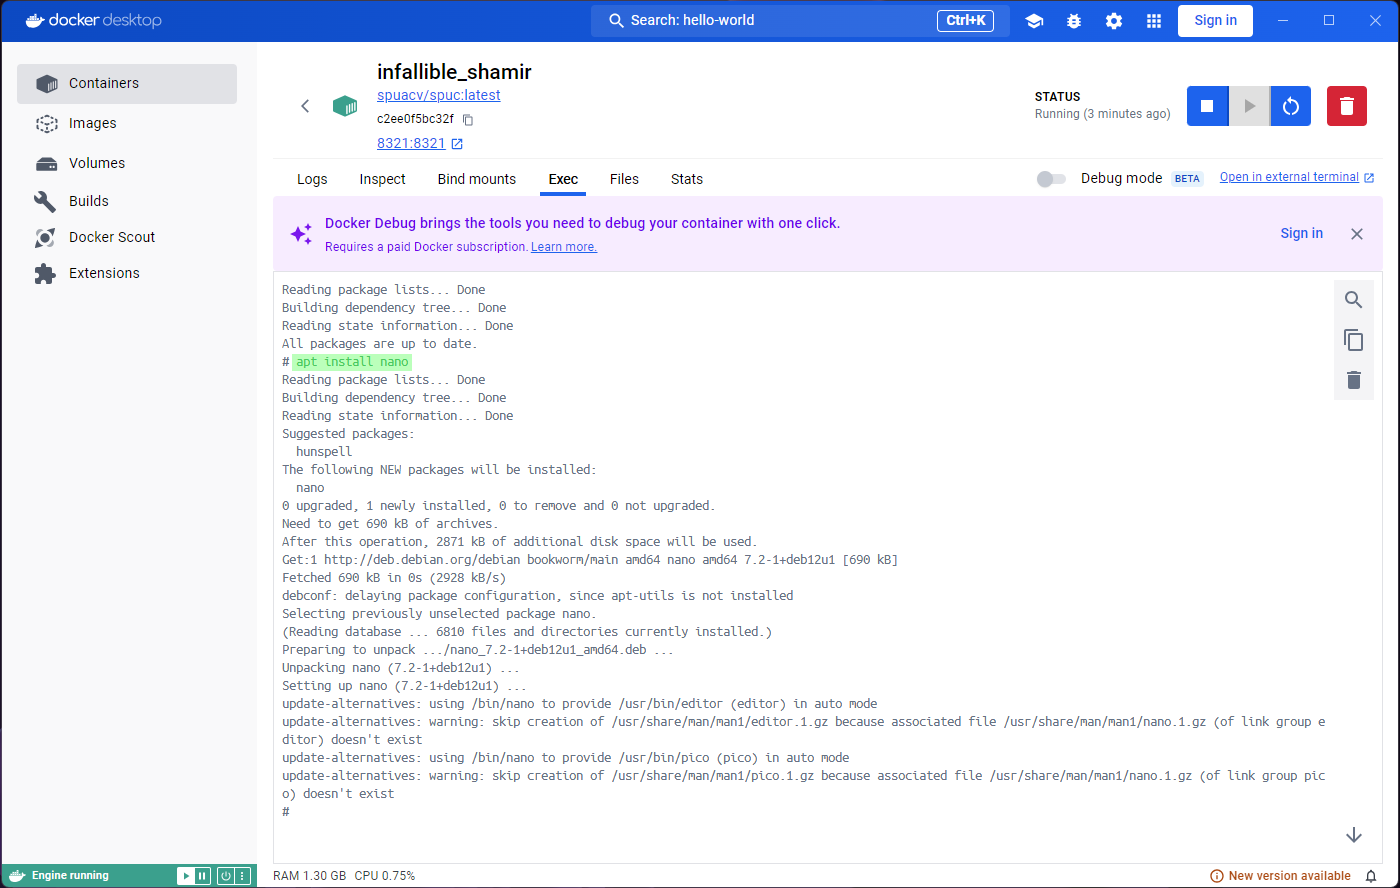
Image 1 of 1: ‘Interacting with spuc terminal in the Exec tab - Step 4’
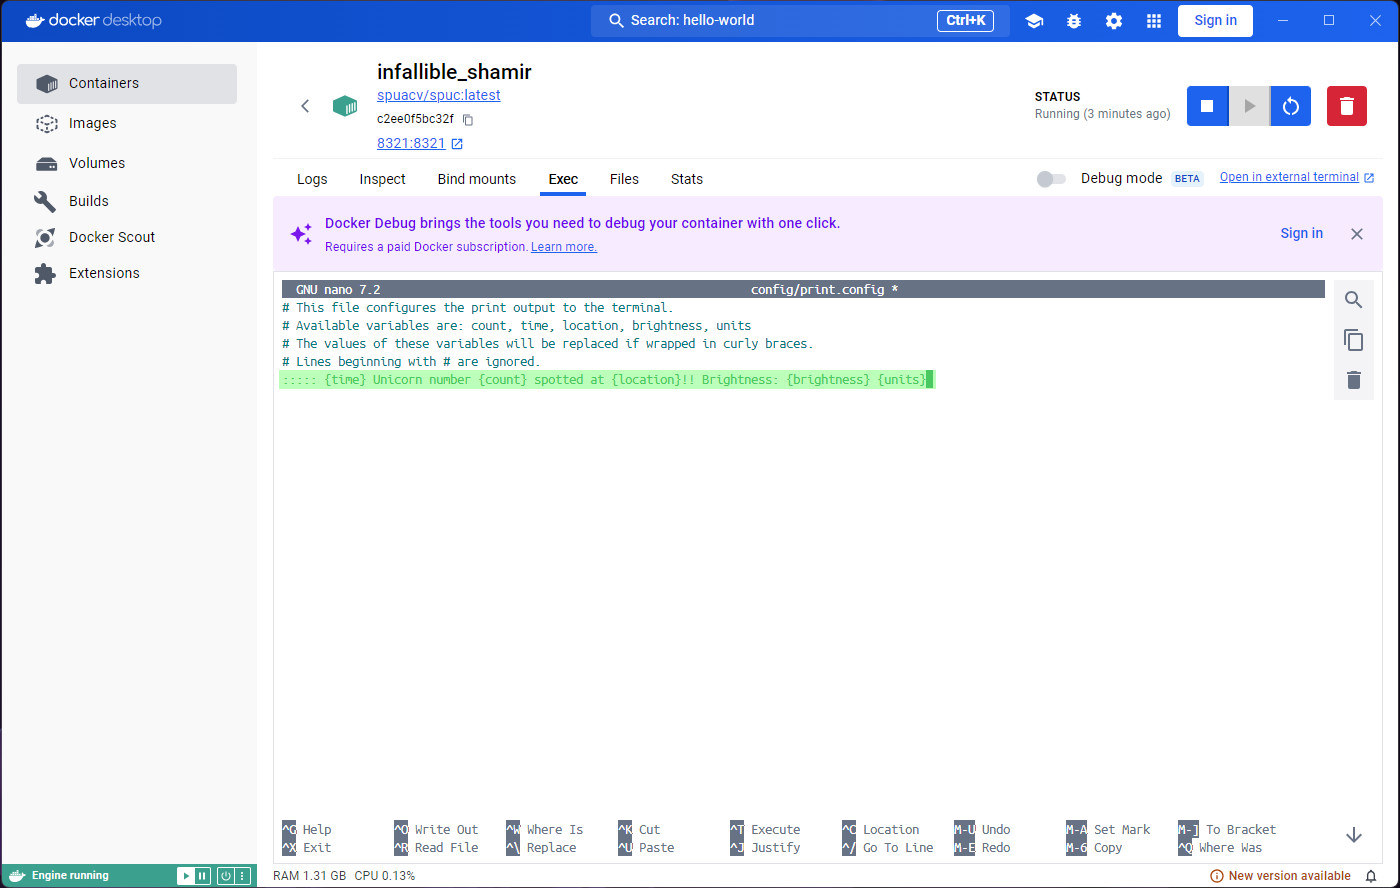
Image 1 of 1: ‘Interacting with spuc terminal in the Exec tab - Step 5’
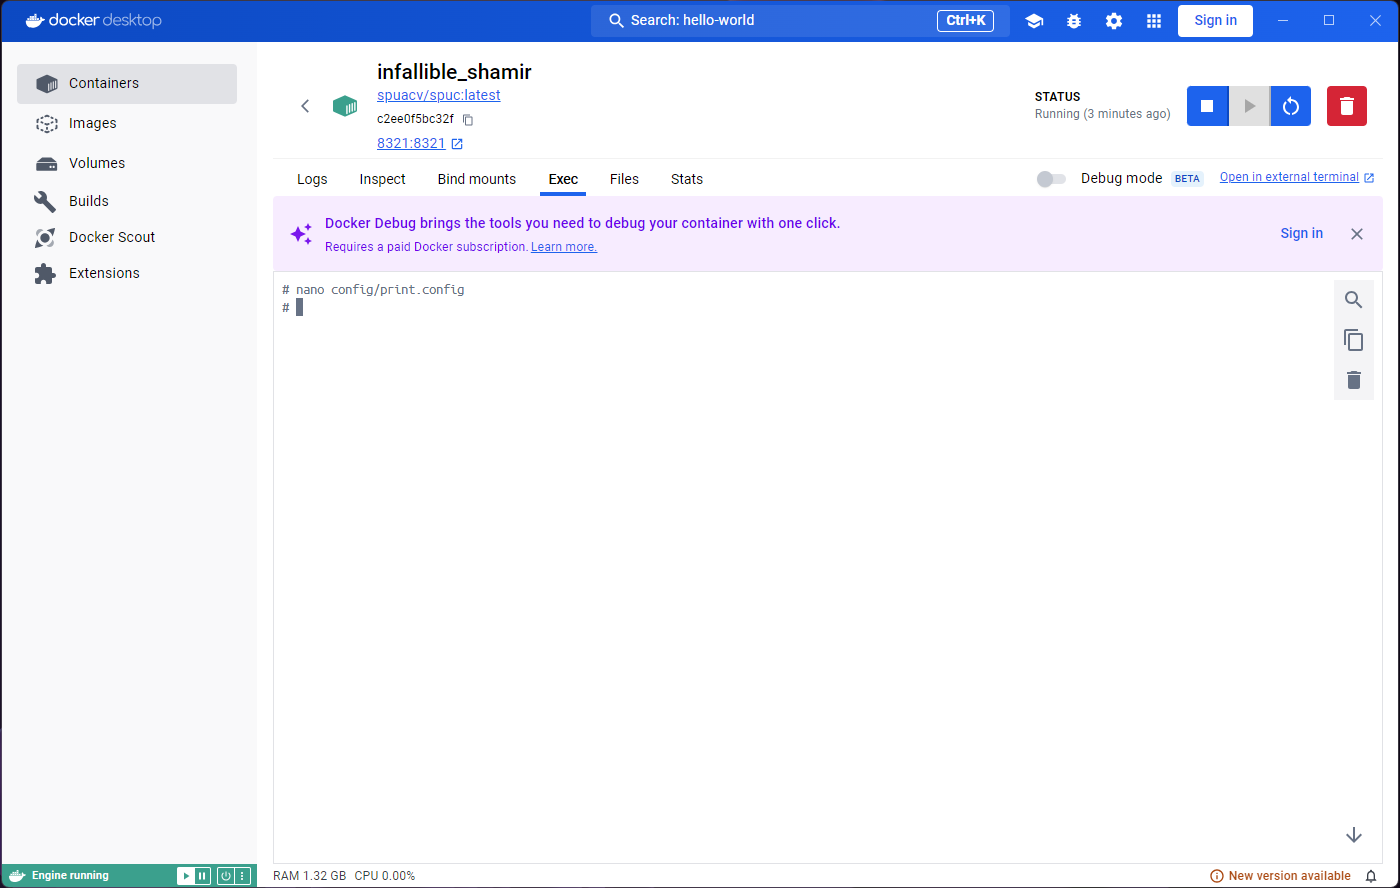
Image 1 of 1: ‘Interacting with spuc terminal in the Exec tab - Step 6’
Image 1 of 1: ‘Interacting with spuc terminal in the Exec tab - Step 7’
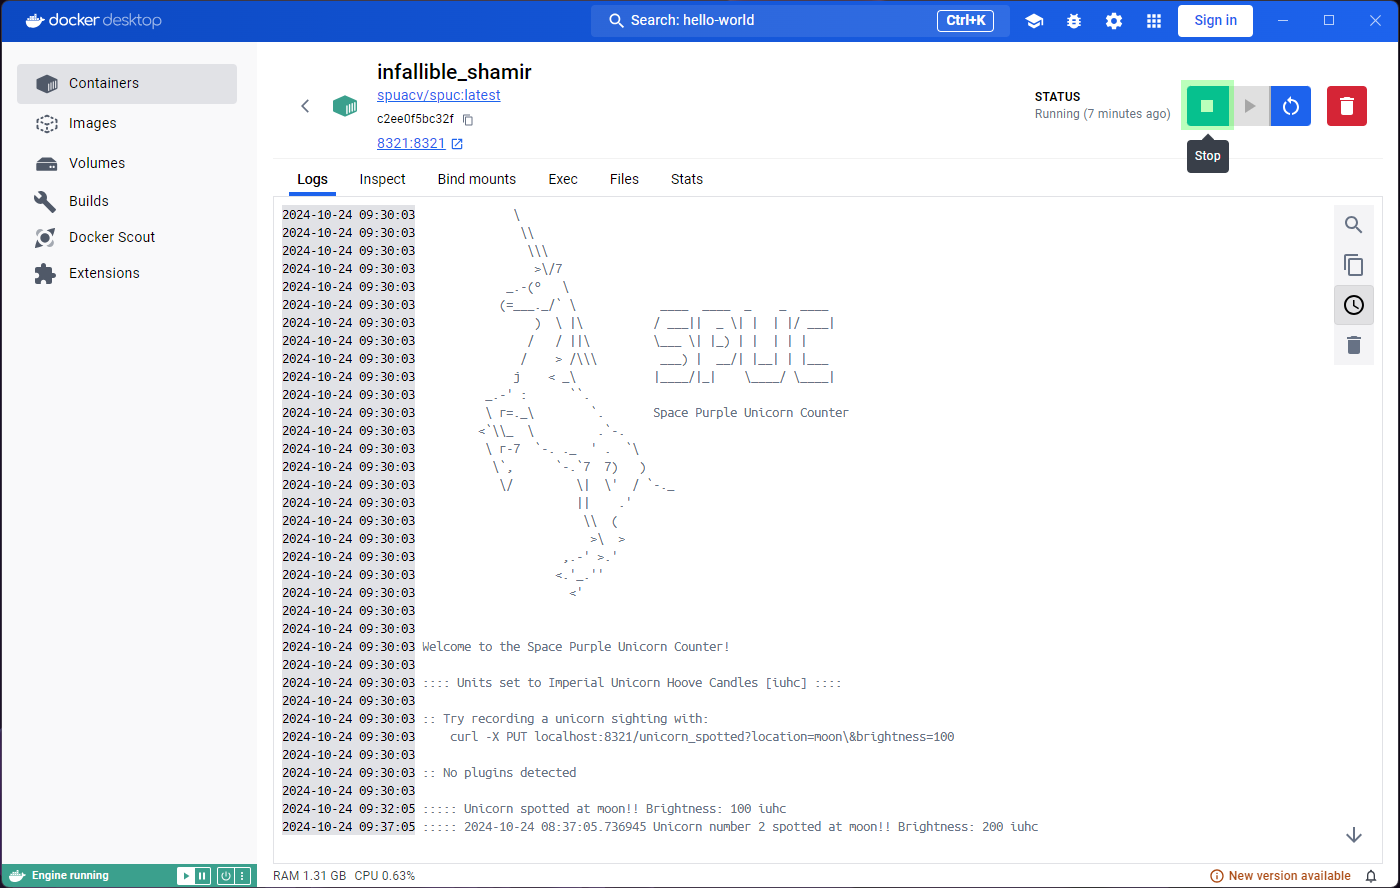
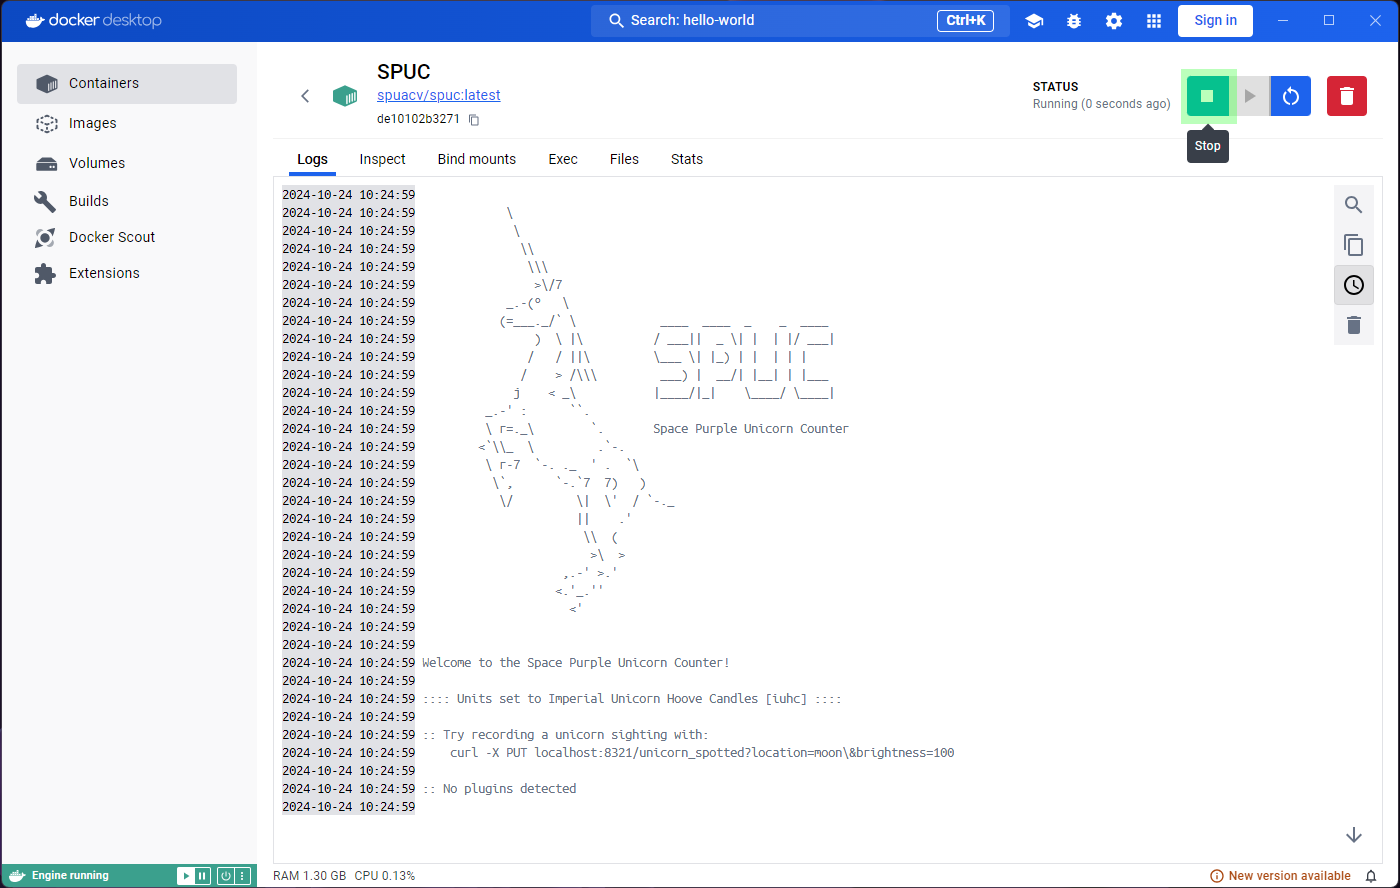
Image 1 of 1: ‘Stop the spuc container - Step 1’
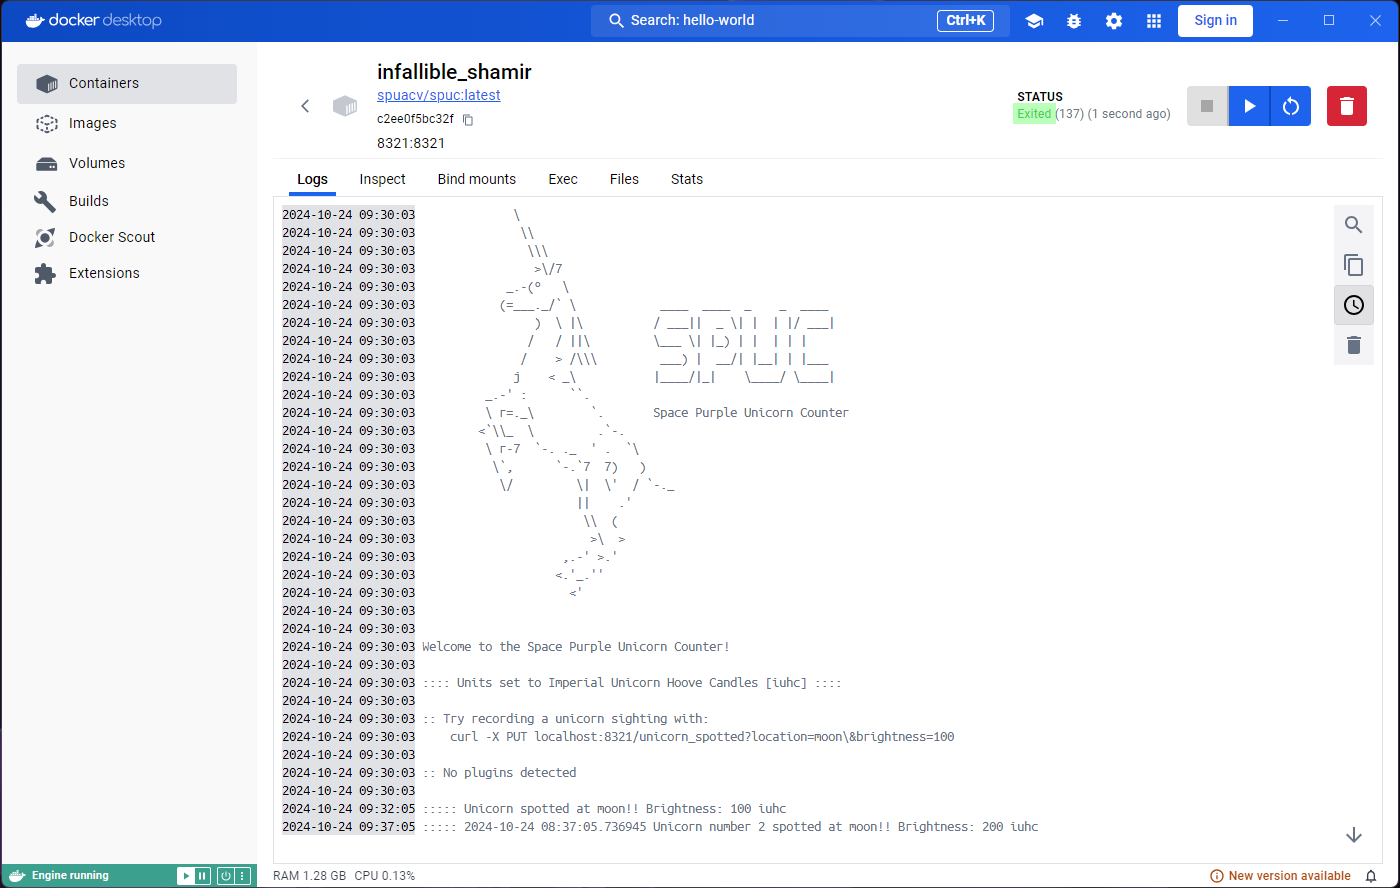
Image 1 of 1: ‘Stop the spuc container - Step 2’
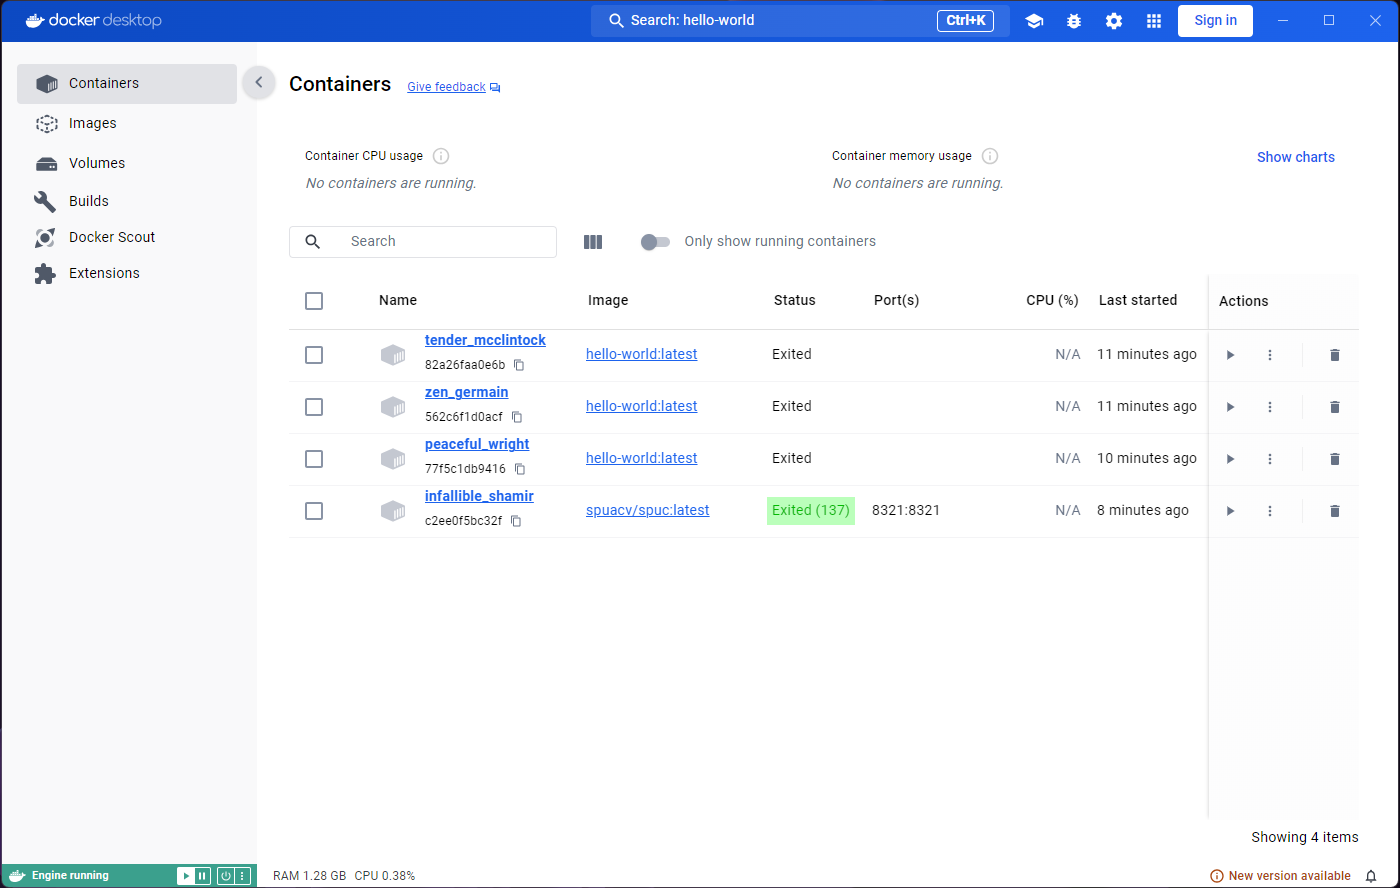
Image 1 of 1: ‘Stop the spuc container - Step 3’
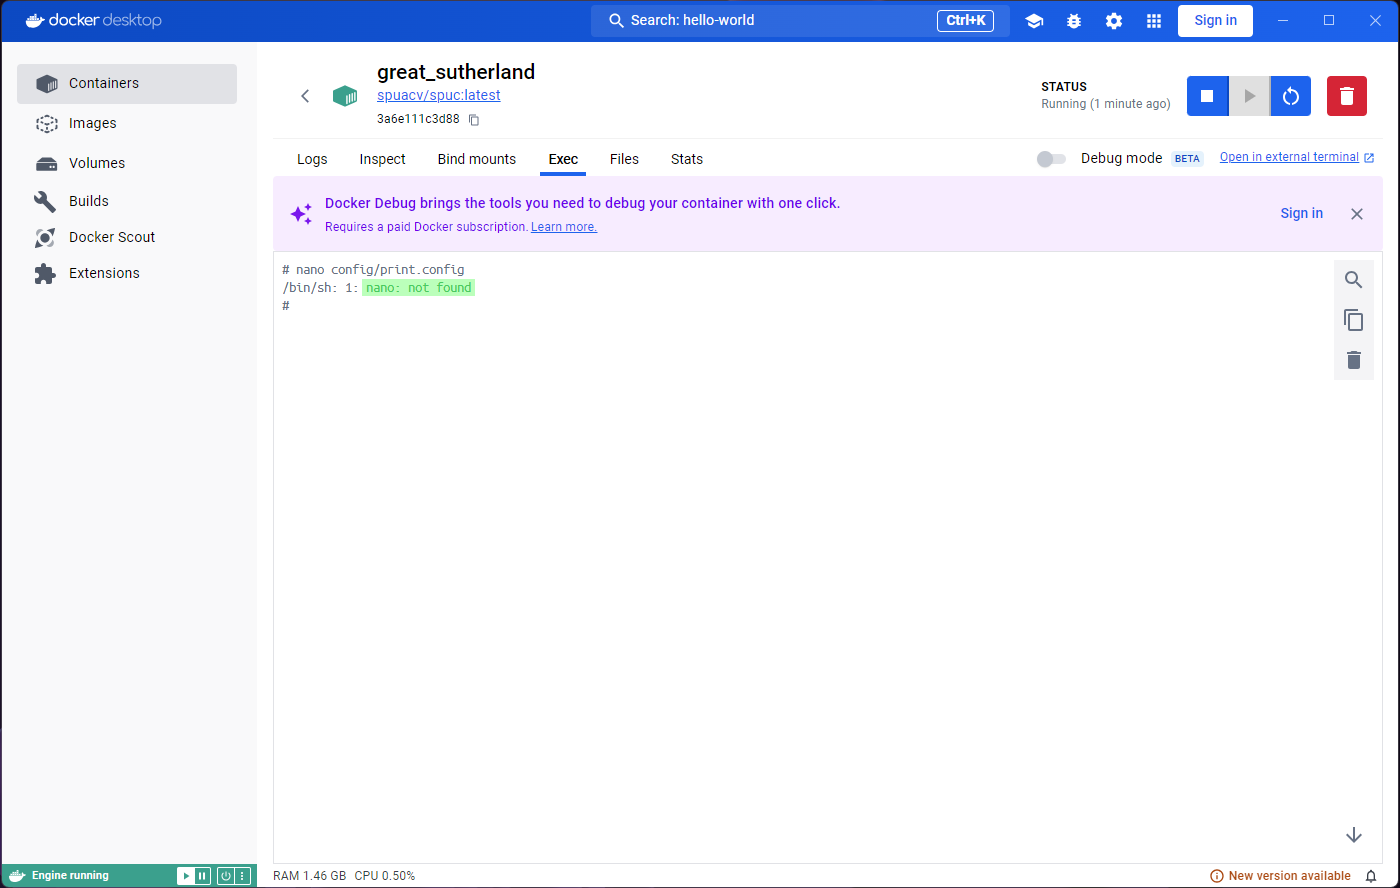
Image 1 of 1: ‘Exec in fresh spuc container - Step 1’
Image 1 of 1: ‘Exec in fresh spuc container - Step 2’
Image 1 of 1: ‘Exec in fresh spuc container - Step 3’
Image 1 of 1: ‘Exec in fresh spuc container - Step 4’
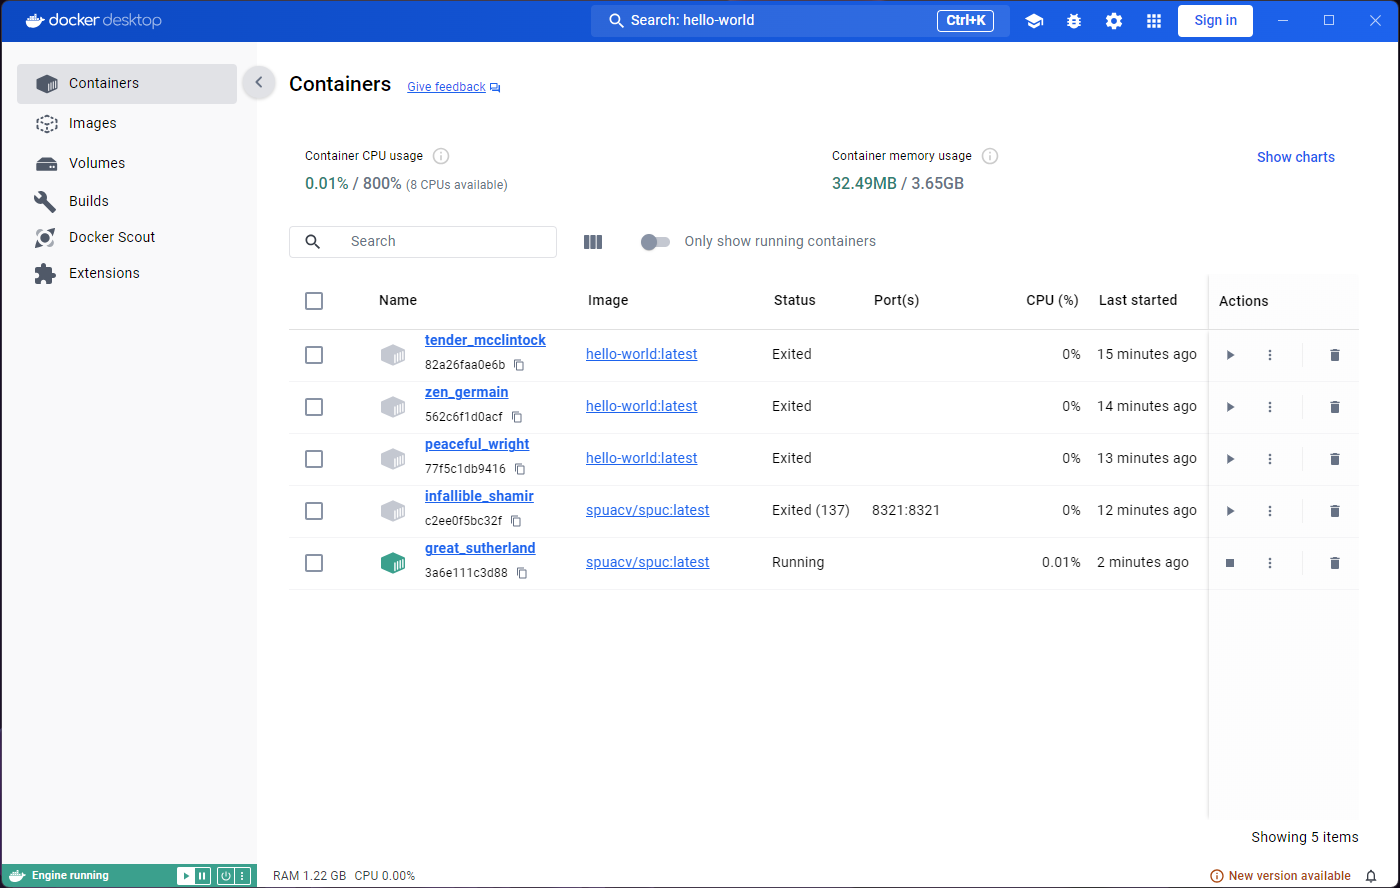
Image 1 of 1: ‘Containers list after new run of spuc image.’
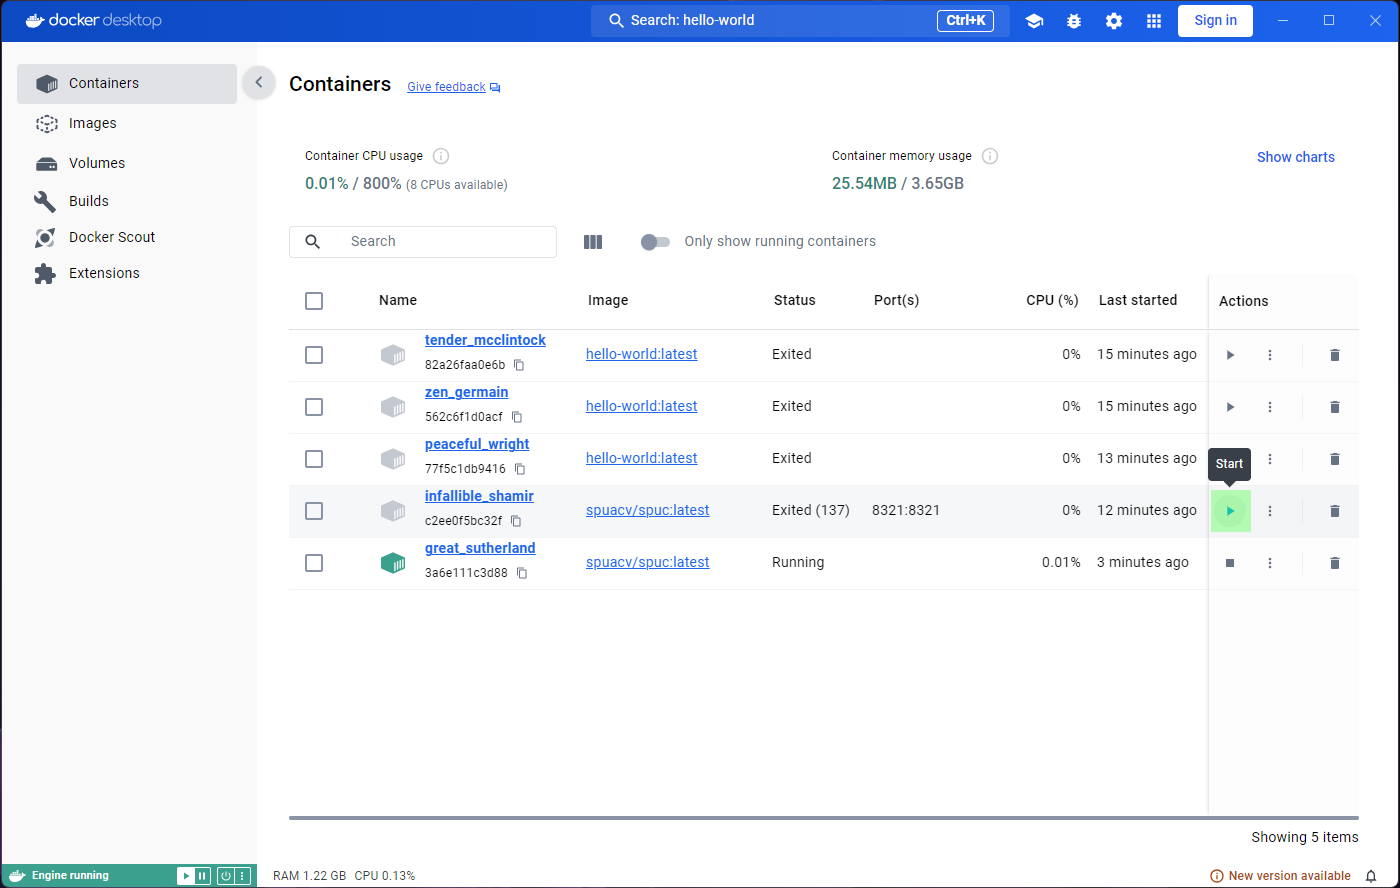
Image 1 of 1: ‘Reviving container spuc - Step 1’
Image 1 of 1: ‘Reviving container spuc - Step 2’
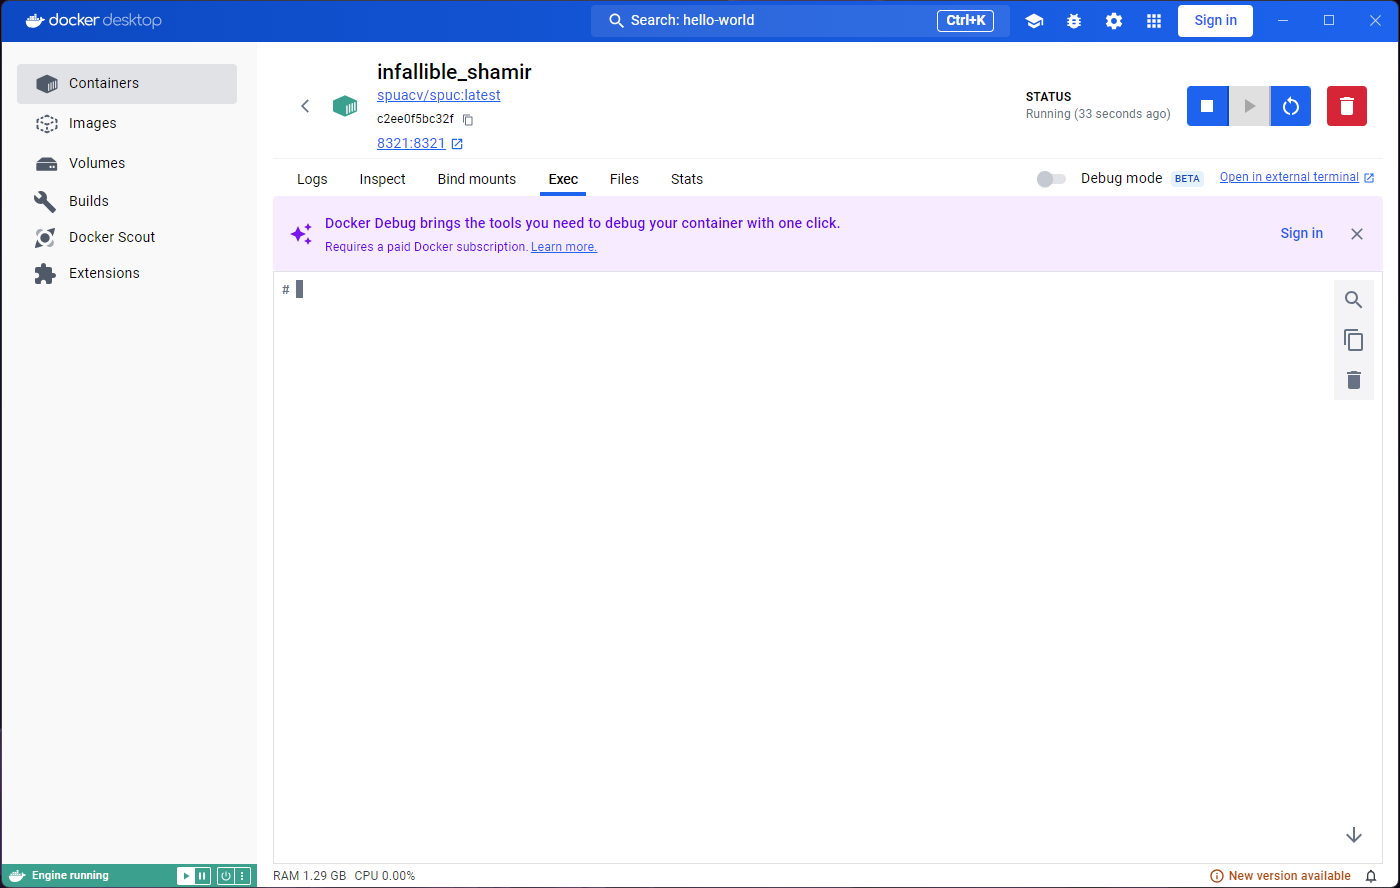
Image 1 of 1: ‘Reviving container spuc - Step 3’
Image 1 of 1: ‘Reviving container spuc - Step 4’
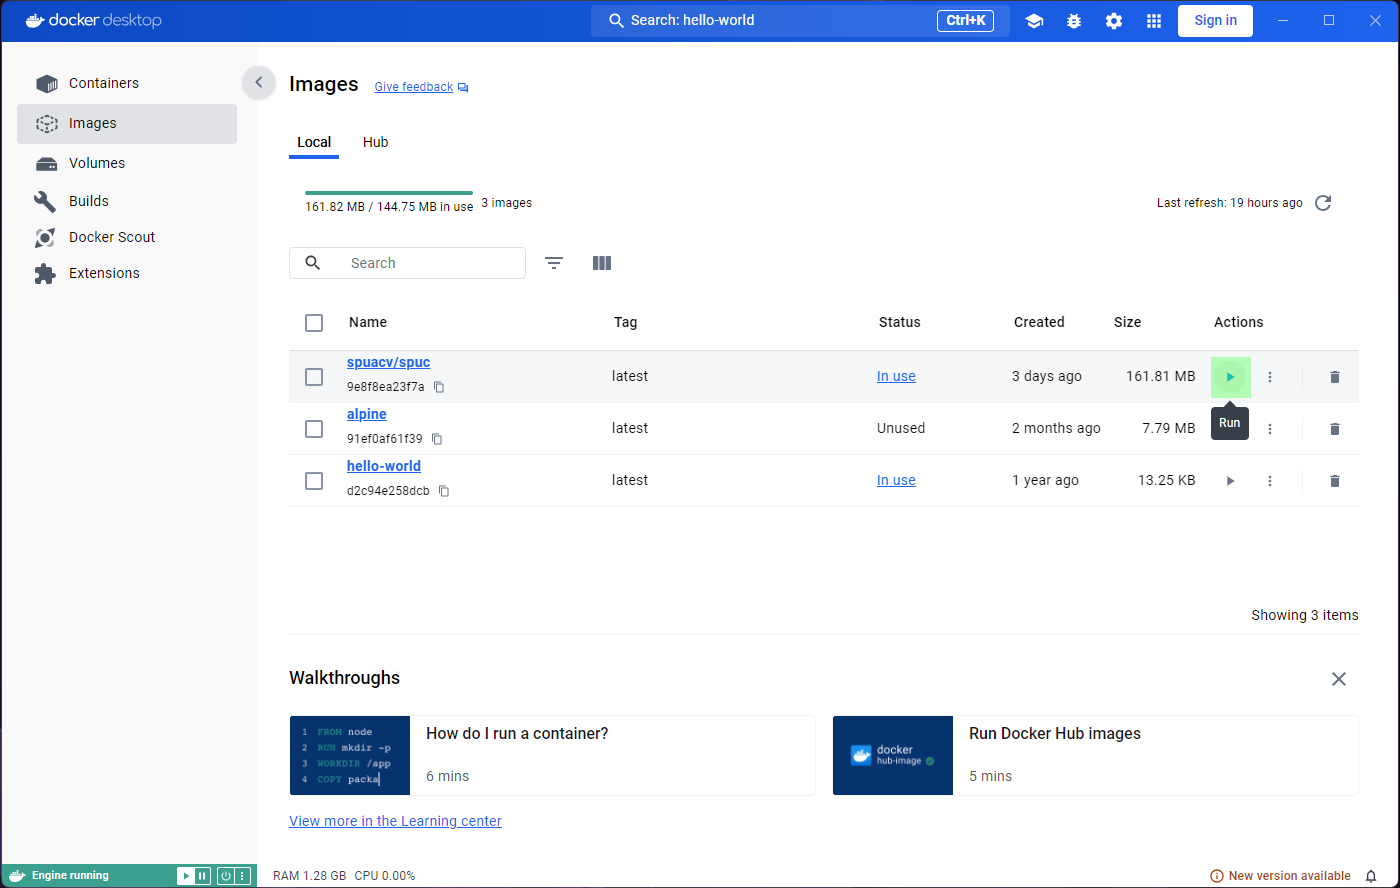
Image 1 of 1: ‘Optional settings for spuc - Step 1’
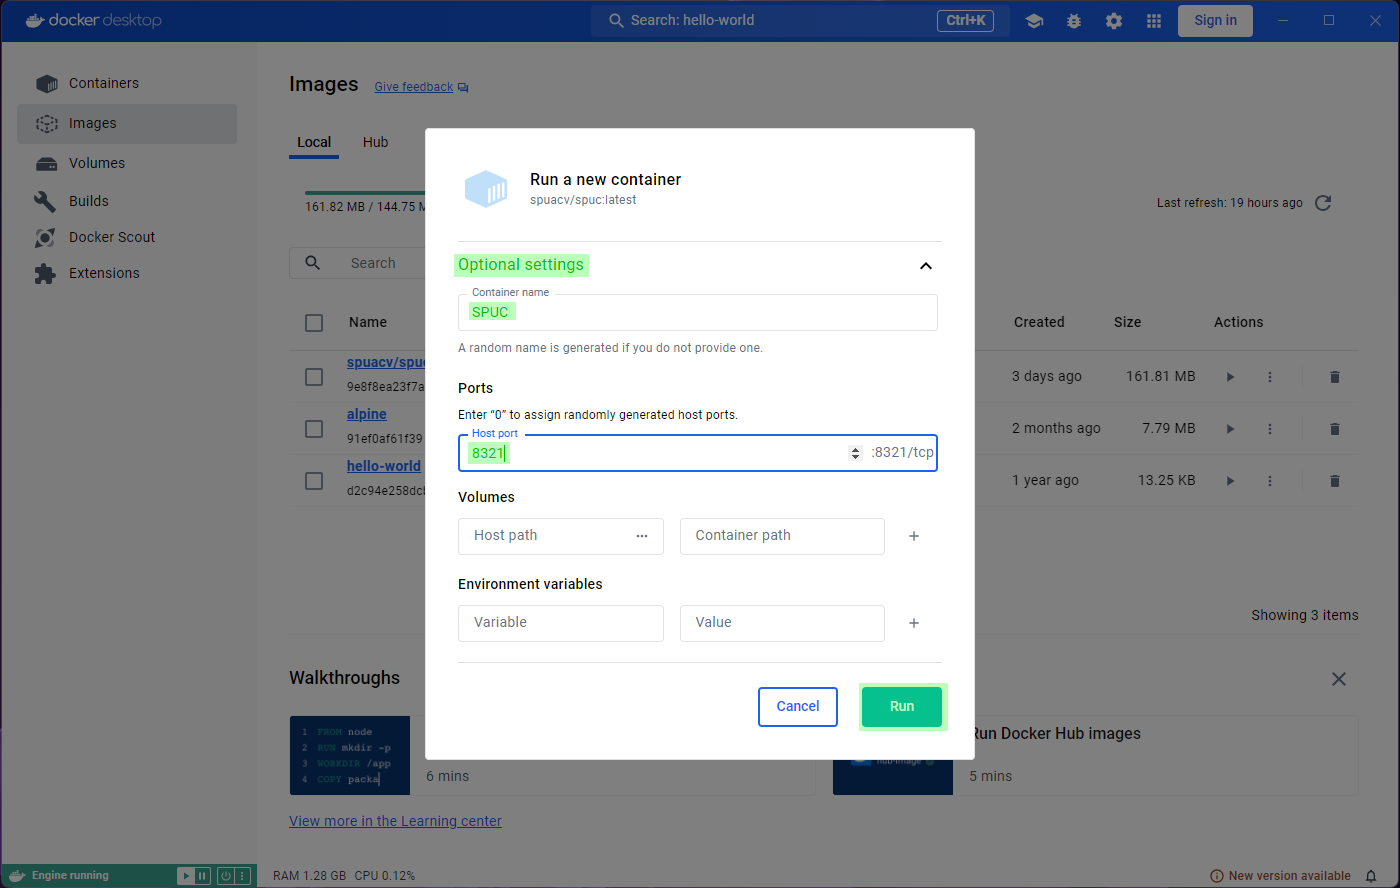
Image 1 of 1: ‘Optional settings for spuc - Step 2’
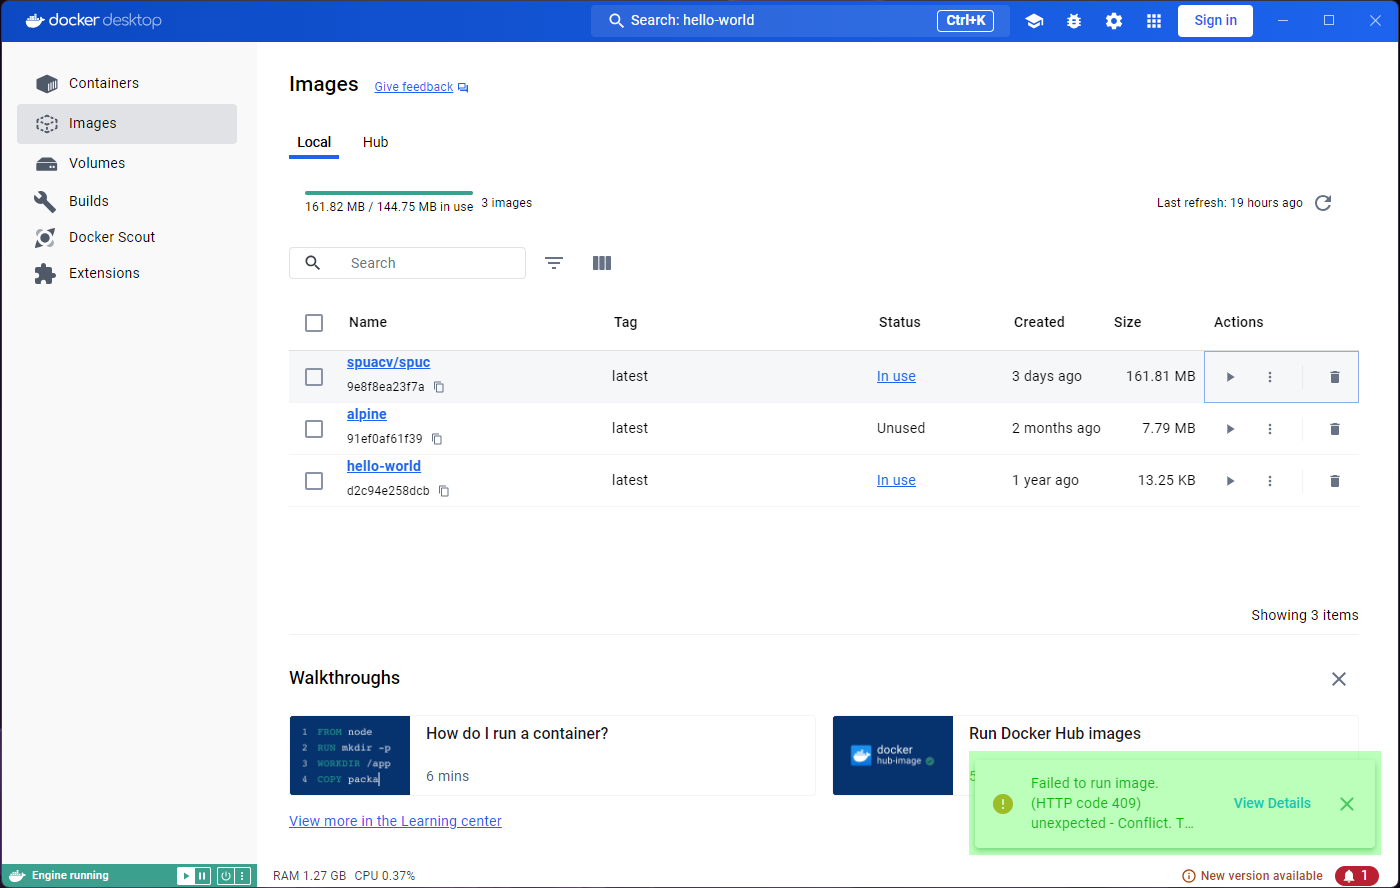
Image 1 of 1: ‘Optional settings for spuc - Step 3’
Image 1 of 1: ‘Optional settings for spuc - Step 1’
Image 1 of 1: ‘Optional settings for spuc - Step 2’
Image 1 of 1: ‘Optional settings for spuc - Step 3’
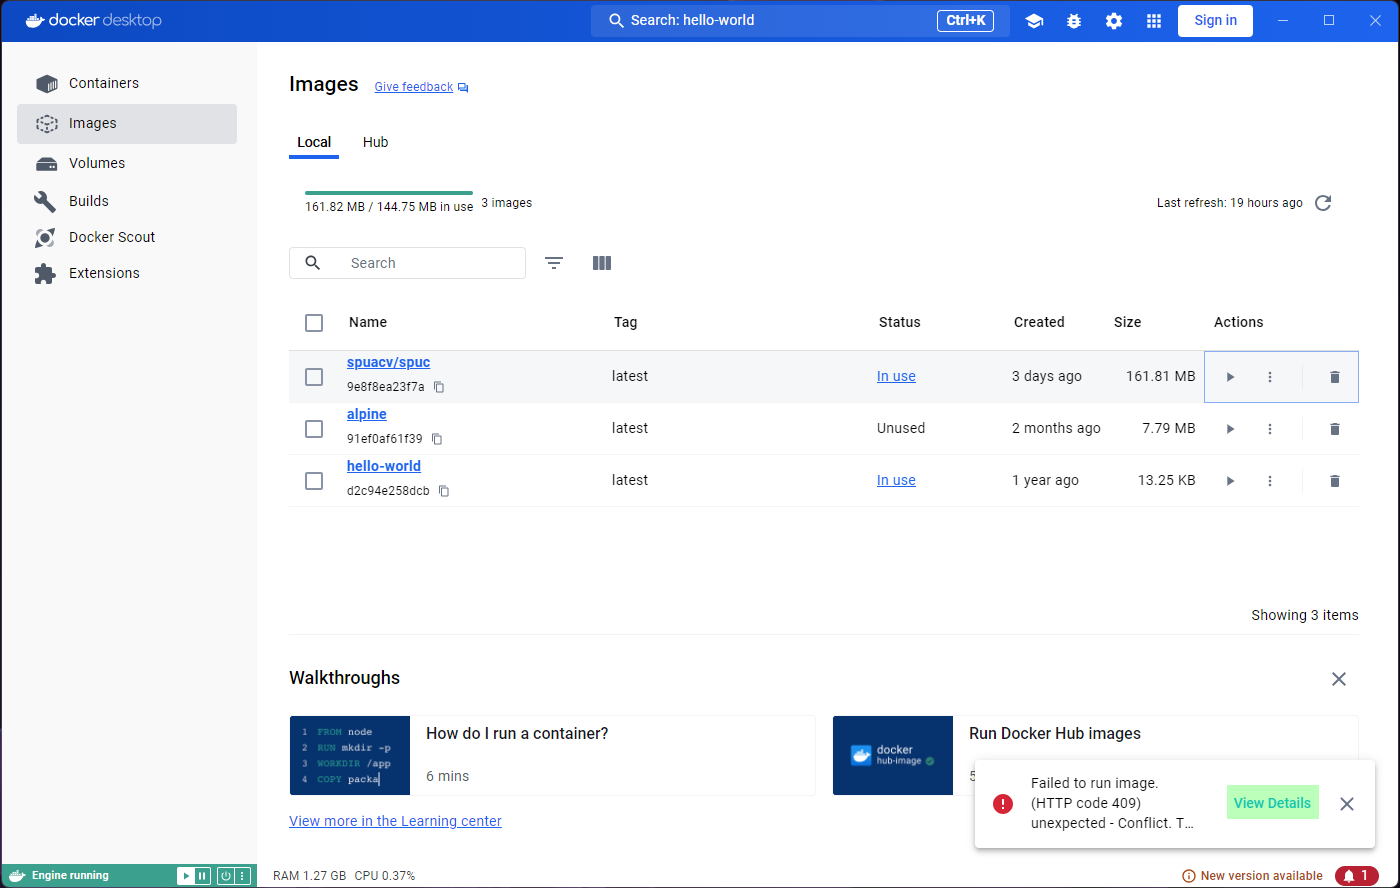
Image 1 of 1: ‘Optional settings for spuc - Step 4’
Image 1 of 1: ‘Optional settings for spuc - Step 5’
Image 1 of 1: ‘Optional settings for spuc - Step 6’
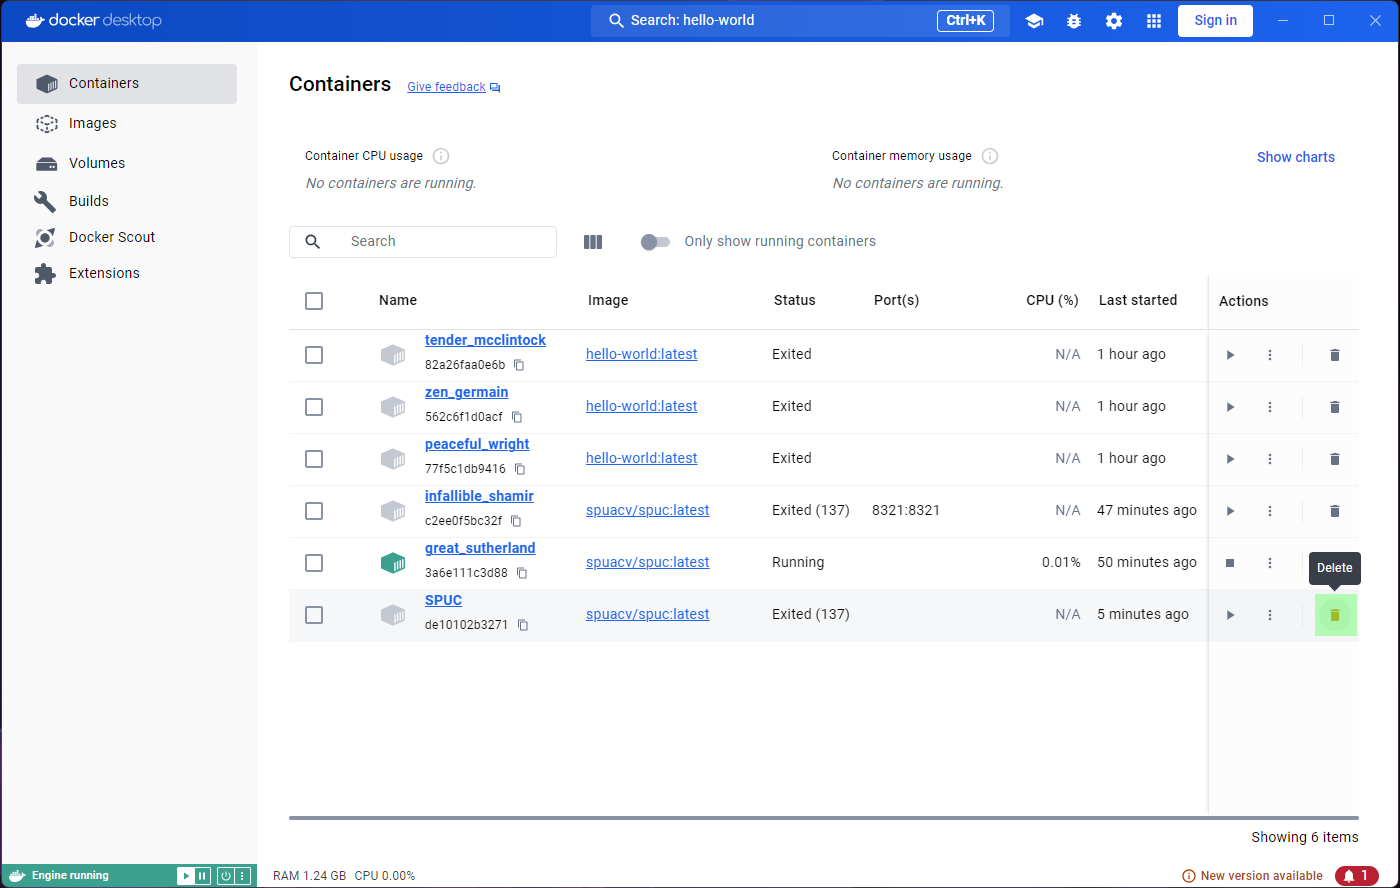
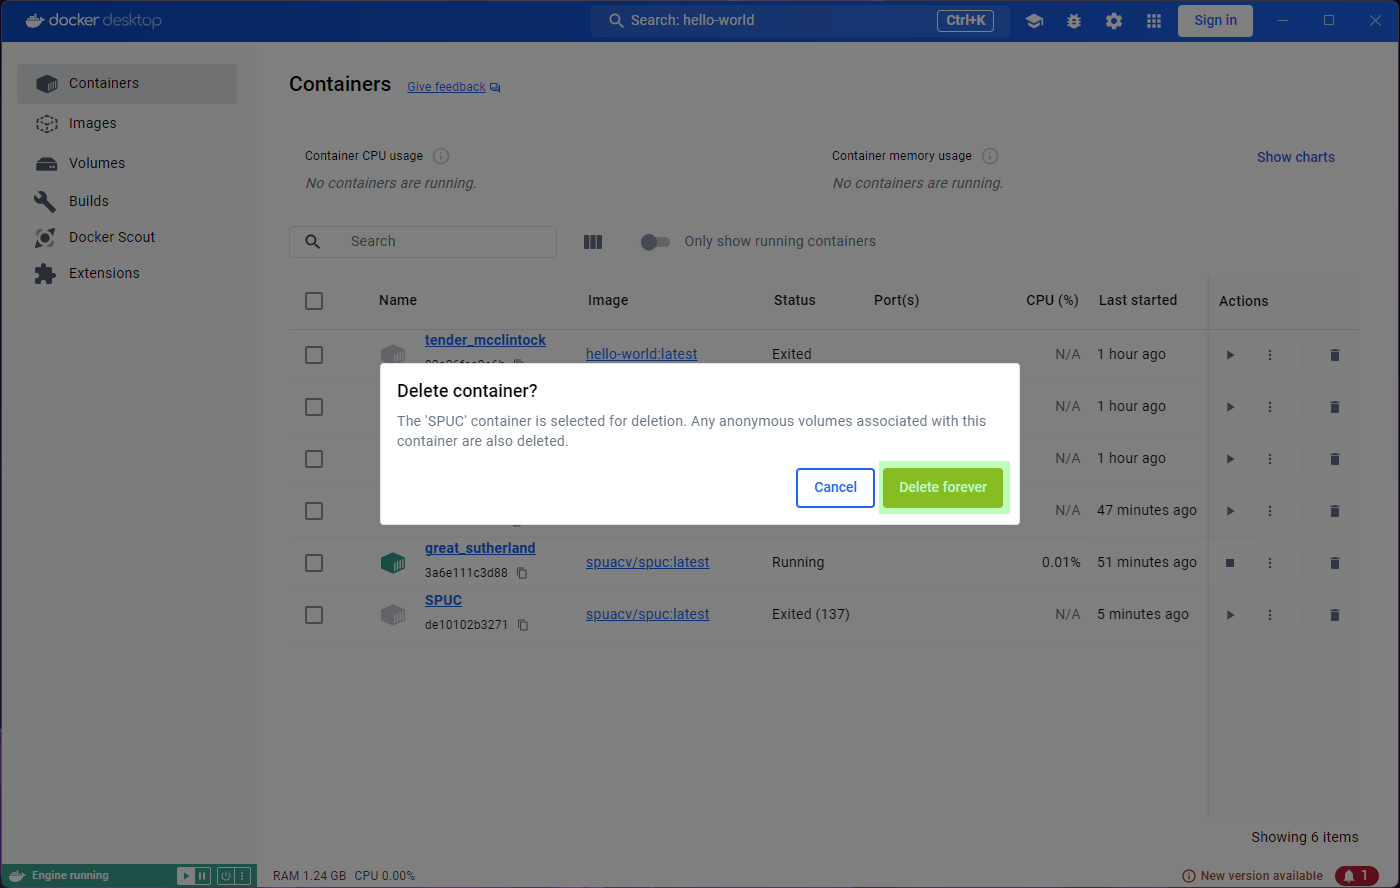
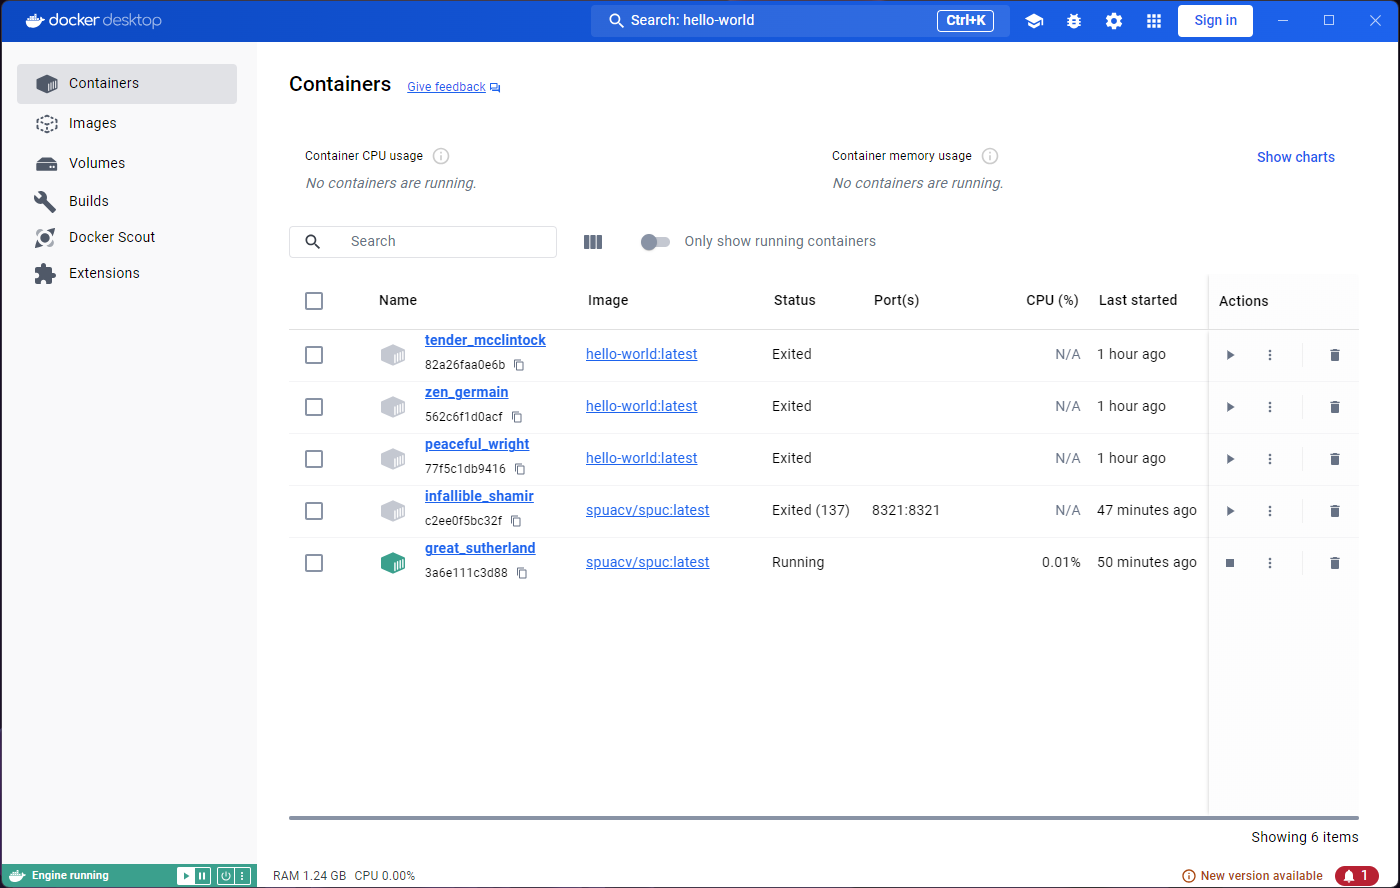
Image 1 of 1: ‘Deleting container SPUC - Step 1’
Image 1 of 1: ‘Deleting container SPUC - Step 2’
Image 1 of 1: ‘Deleting container SPUC - Step 3’
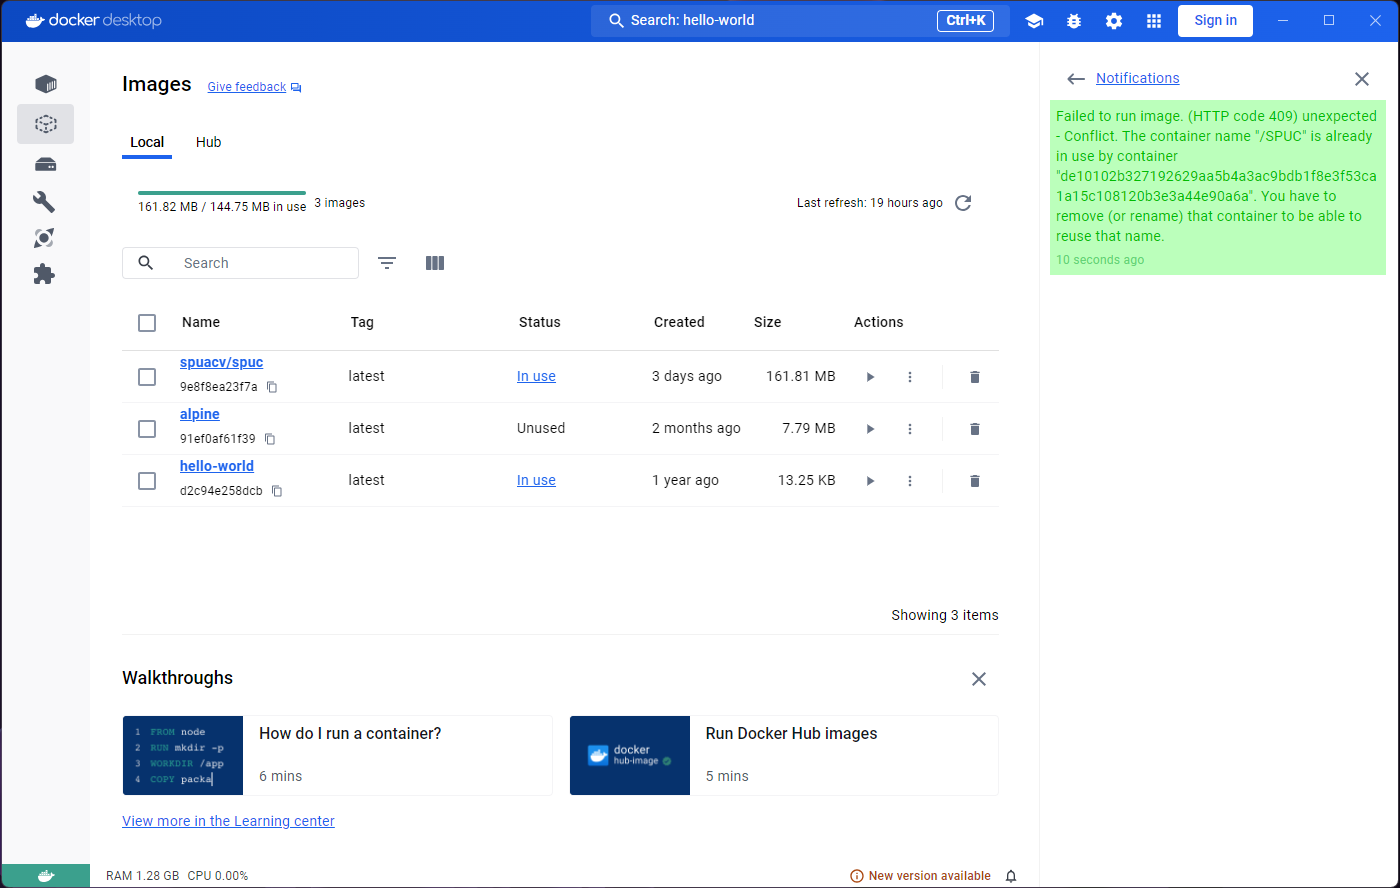
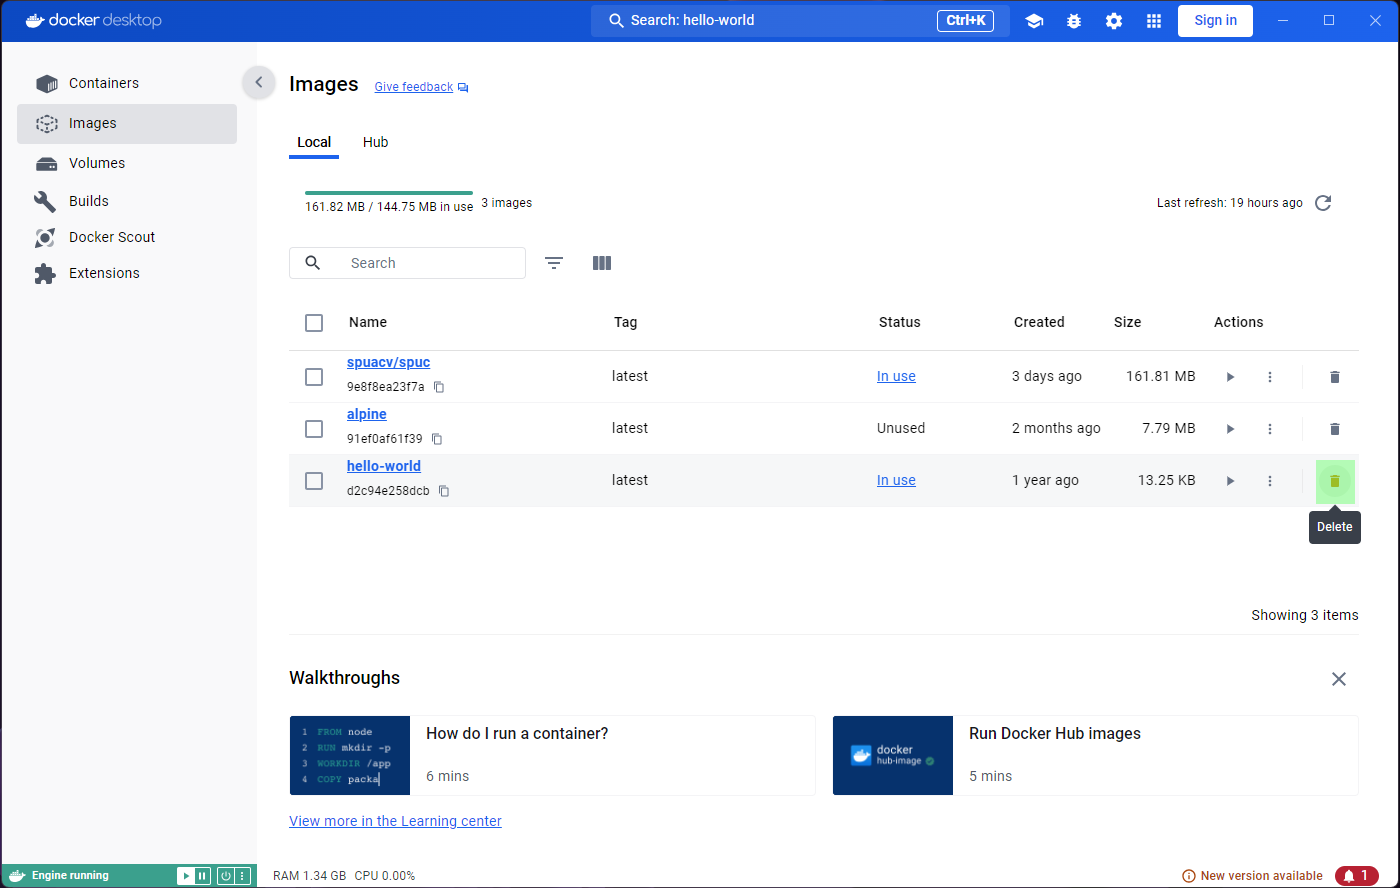
Image 1 of 1: ‘Failing to delete image - Step 1’
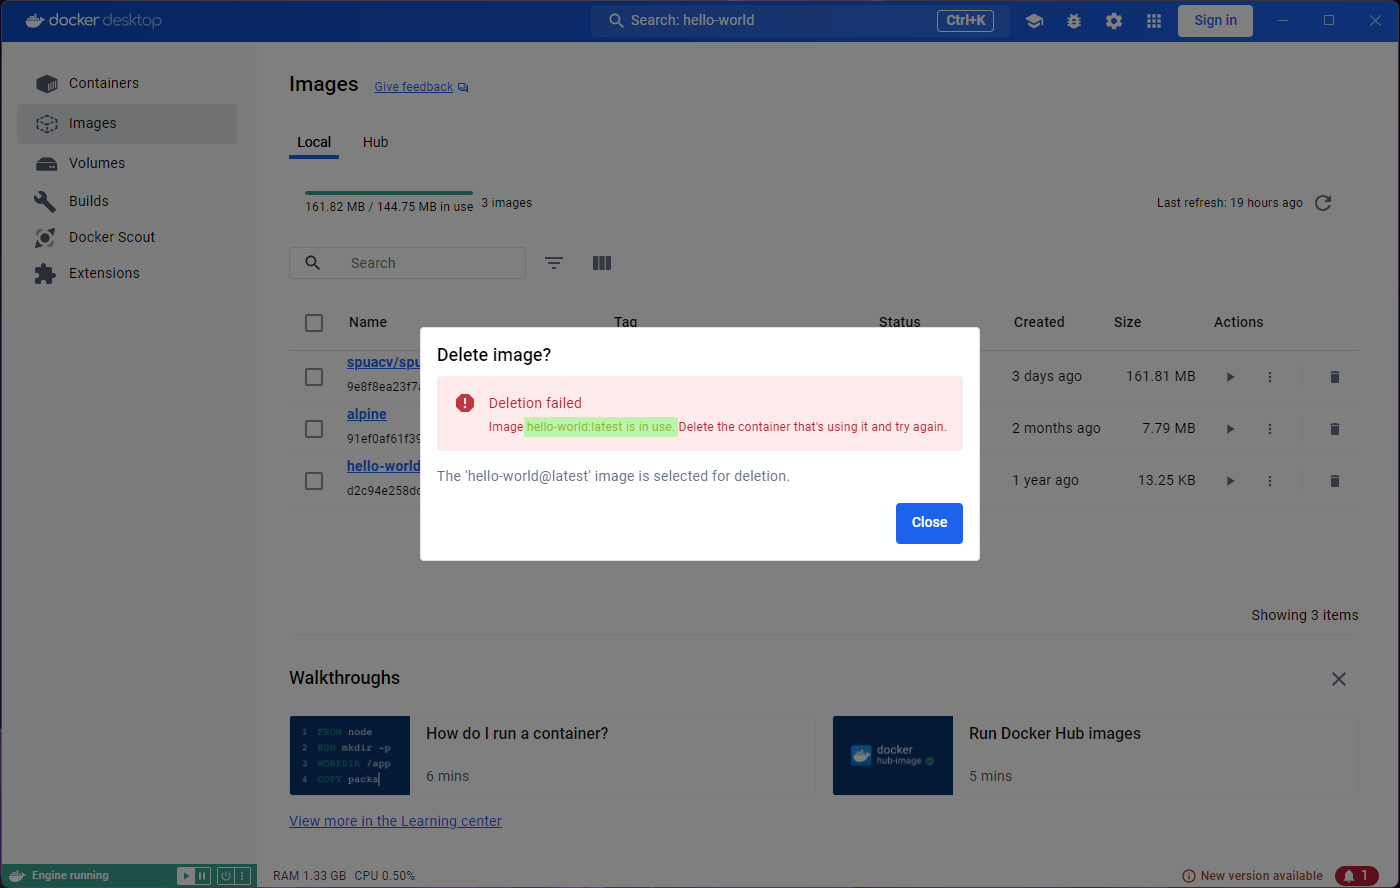
Image 1 of 1: ‘Failing to delete image - Step 2’
Image 1 of 1: ‘Failing to delete image - Step 3’
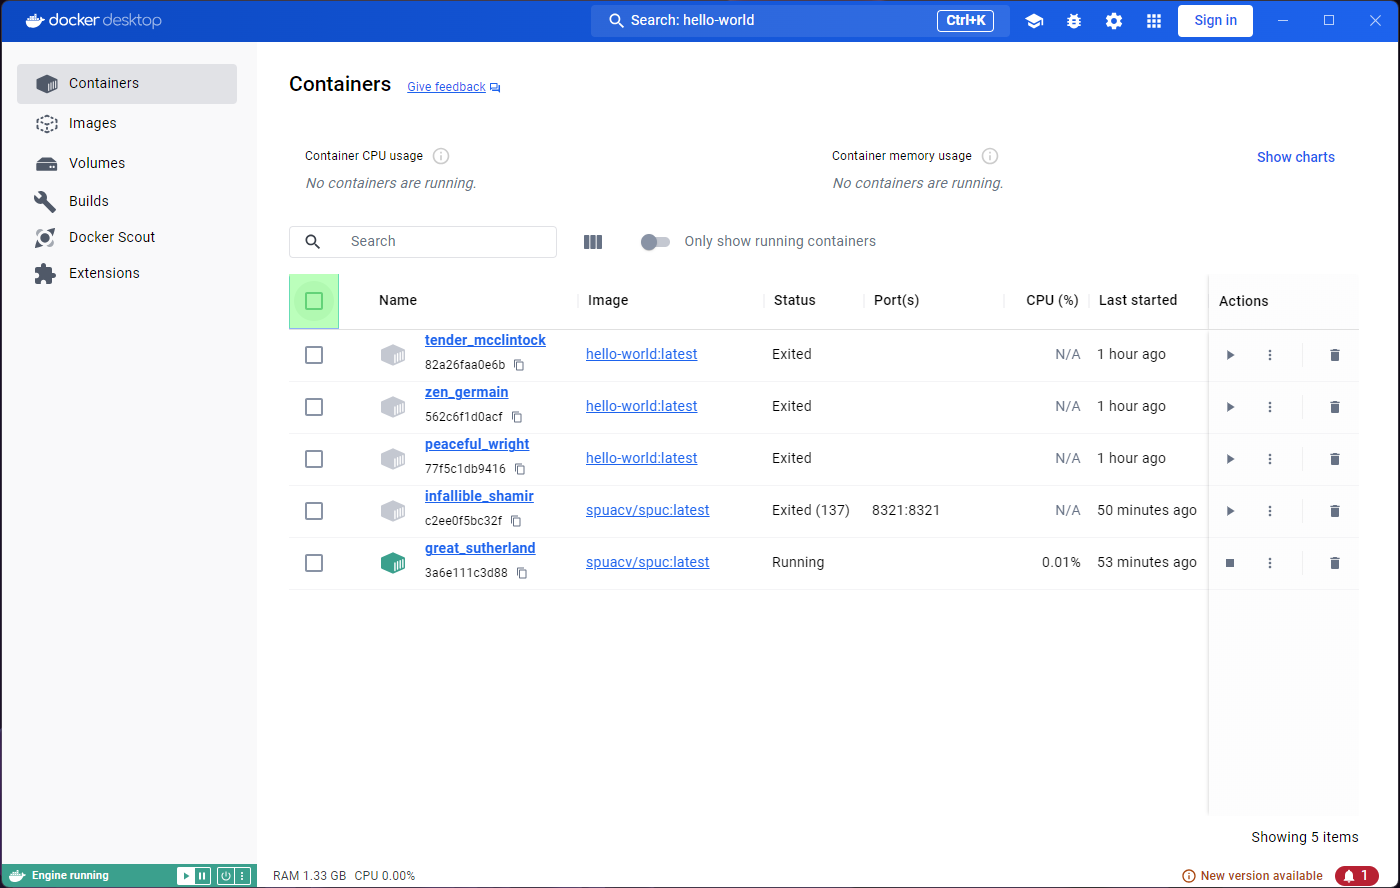
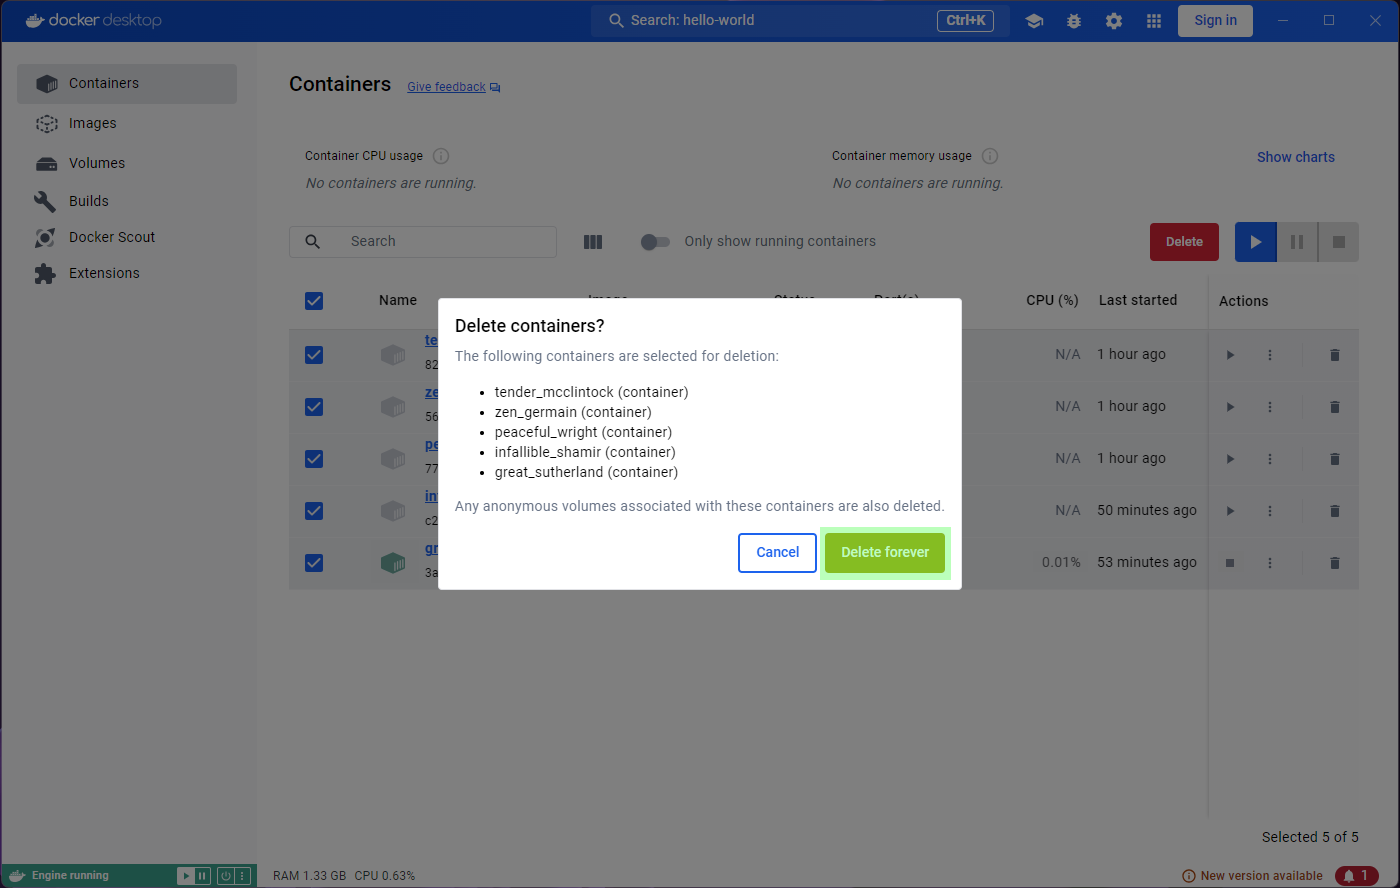
Image 1 of 1: ‘Deleting containers - Step 1’
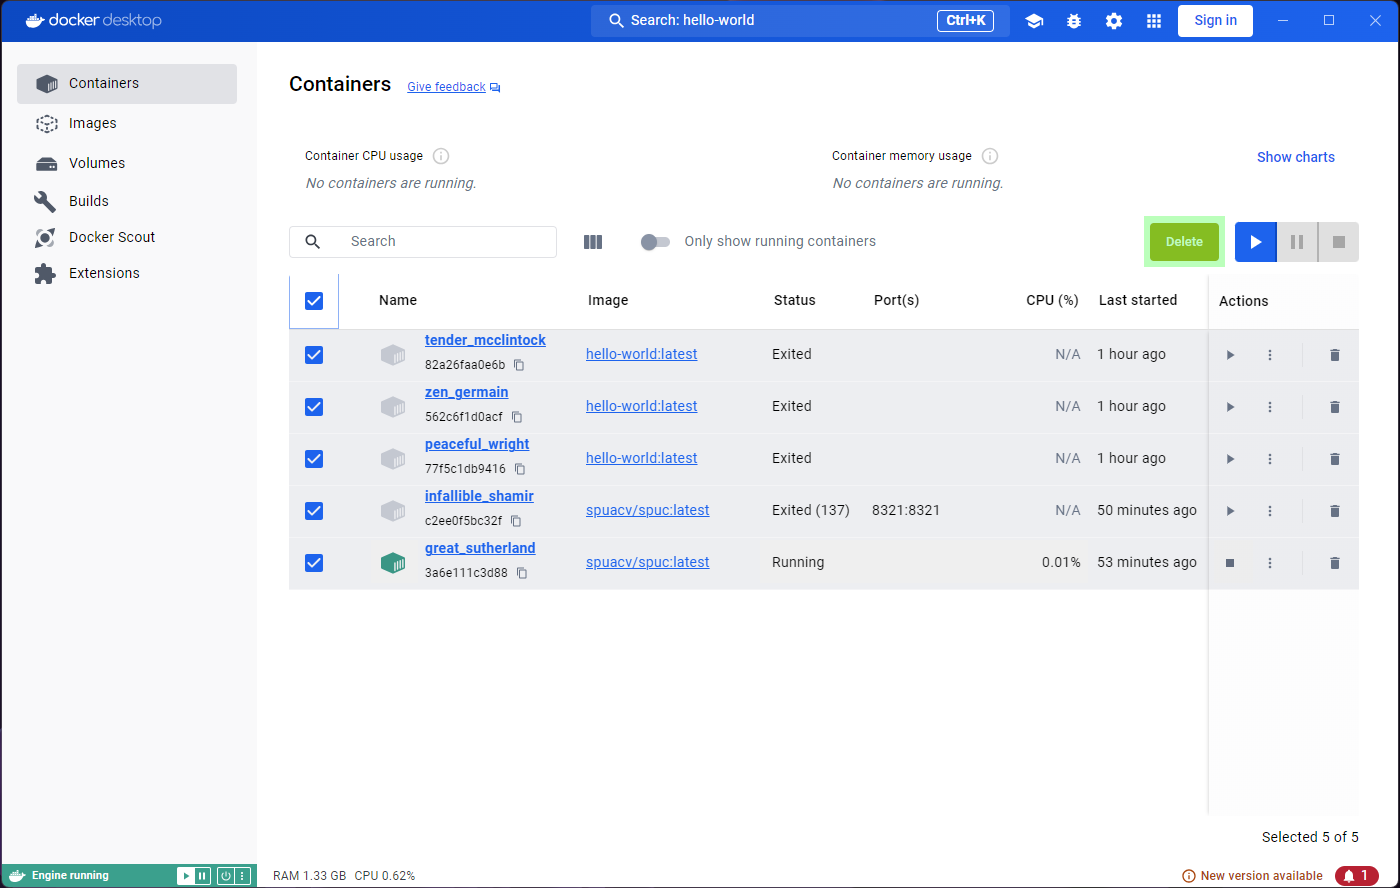
Image 1 of 1: ‘Deleting containers - Step 2’
Image 1 of 1: ‘Deleting containers - Step 3’
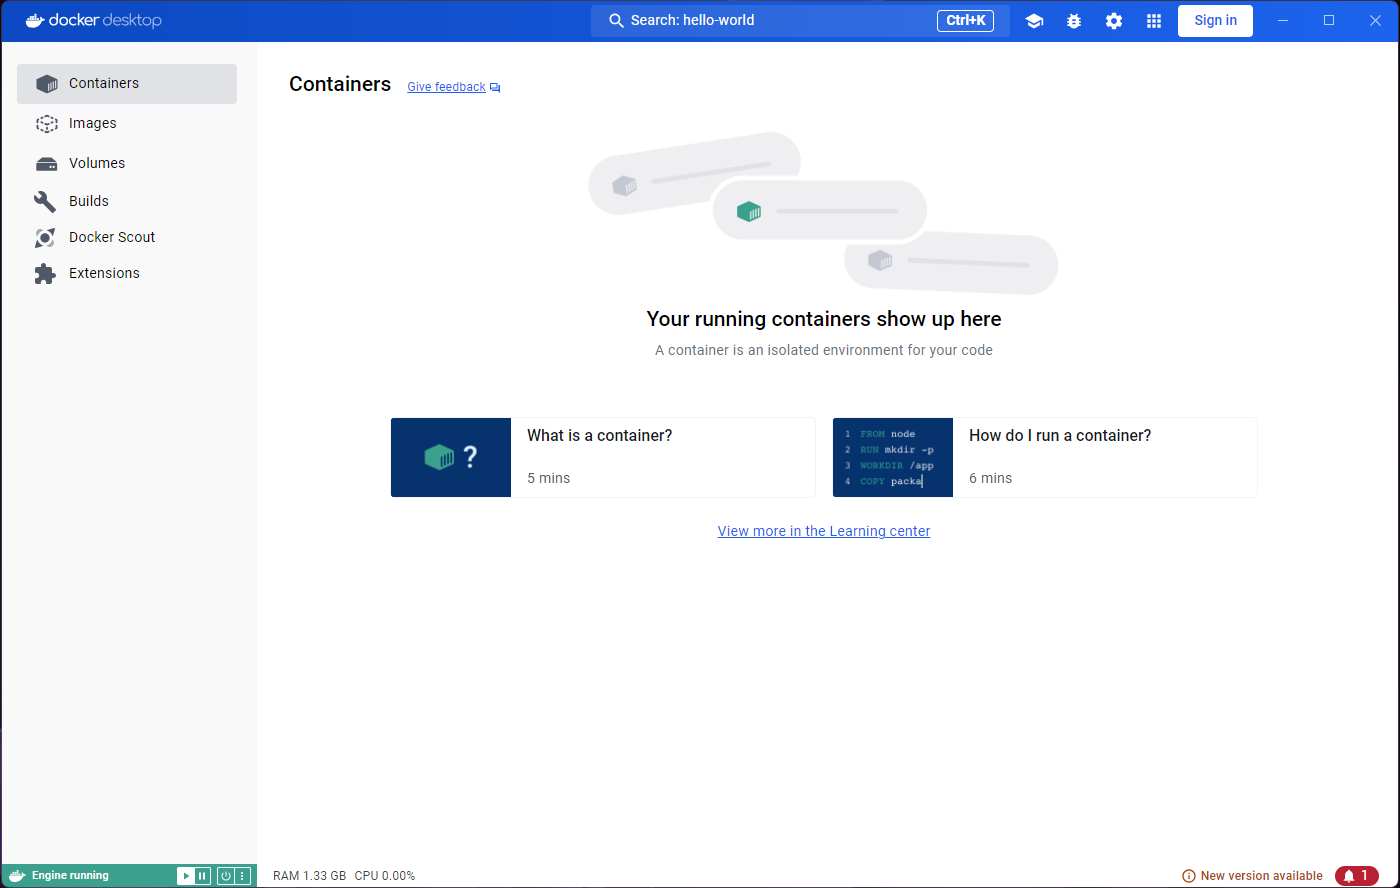
Image 1 of 1: ‘Deleting containers - Step 4’
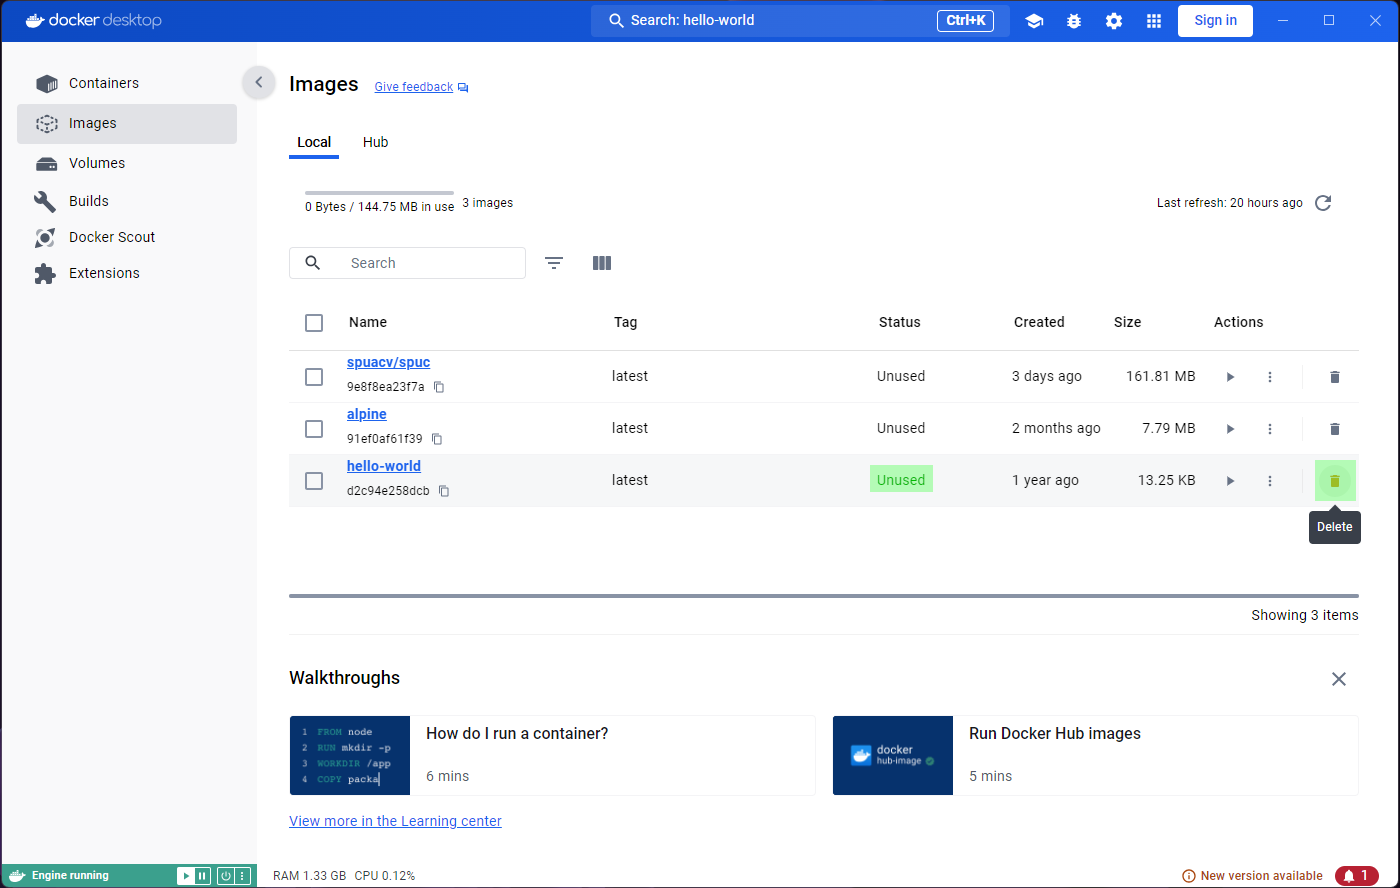
Image 1 of 1: ‘Successfully deleting images - Step 1’
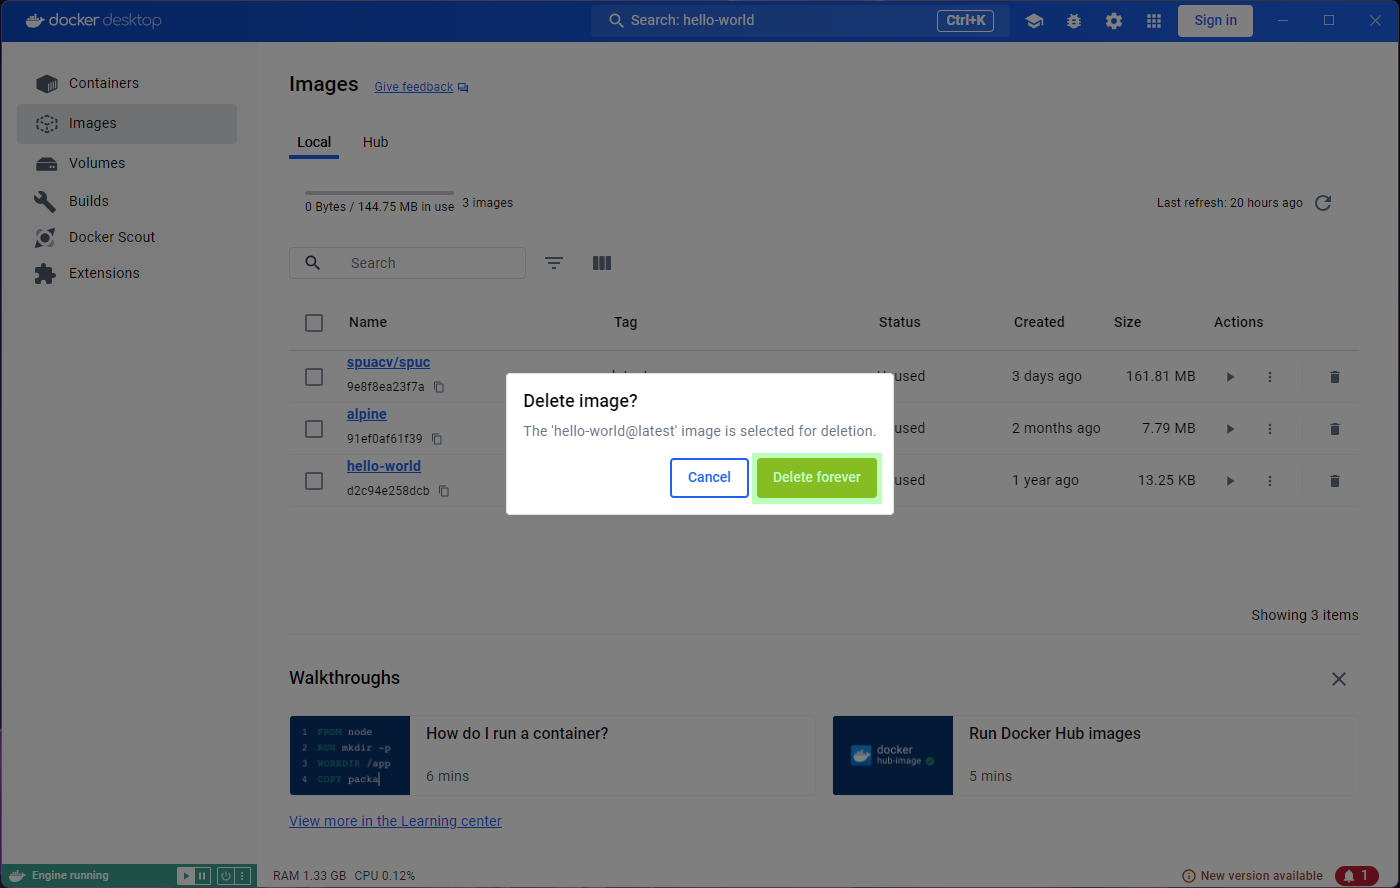
Image 1 of 1: ‘Successfully deleting images - Step 2’
Image 1 of 1: ‘Successfully deleting images - Step 3’
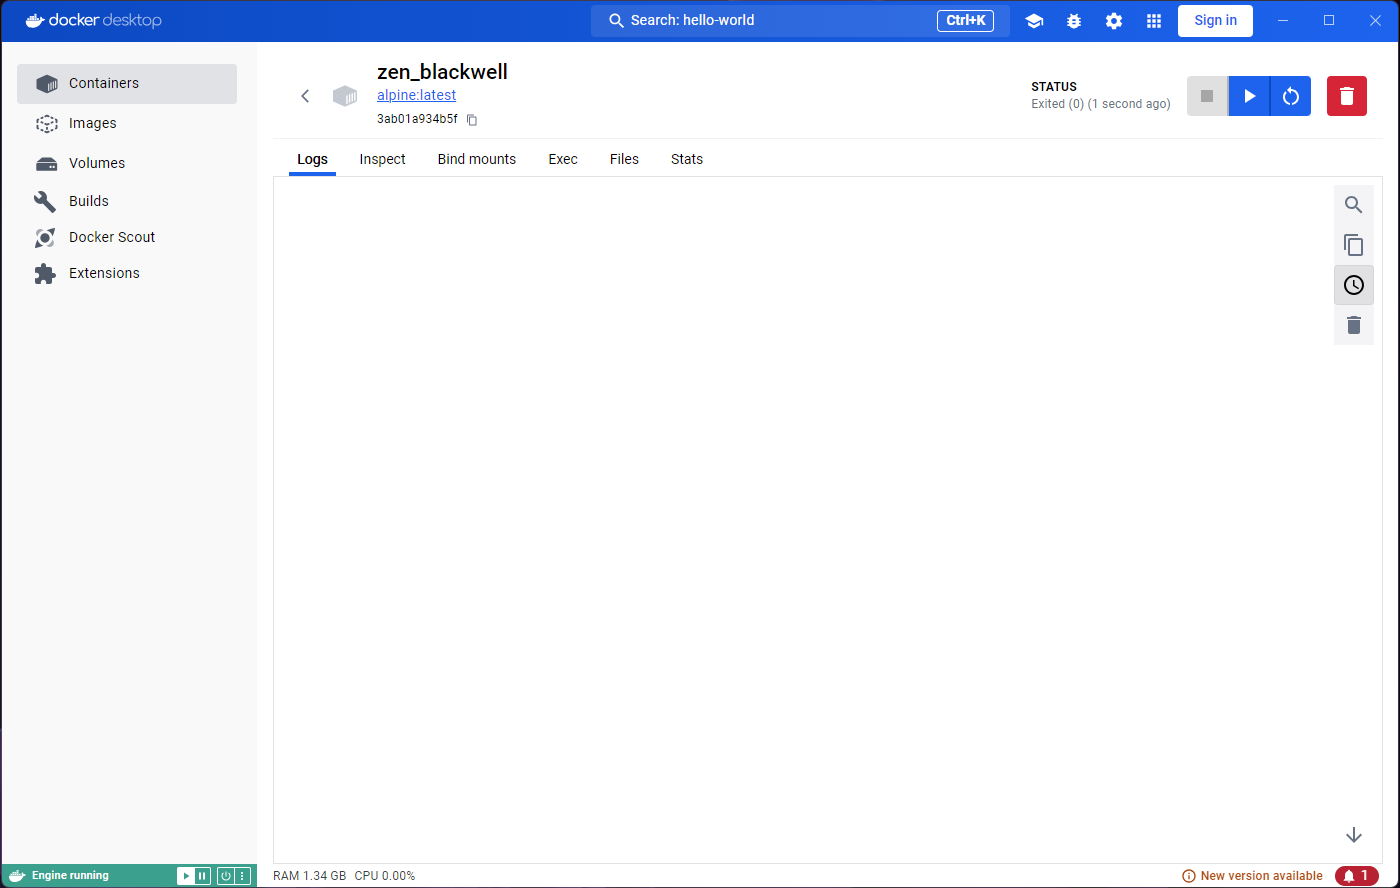
Image 1 of 1: ‘Logs tab in container from alpine image.’
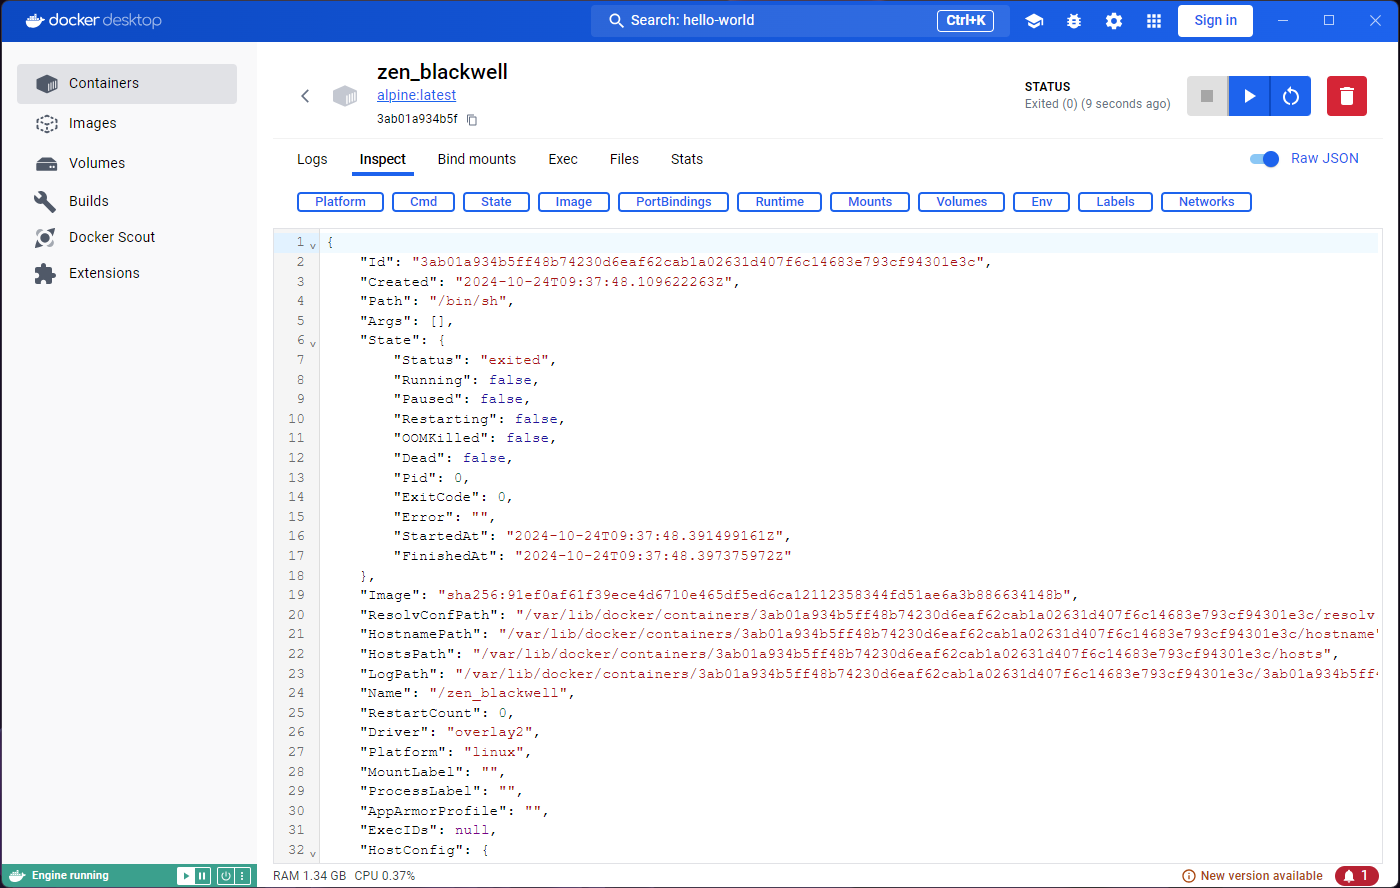
Image 1 of 1: ‘Inspect tab in container from alpine image.’
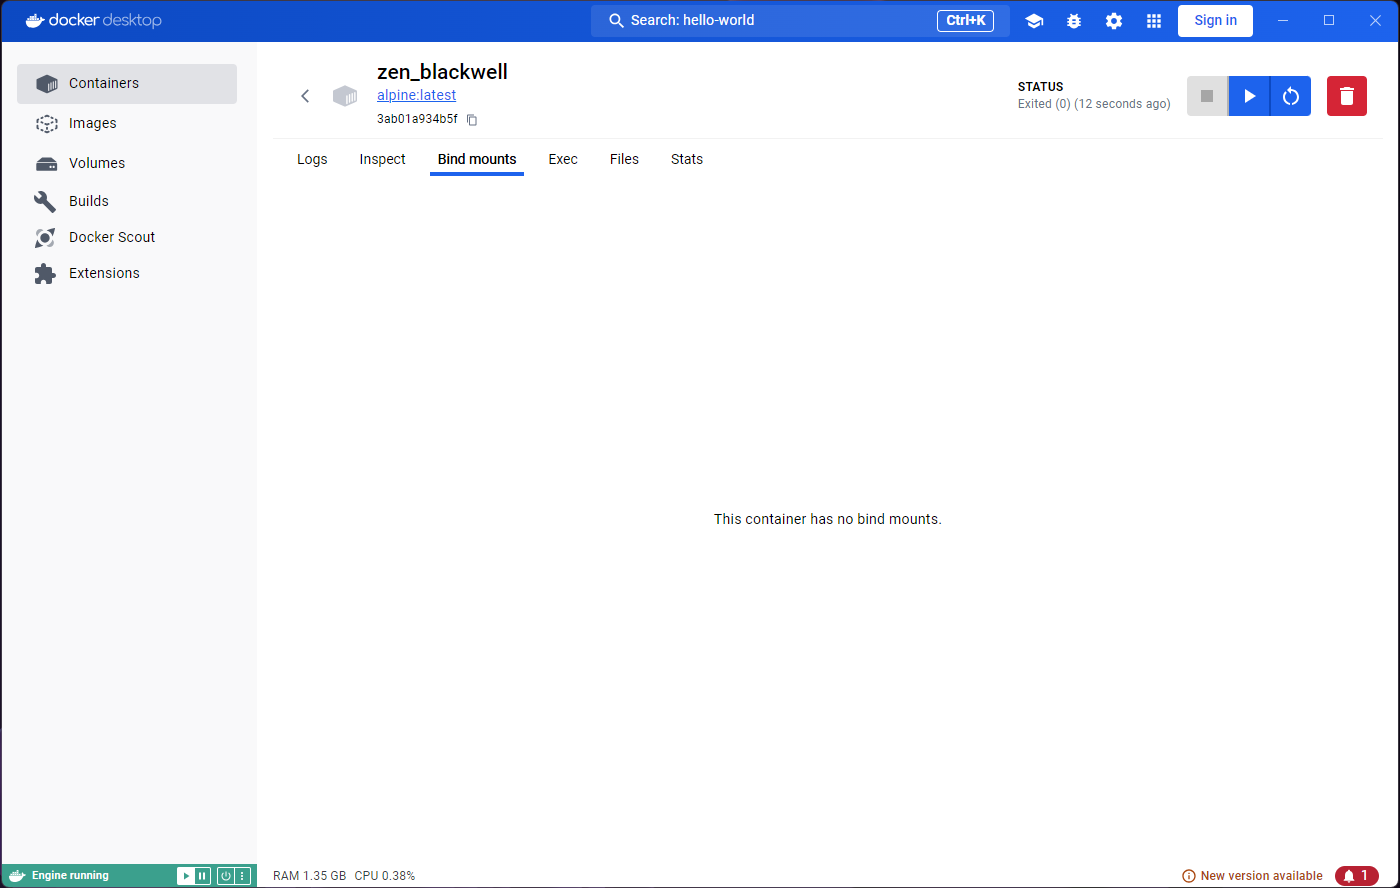
Image 1 of 1: ‘Bind mounts tab in container from alpine image.’
Image 1 of 1: ‘Exec tab in container from alpine image.’
Image 1 of 1: ‘Files tab in container from alpine image.’
Image 1 of 1: ‘Stats tab in container from alpine image.’